
How to Make Angel Wings for Boudoir Photo Shoots

How to Make Angel Wings for Boudoir Photo Shoots

How to Make Angel Wings for Boudoir Photo Shoots
Angel wings – they are such a stunning prop for boudoir shoots.
As a photographer, I wanted to make these because I couldn’t justify the cost of some of the drop-dead-gorgeous angel wings that I found that sold for over $1500. They are impressively beautiful- don’t get me wrong. And, I am sure they also used much more expensive materials than I did too. However, it was a fun undertaking to make these all on my own! You can too!
These lavish wings cost me probably almost $250, and approximately 7-10 hours to make. That sounds like a lot, but that is including the time it took to plan, go to a hardware store & Michaels, and look around on Amazon and Etsy for all the materials. Oh, and research time too! Since I have done all that background work, you don’t have to though! Also- you can choose different materials (or you may not need to buy some things like the mannequin or the shower liner to kneel on).
Okay- I’m just going to jump right into it!
Here is the list of materials I used to make the angel wings:
- A meter or longer of electrical wire that you can shape. Go to a hardware store and check out the best kind they have. (Approximately $7)
- Wire cutters – to cut the electrical wires the right length (Approximately $10)
- 36 or 48 inch wide lace (what I used was 2 x 12 inch lace that I purchased on Amazon. Getting this width will save you time by not having to glue two pieces) (Approximately $10)
- Mannequin (Approximately $40)
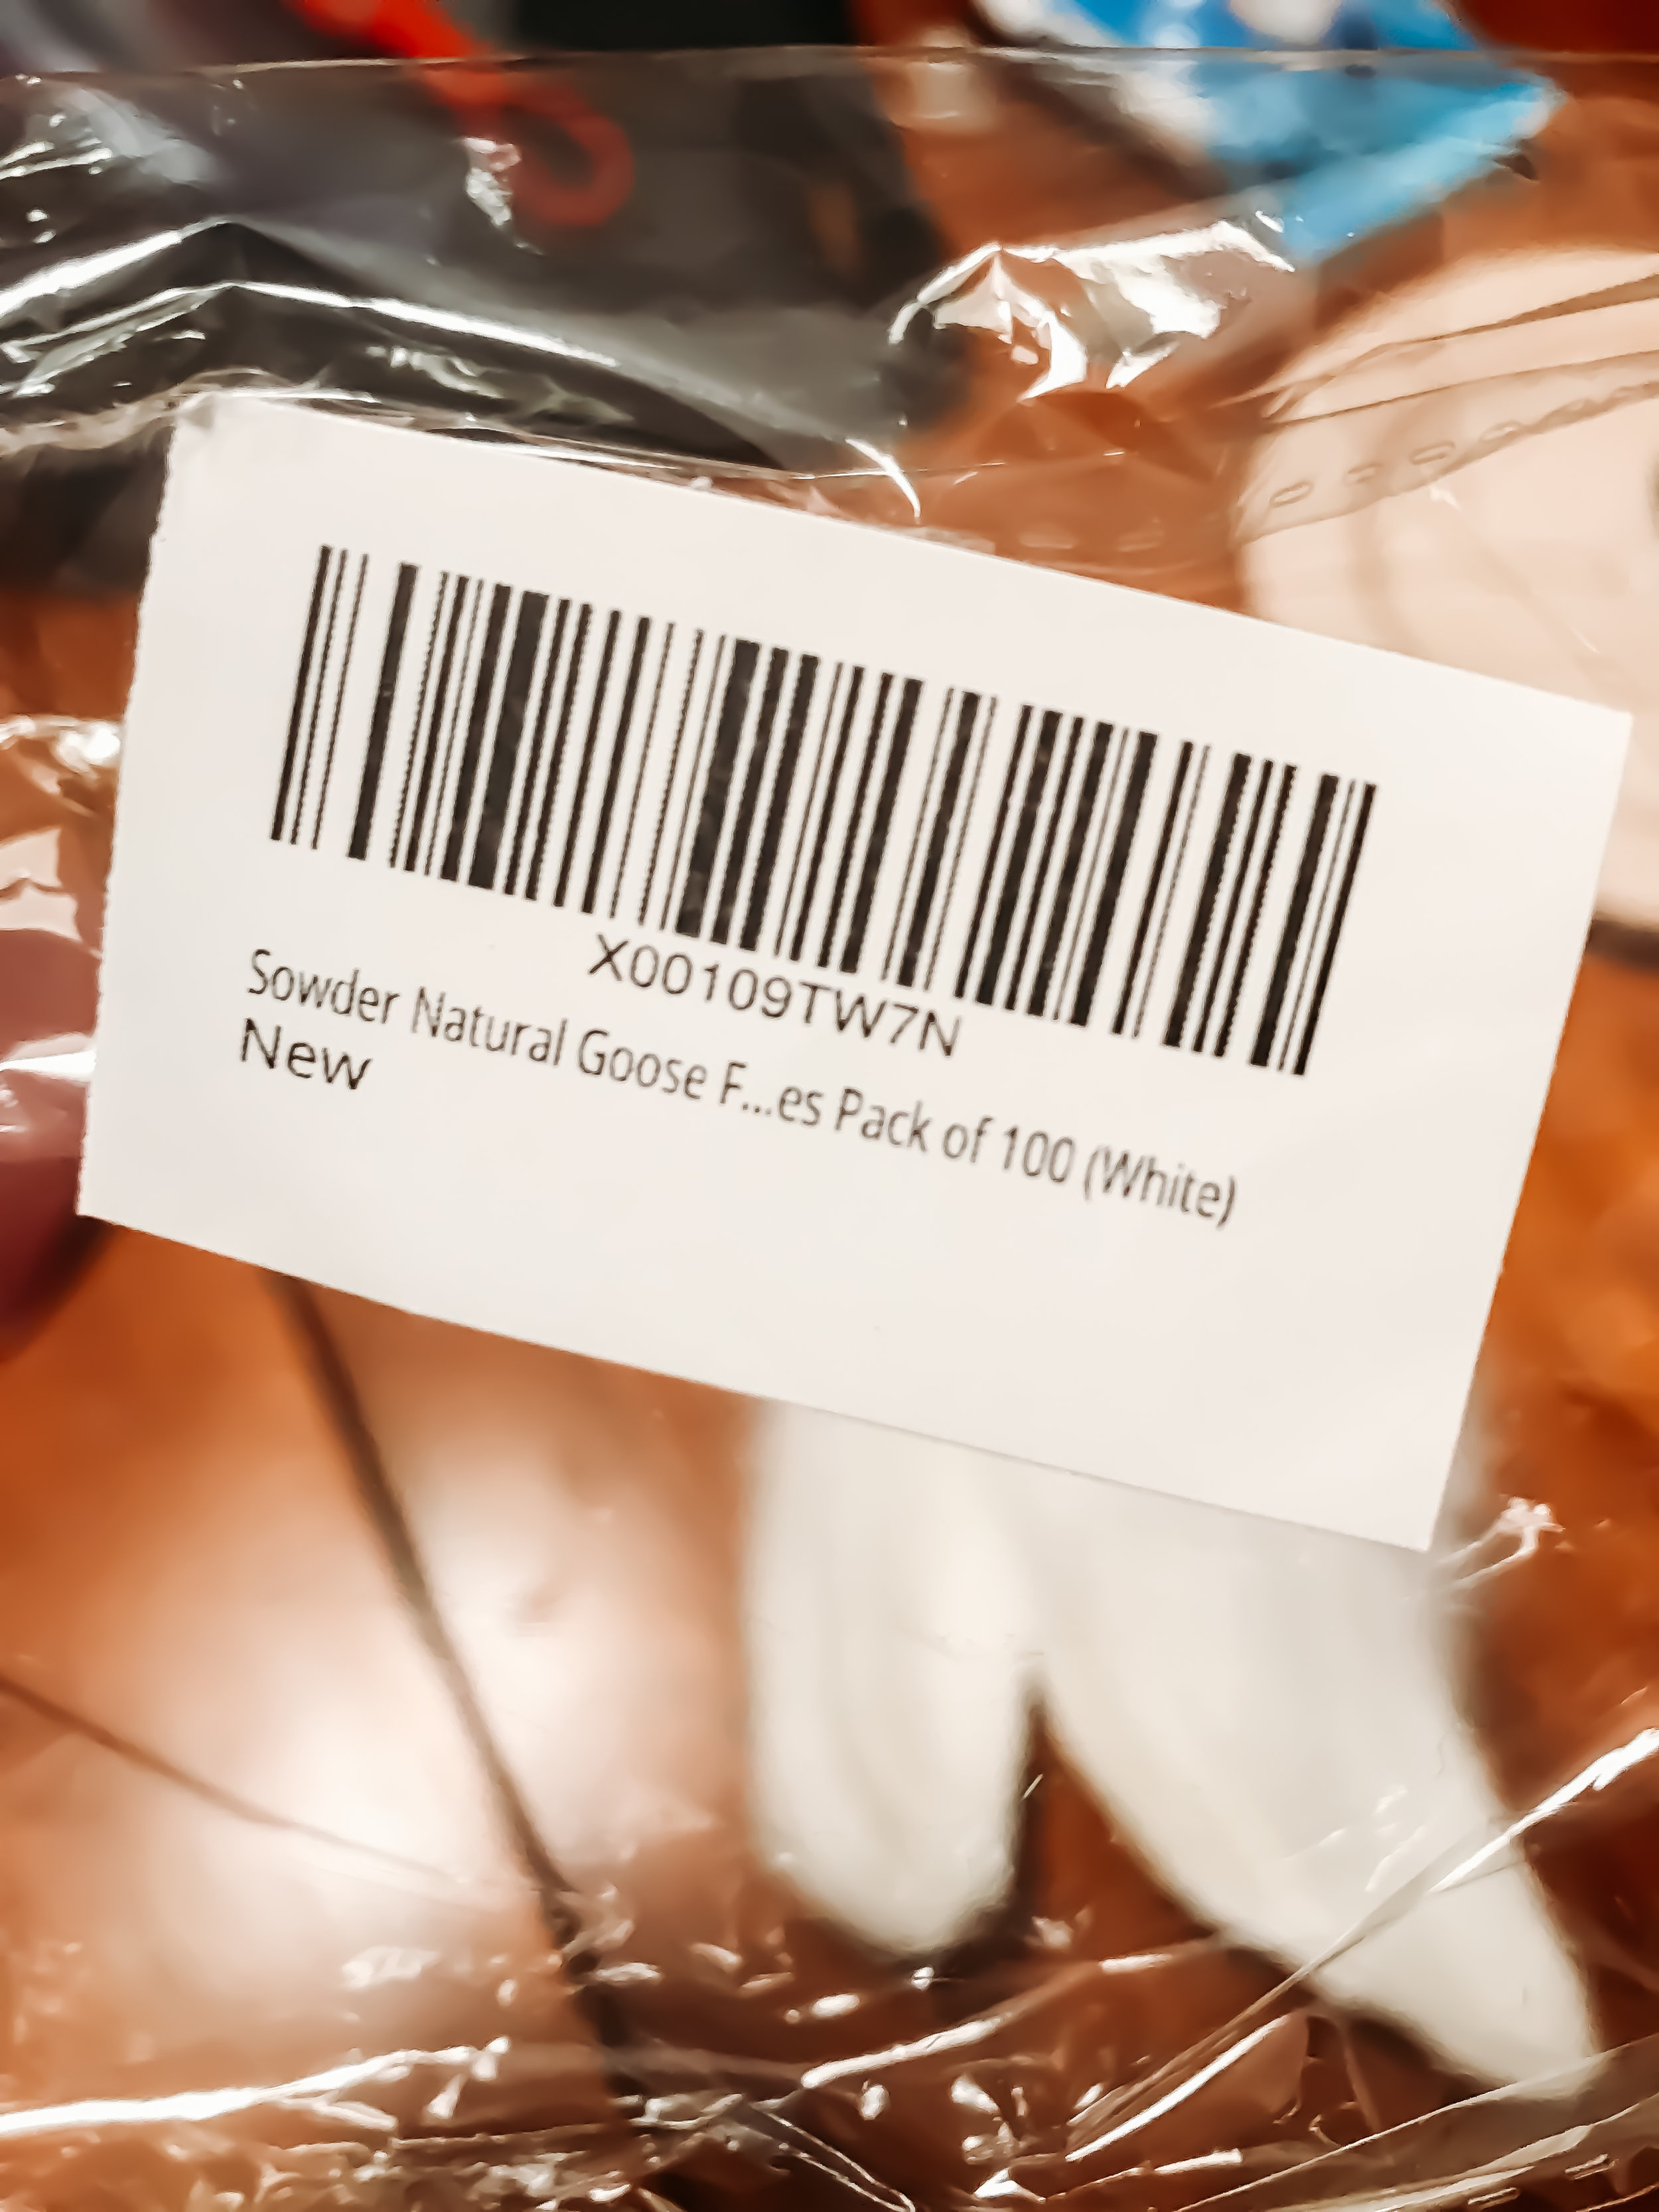
- 100 Ostrich Feathers (What I used was between 10-14 inches – approximately $70.00)
- 400 Goose Feathers (Approximately $36)
- 1in x 5 yd lace ribbon for the “bones” and covering the elastic arm bands (Approximately $8)
- Plastic to lay under when you glue stuff to protect the surface you are working on. I used a shower curtain liner. (approximately $9)
- Glue gun and glue – You need lots of glue. I went through 2 bags. (Approximately $15)
- Plate (or something you don’t mind ruining) to put down the glue gun – glue guns can get messy! (Free for me)
- Elastic – for the arm bands (I used a tan color, but wished I had bought the white.) (Approximately $8)
Here are the steps I took to make the angel wings:
Check out the gallery below for more details and images, but these are the steps that I took to make the angel wings:
- Gather all the materials from various stores and from around your house.
- Use the mannequin to shape the electrical wire. For my wings, the wire goes down to about half the length of the wings.
- Wrap the lace around the wire and use a glue gun to secure.
- Use the mannequin to figure out where to put the elastic so it will hold up the wings. What’s shown in my image below was not wide enough in my opinion. I would go a little wider.
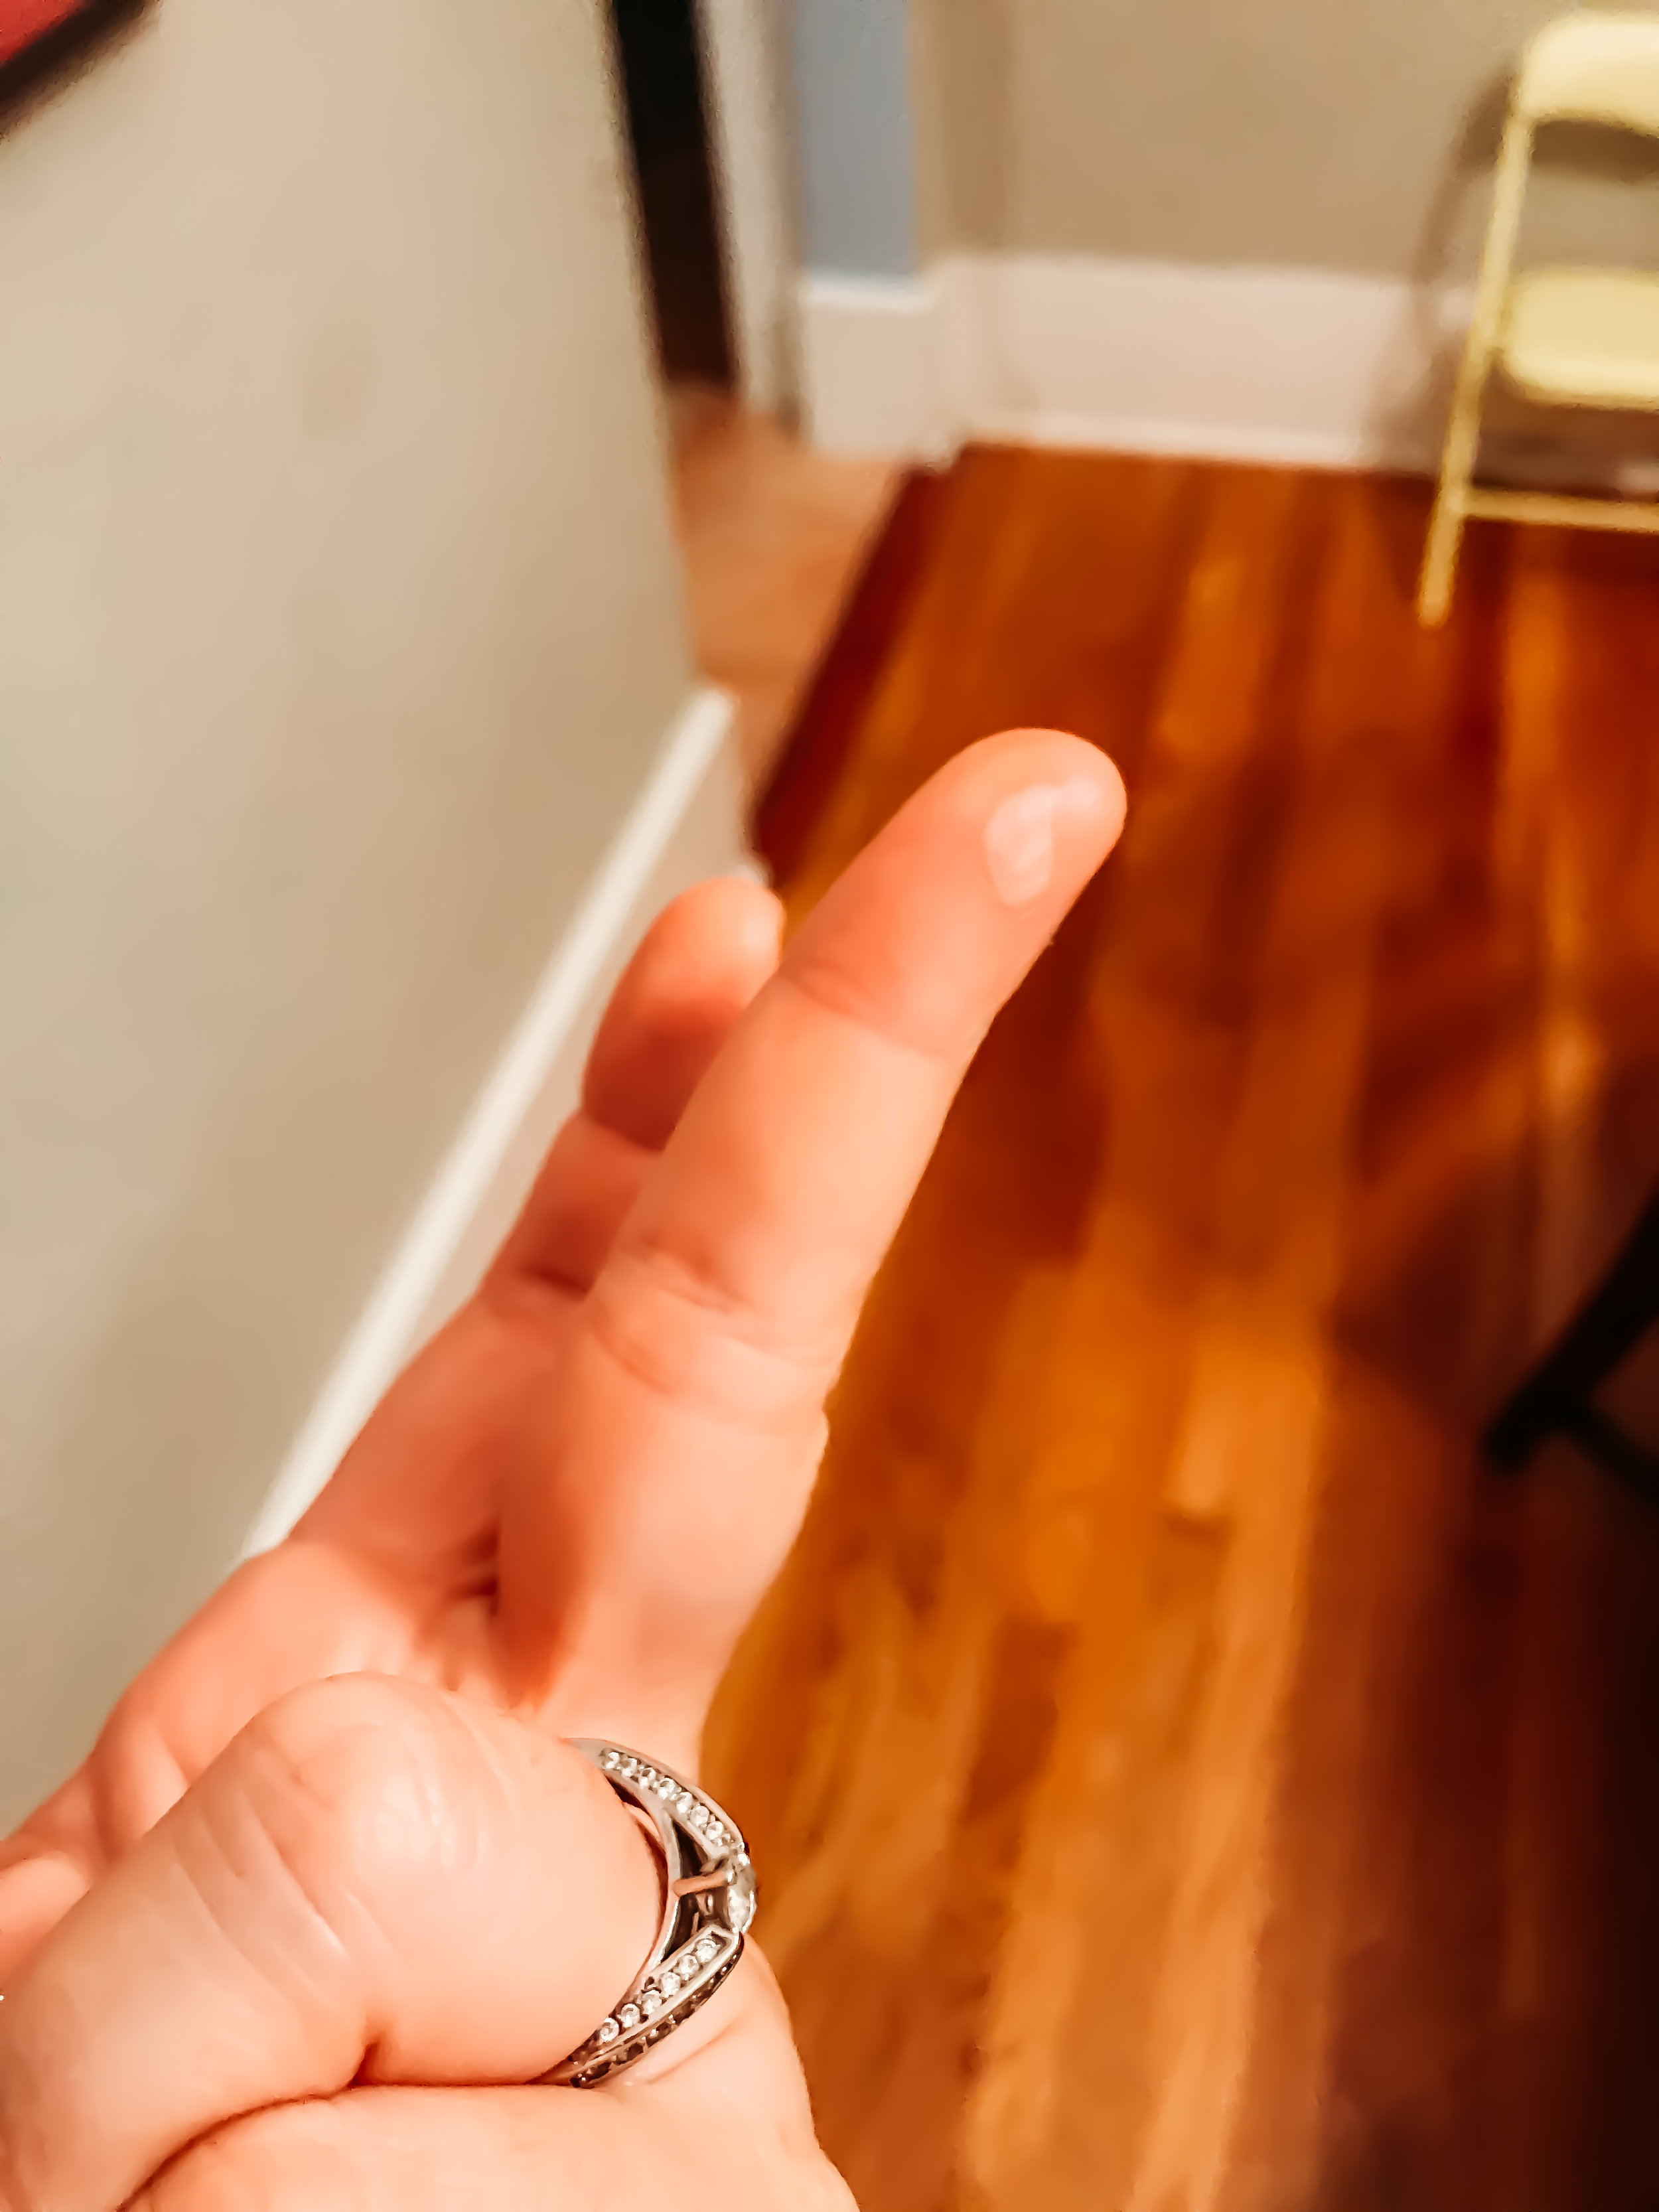
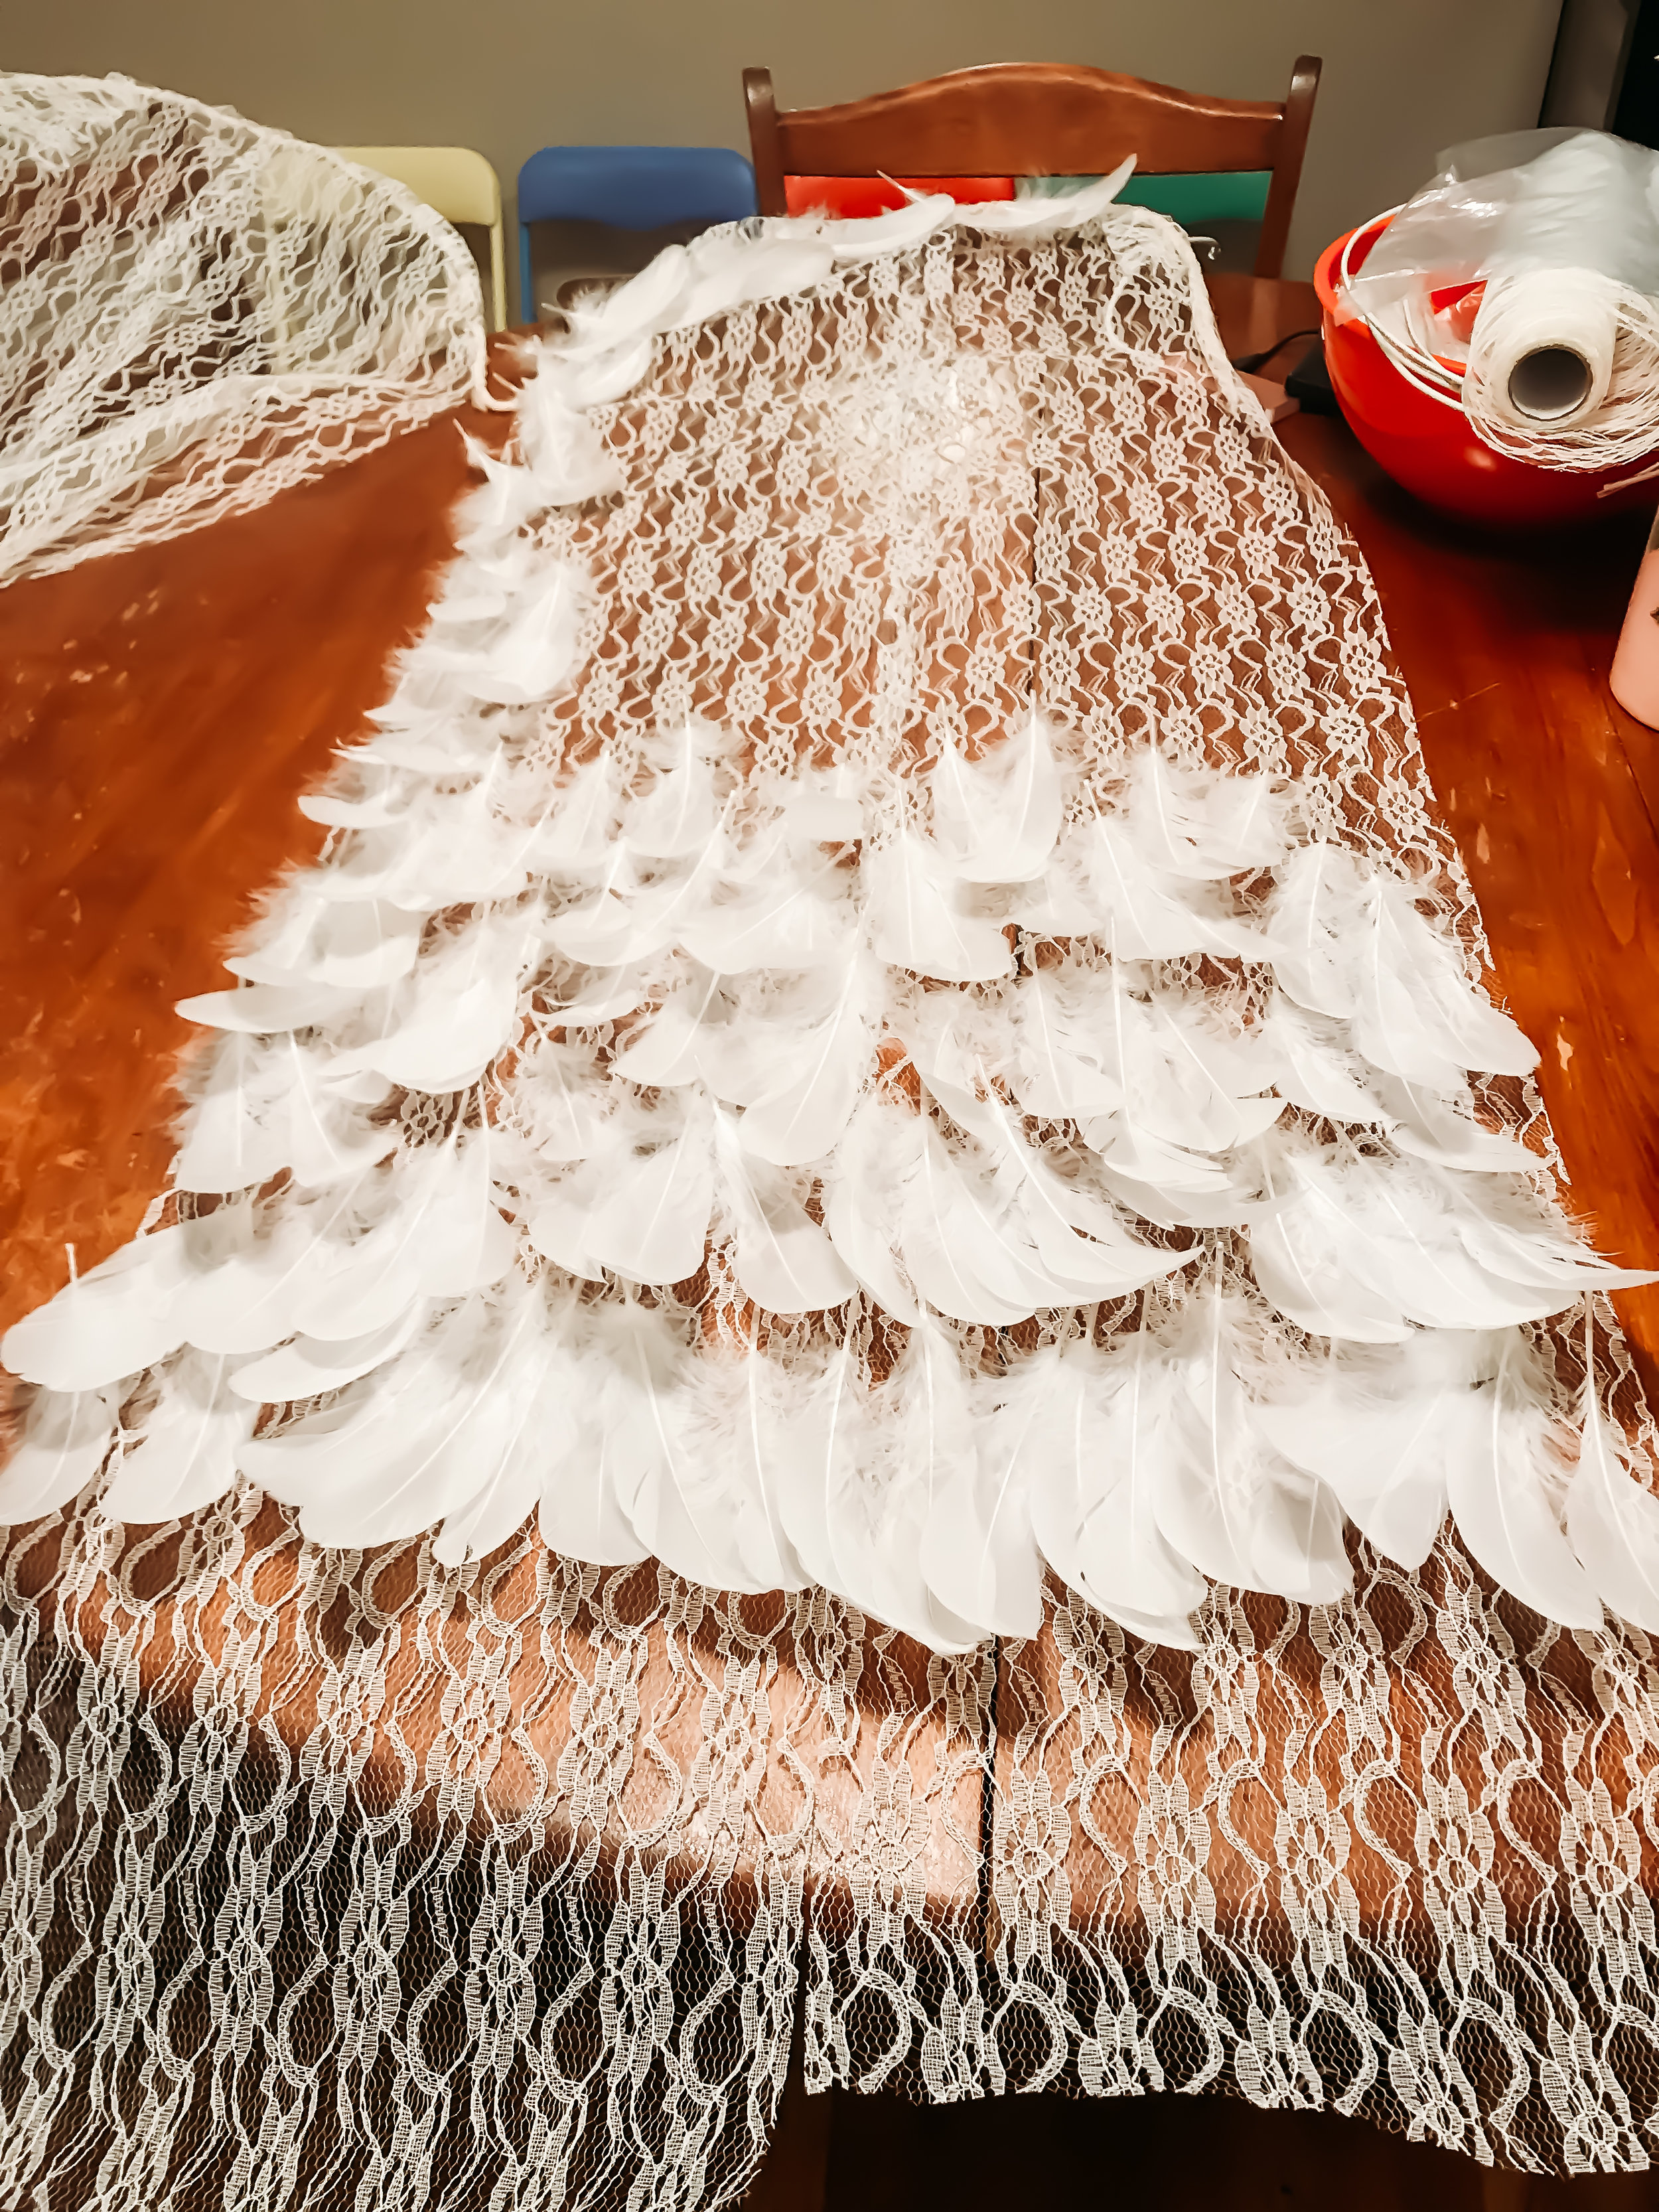
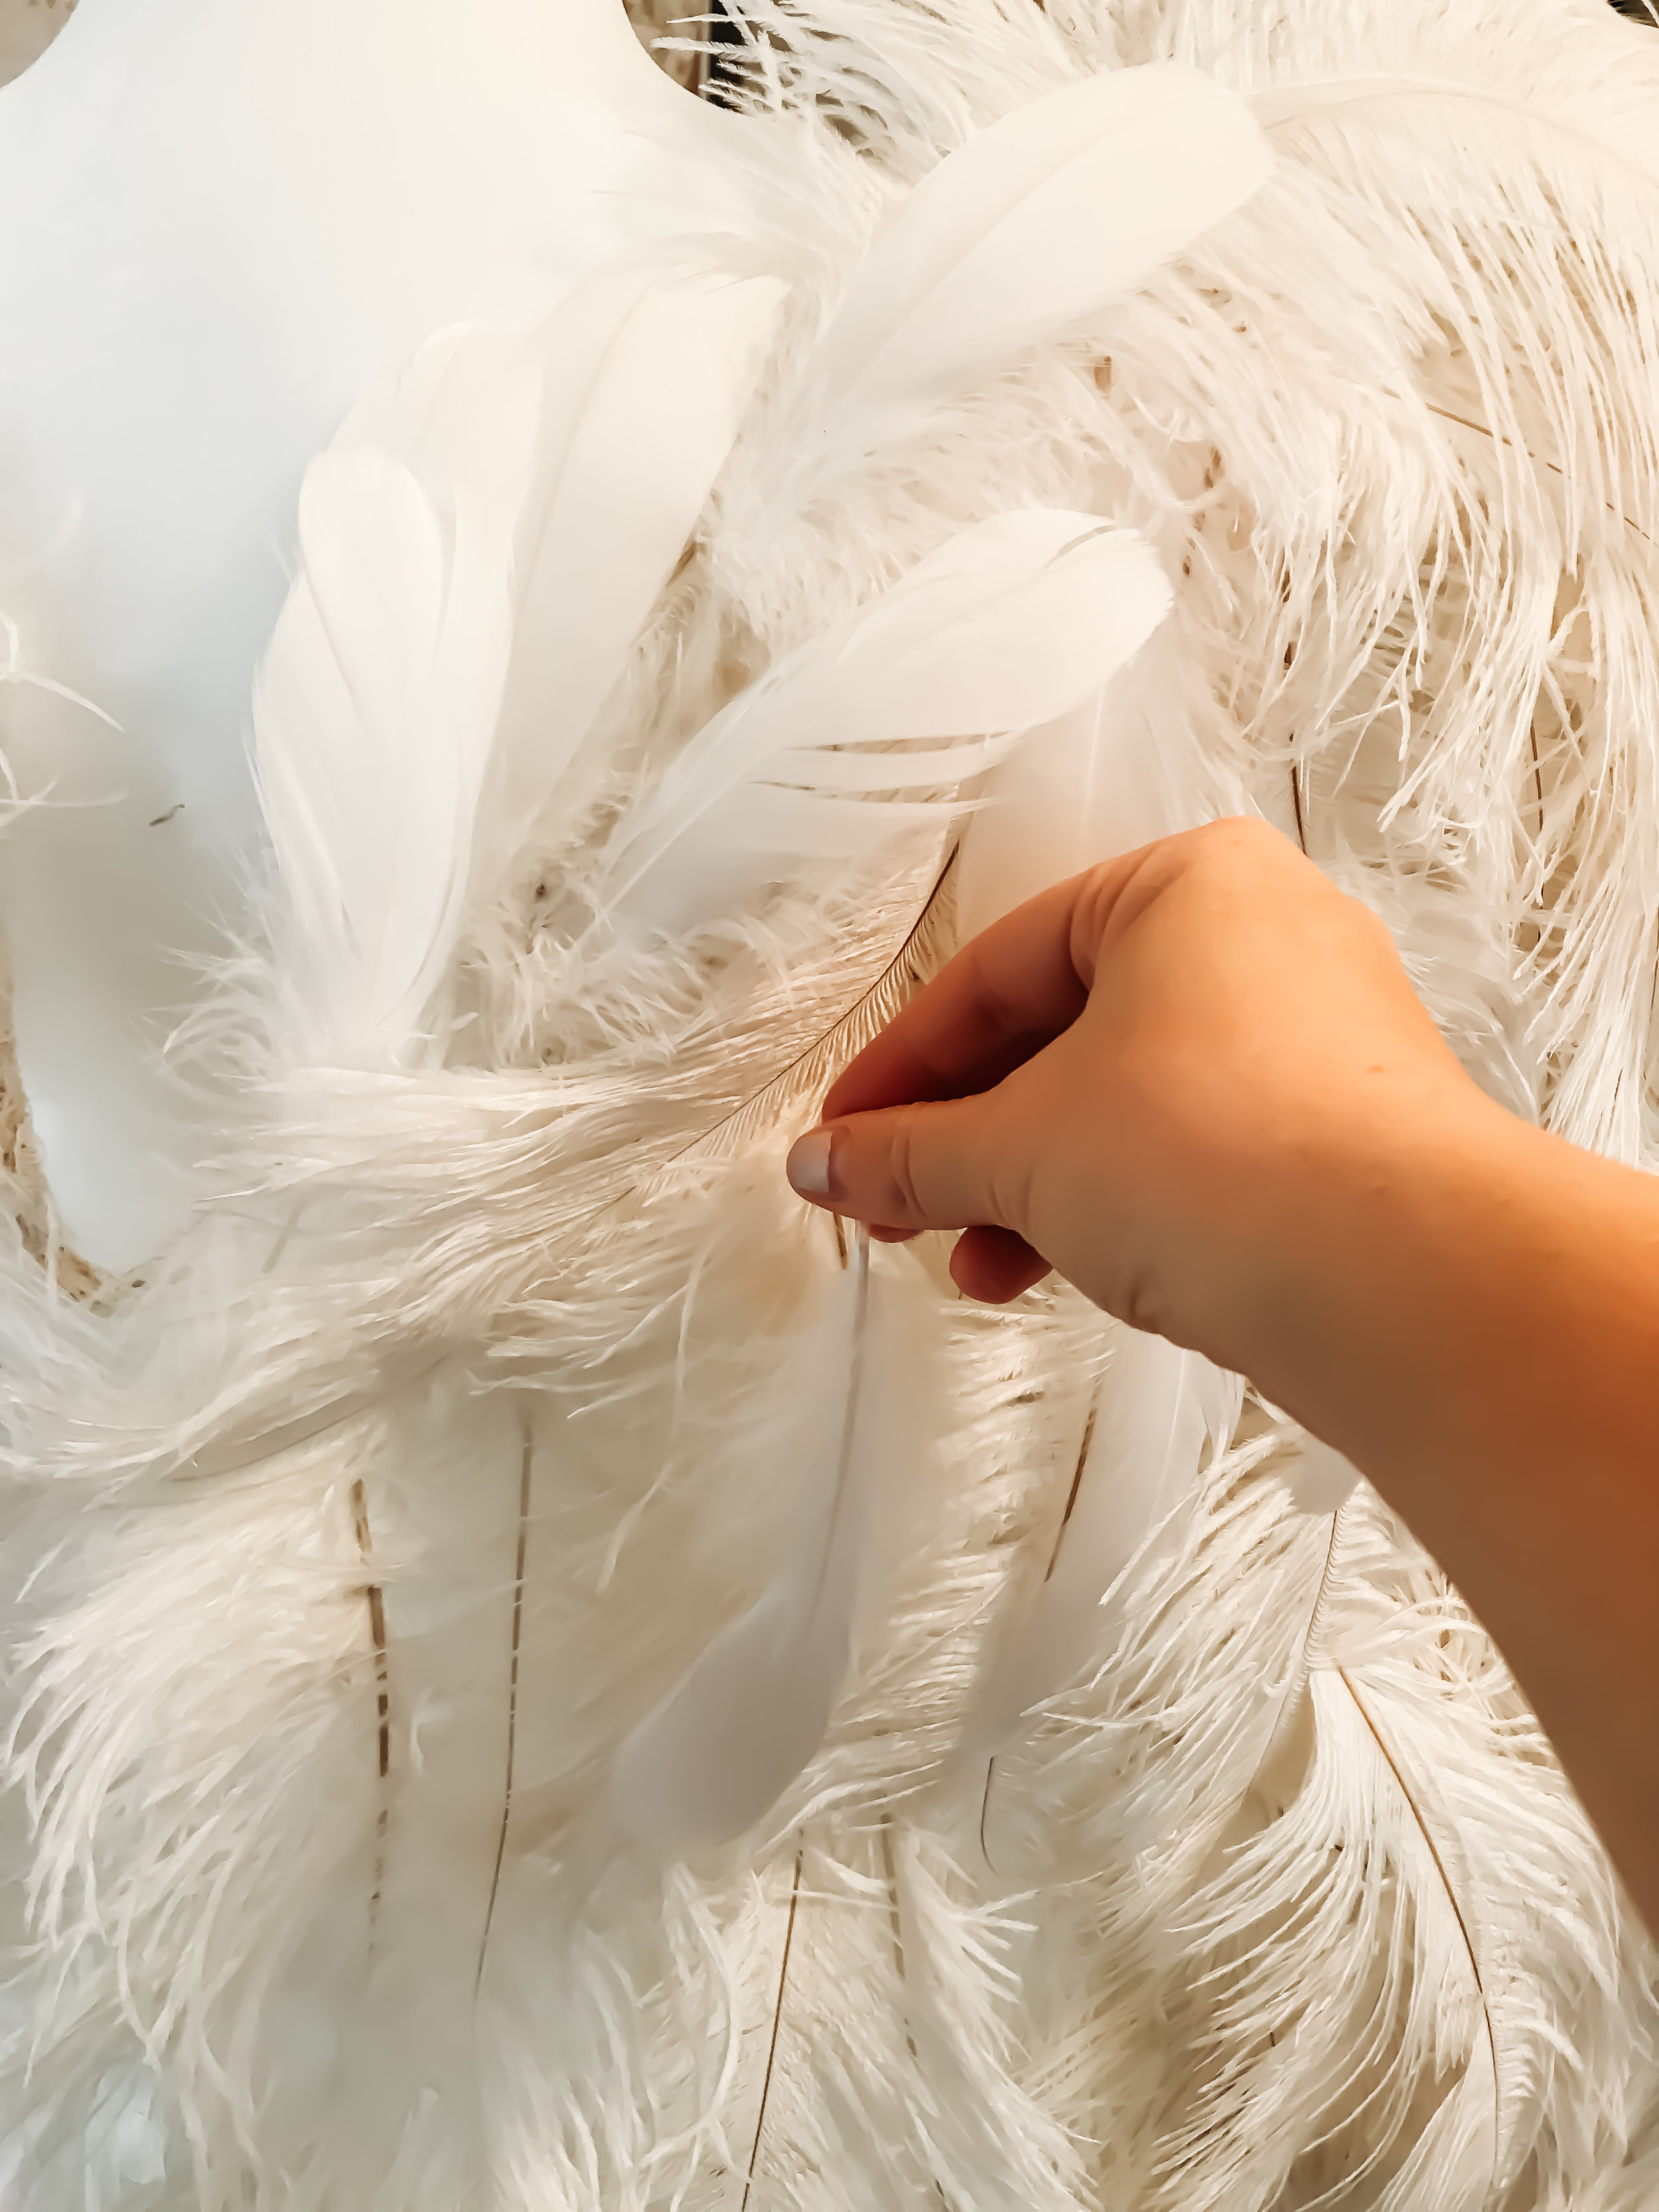
- Hot glue the long lace. Tip- Use a spatula or another tool so you don’t have to use your fingers! The glue will seep through the lace and it will burn your fingers (like mine in the pic below. Womp womp…)
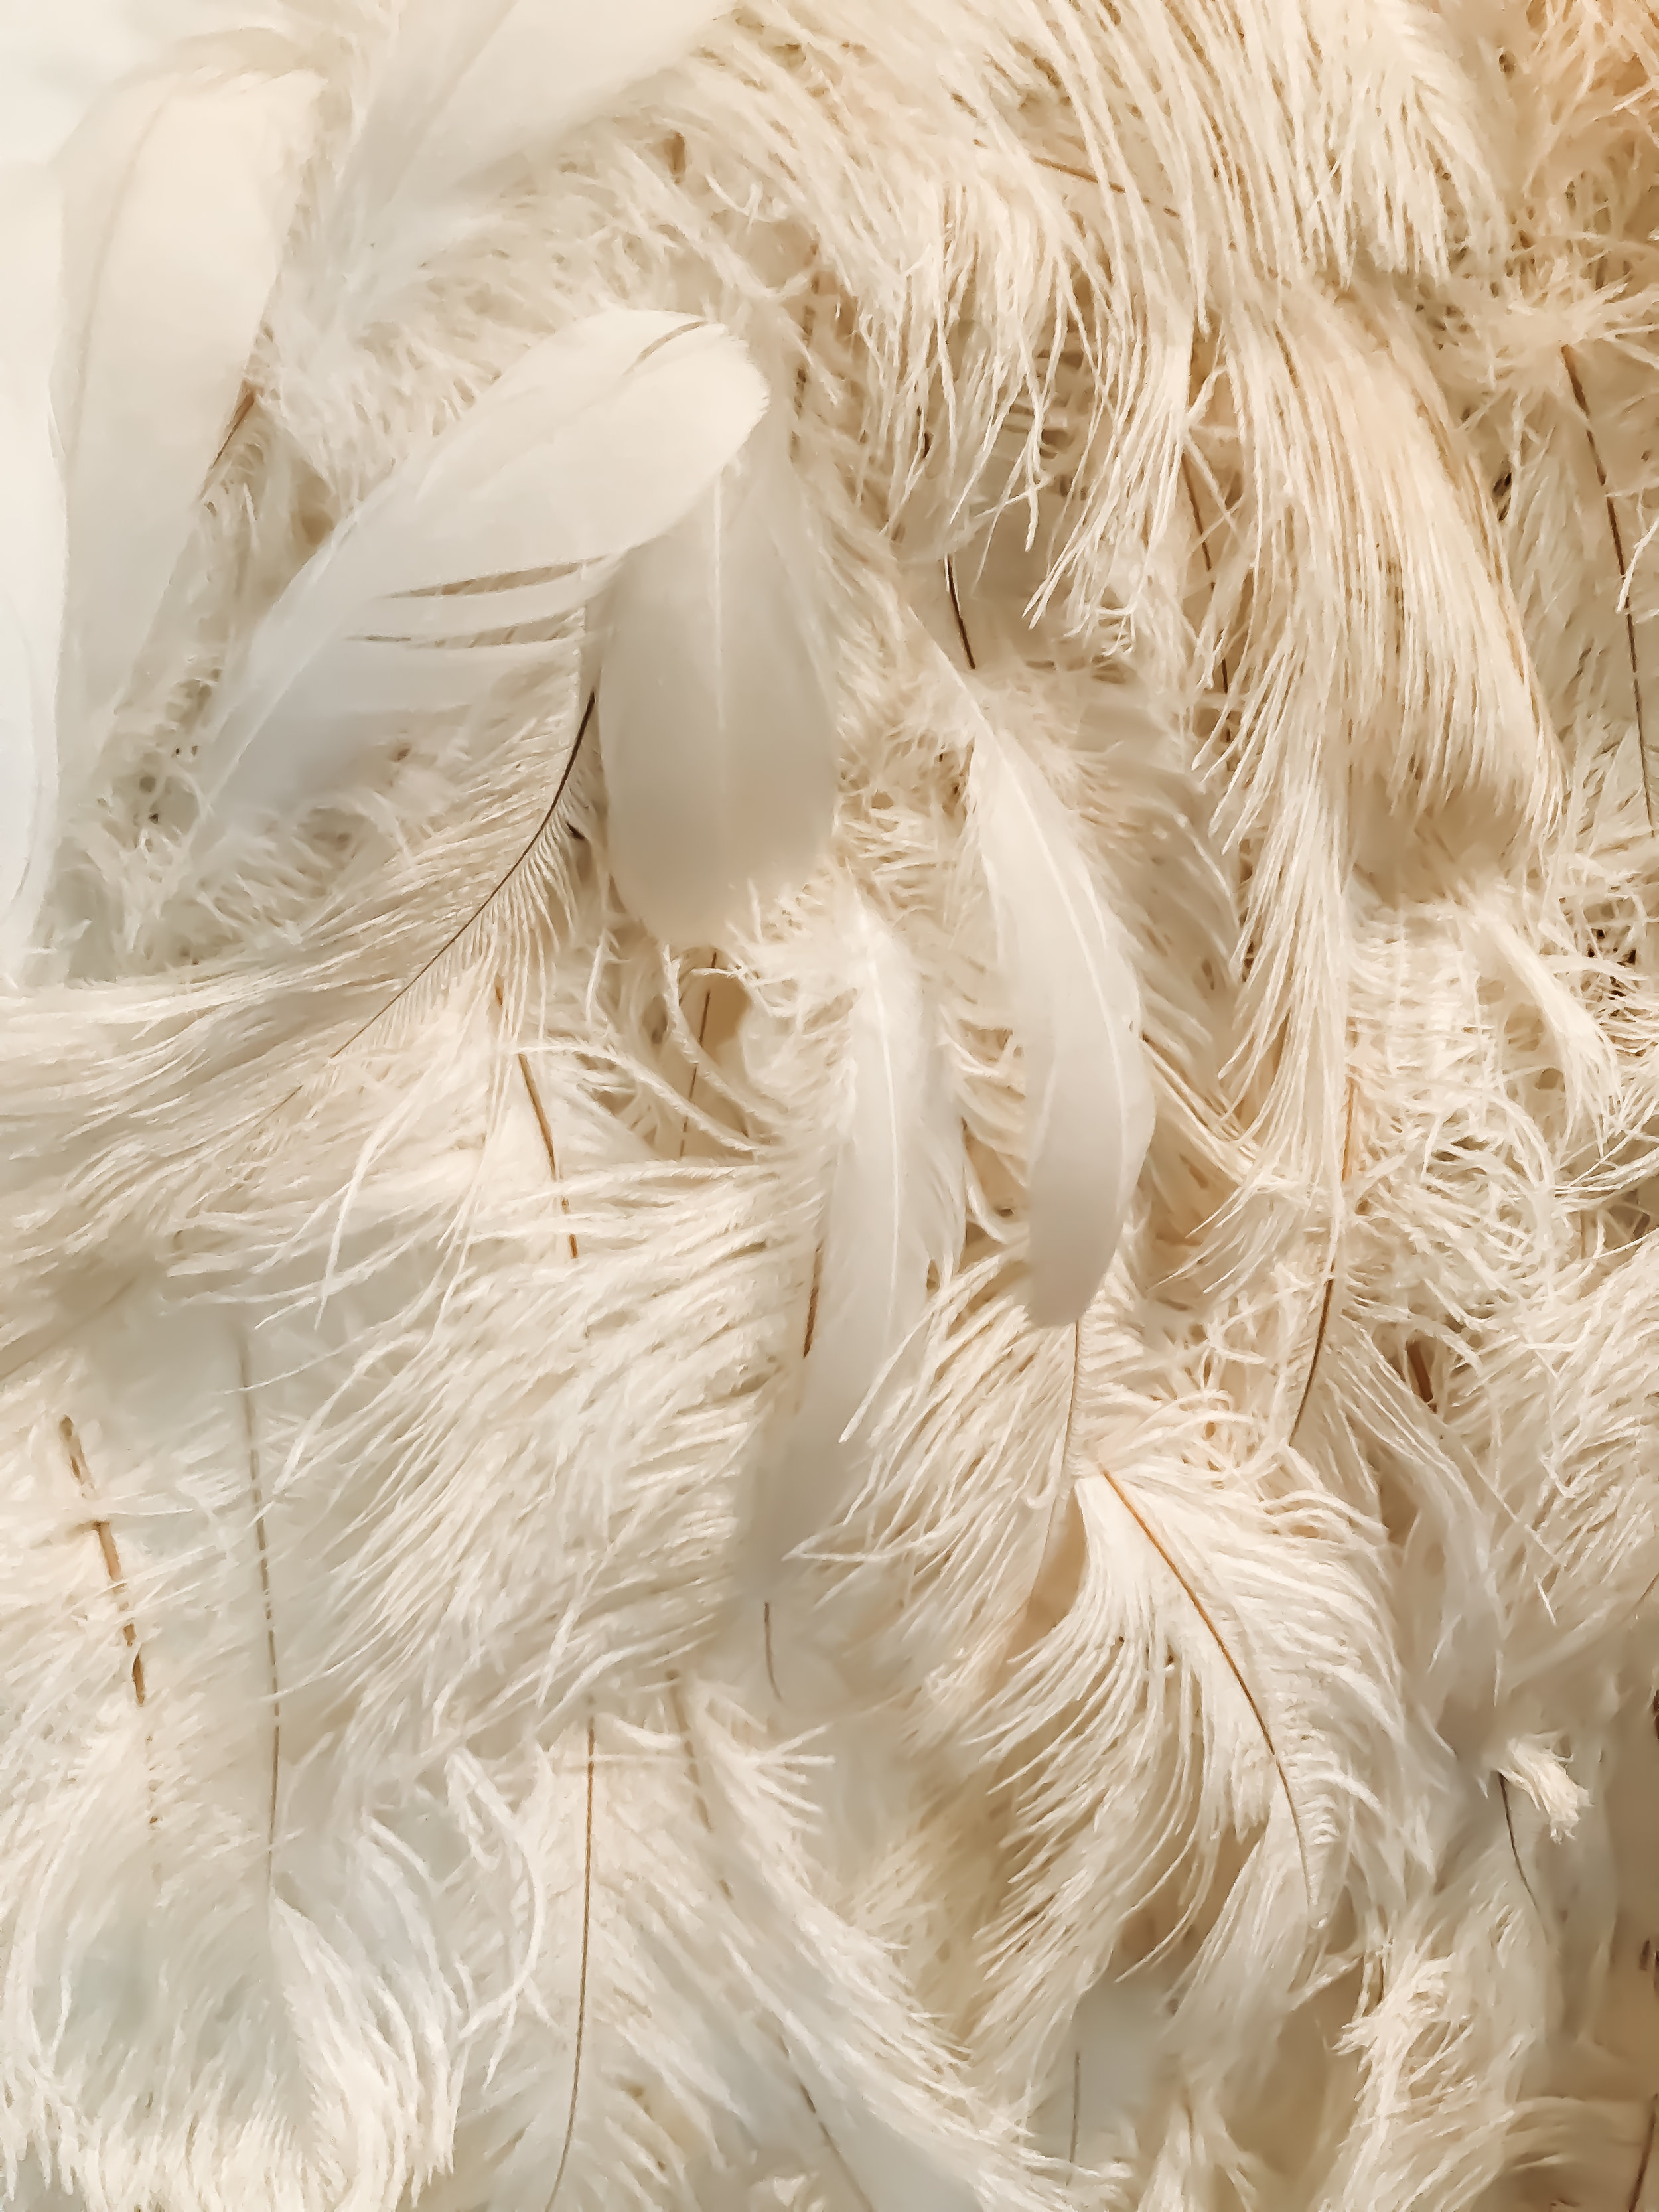
- Once the lace is set, lay out the feathers to make sure you have enough. I used a total of 100 10-12 inch ostrich feathers, which covered both wings, on one side. If you want it on both sides and want the wings to be longer than mine, then get double what I bought. I also used 400 goose feathers for the front side and to fill in the ostrich side as well as to cover up the bones of the ostrich. (The ostrich feathers had kind of an ugly brown color to them.) I secured all the feathers with a glue gun.
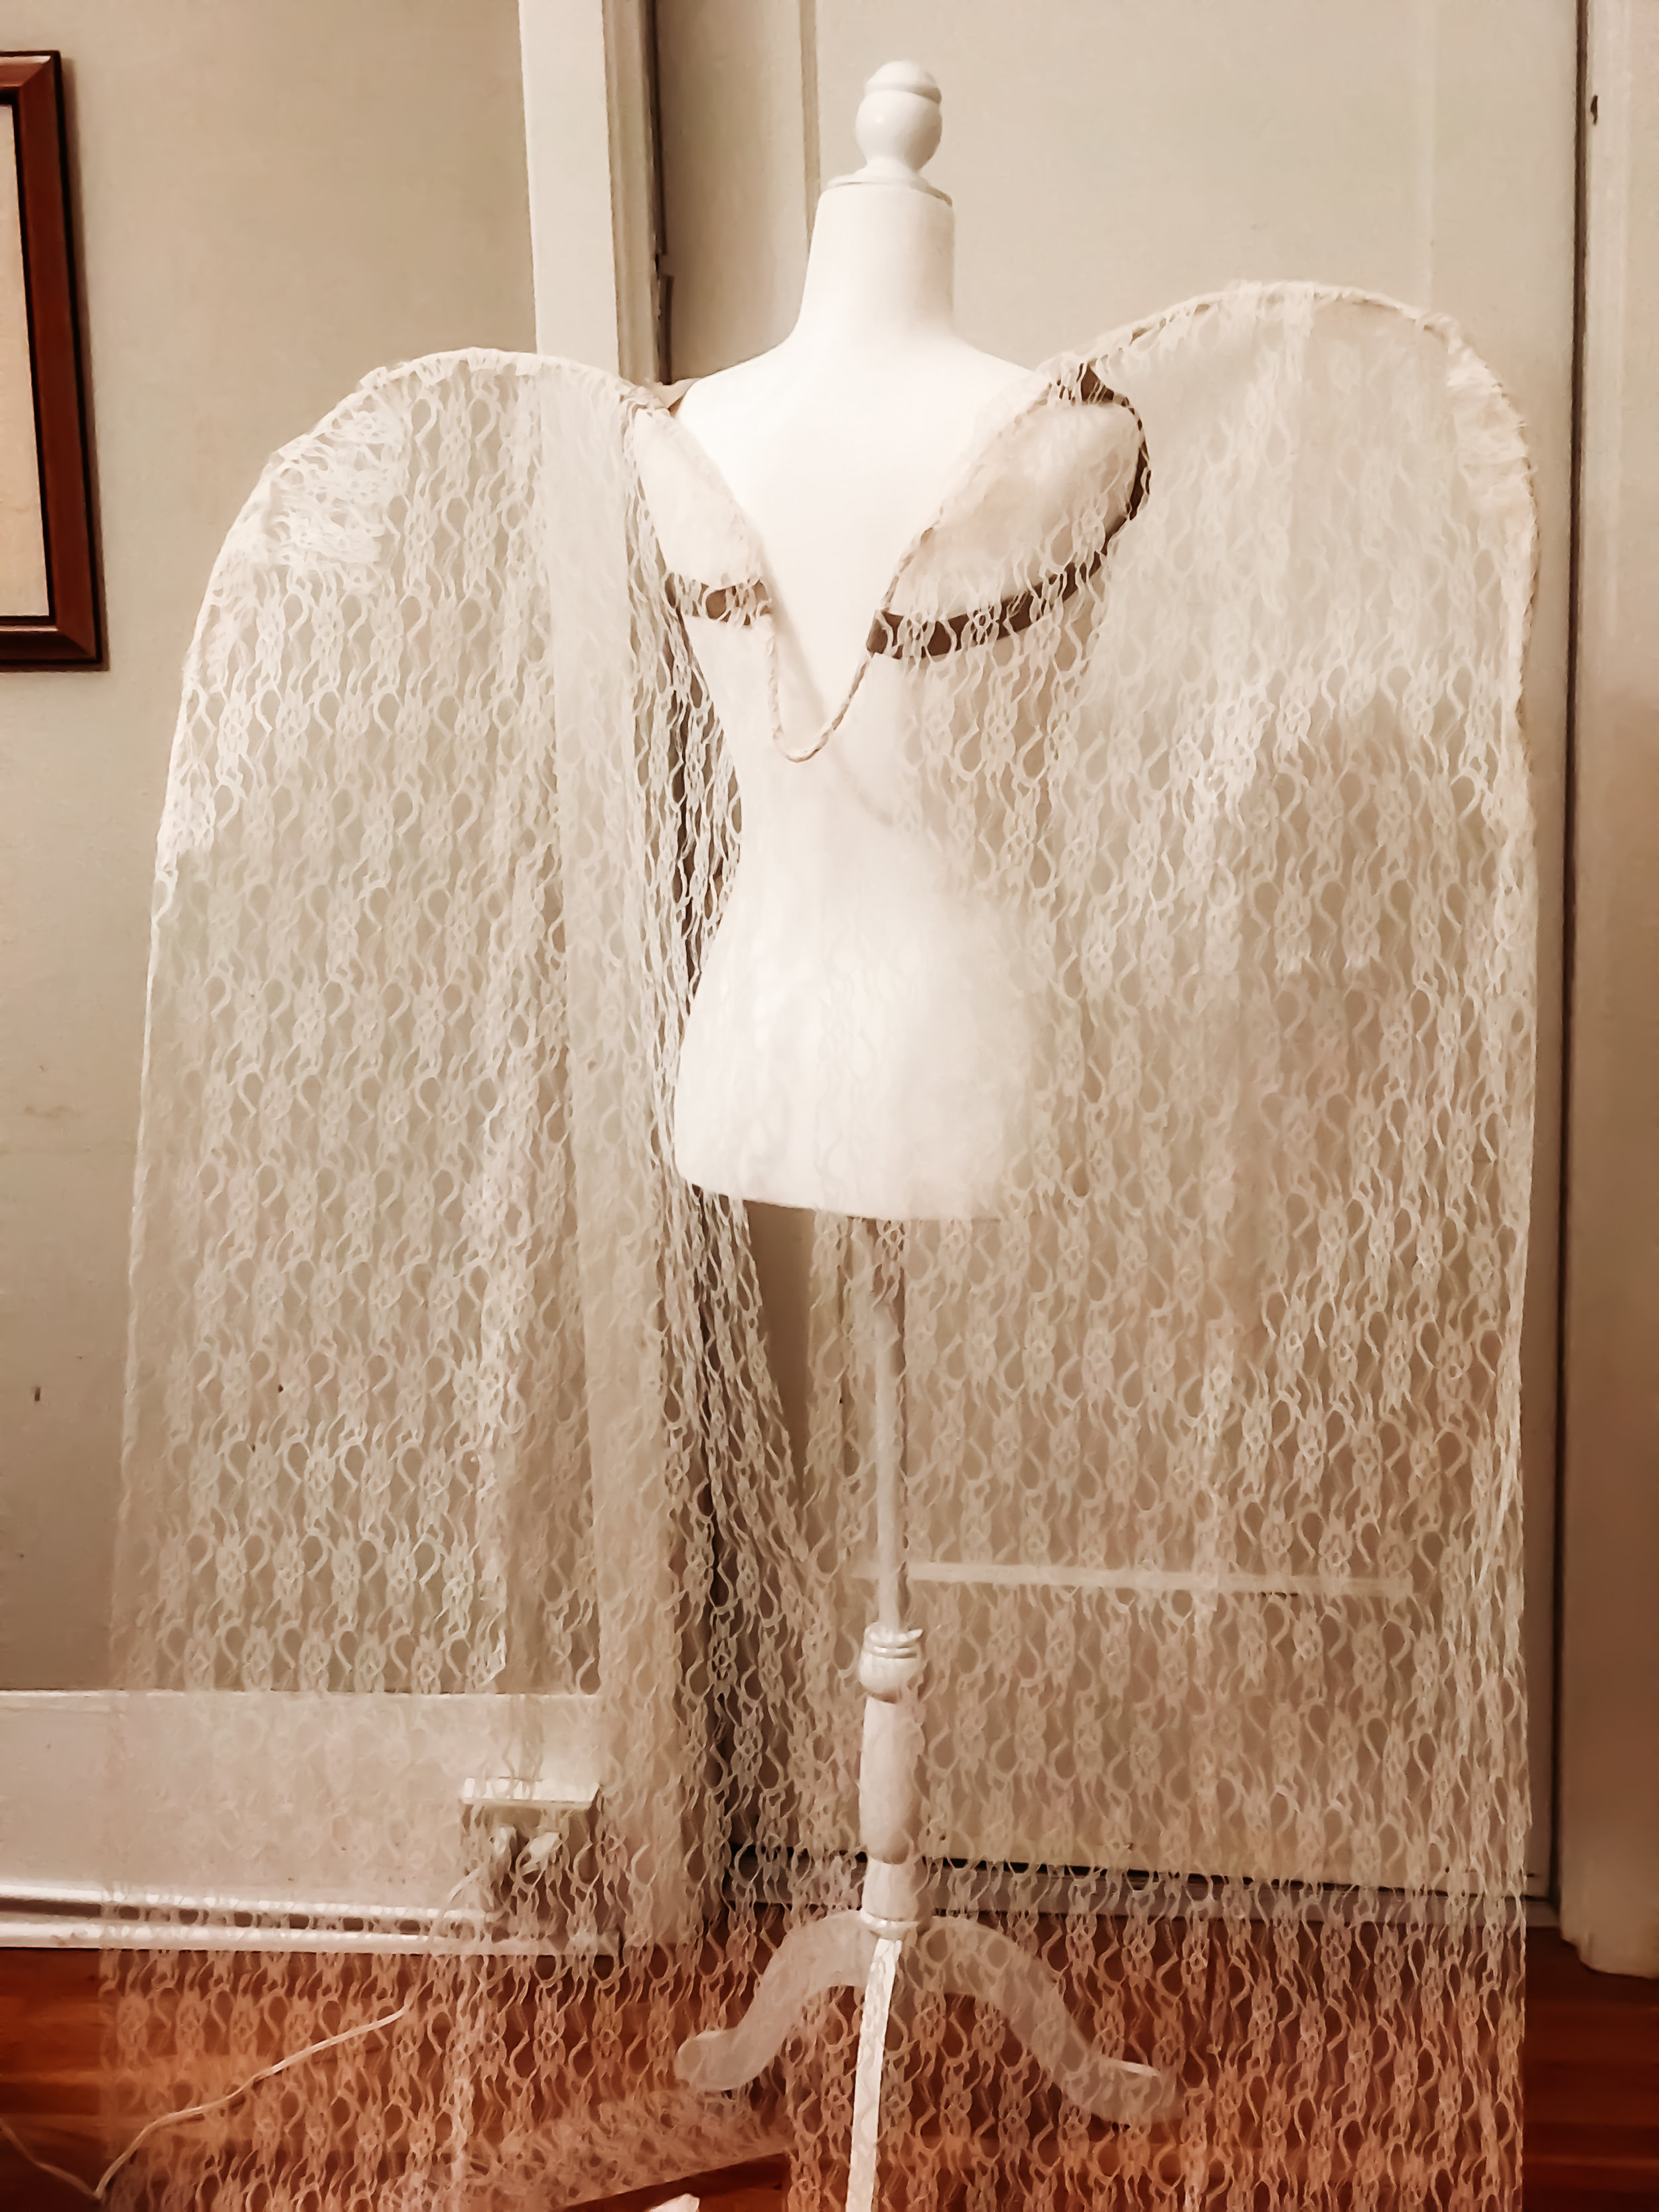
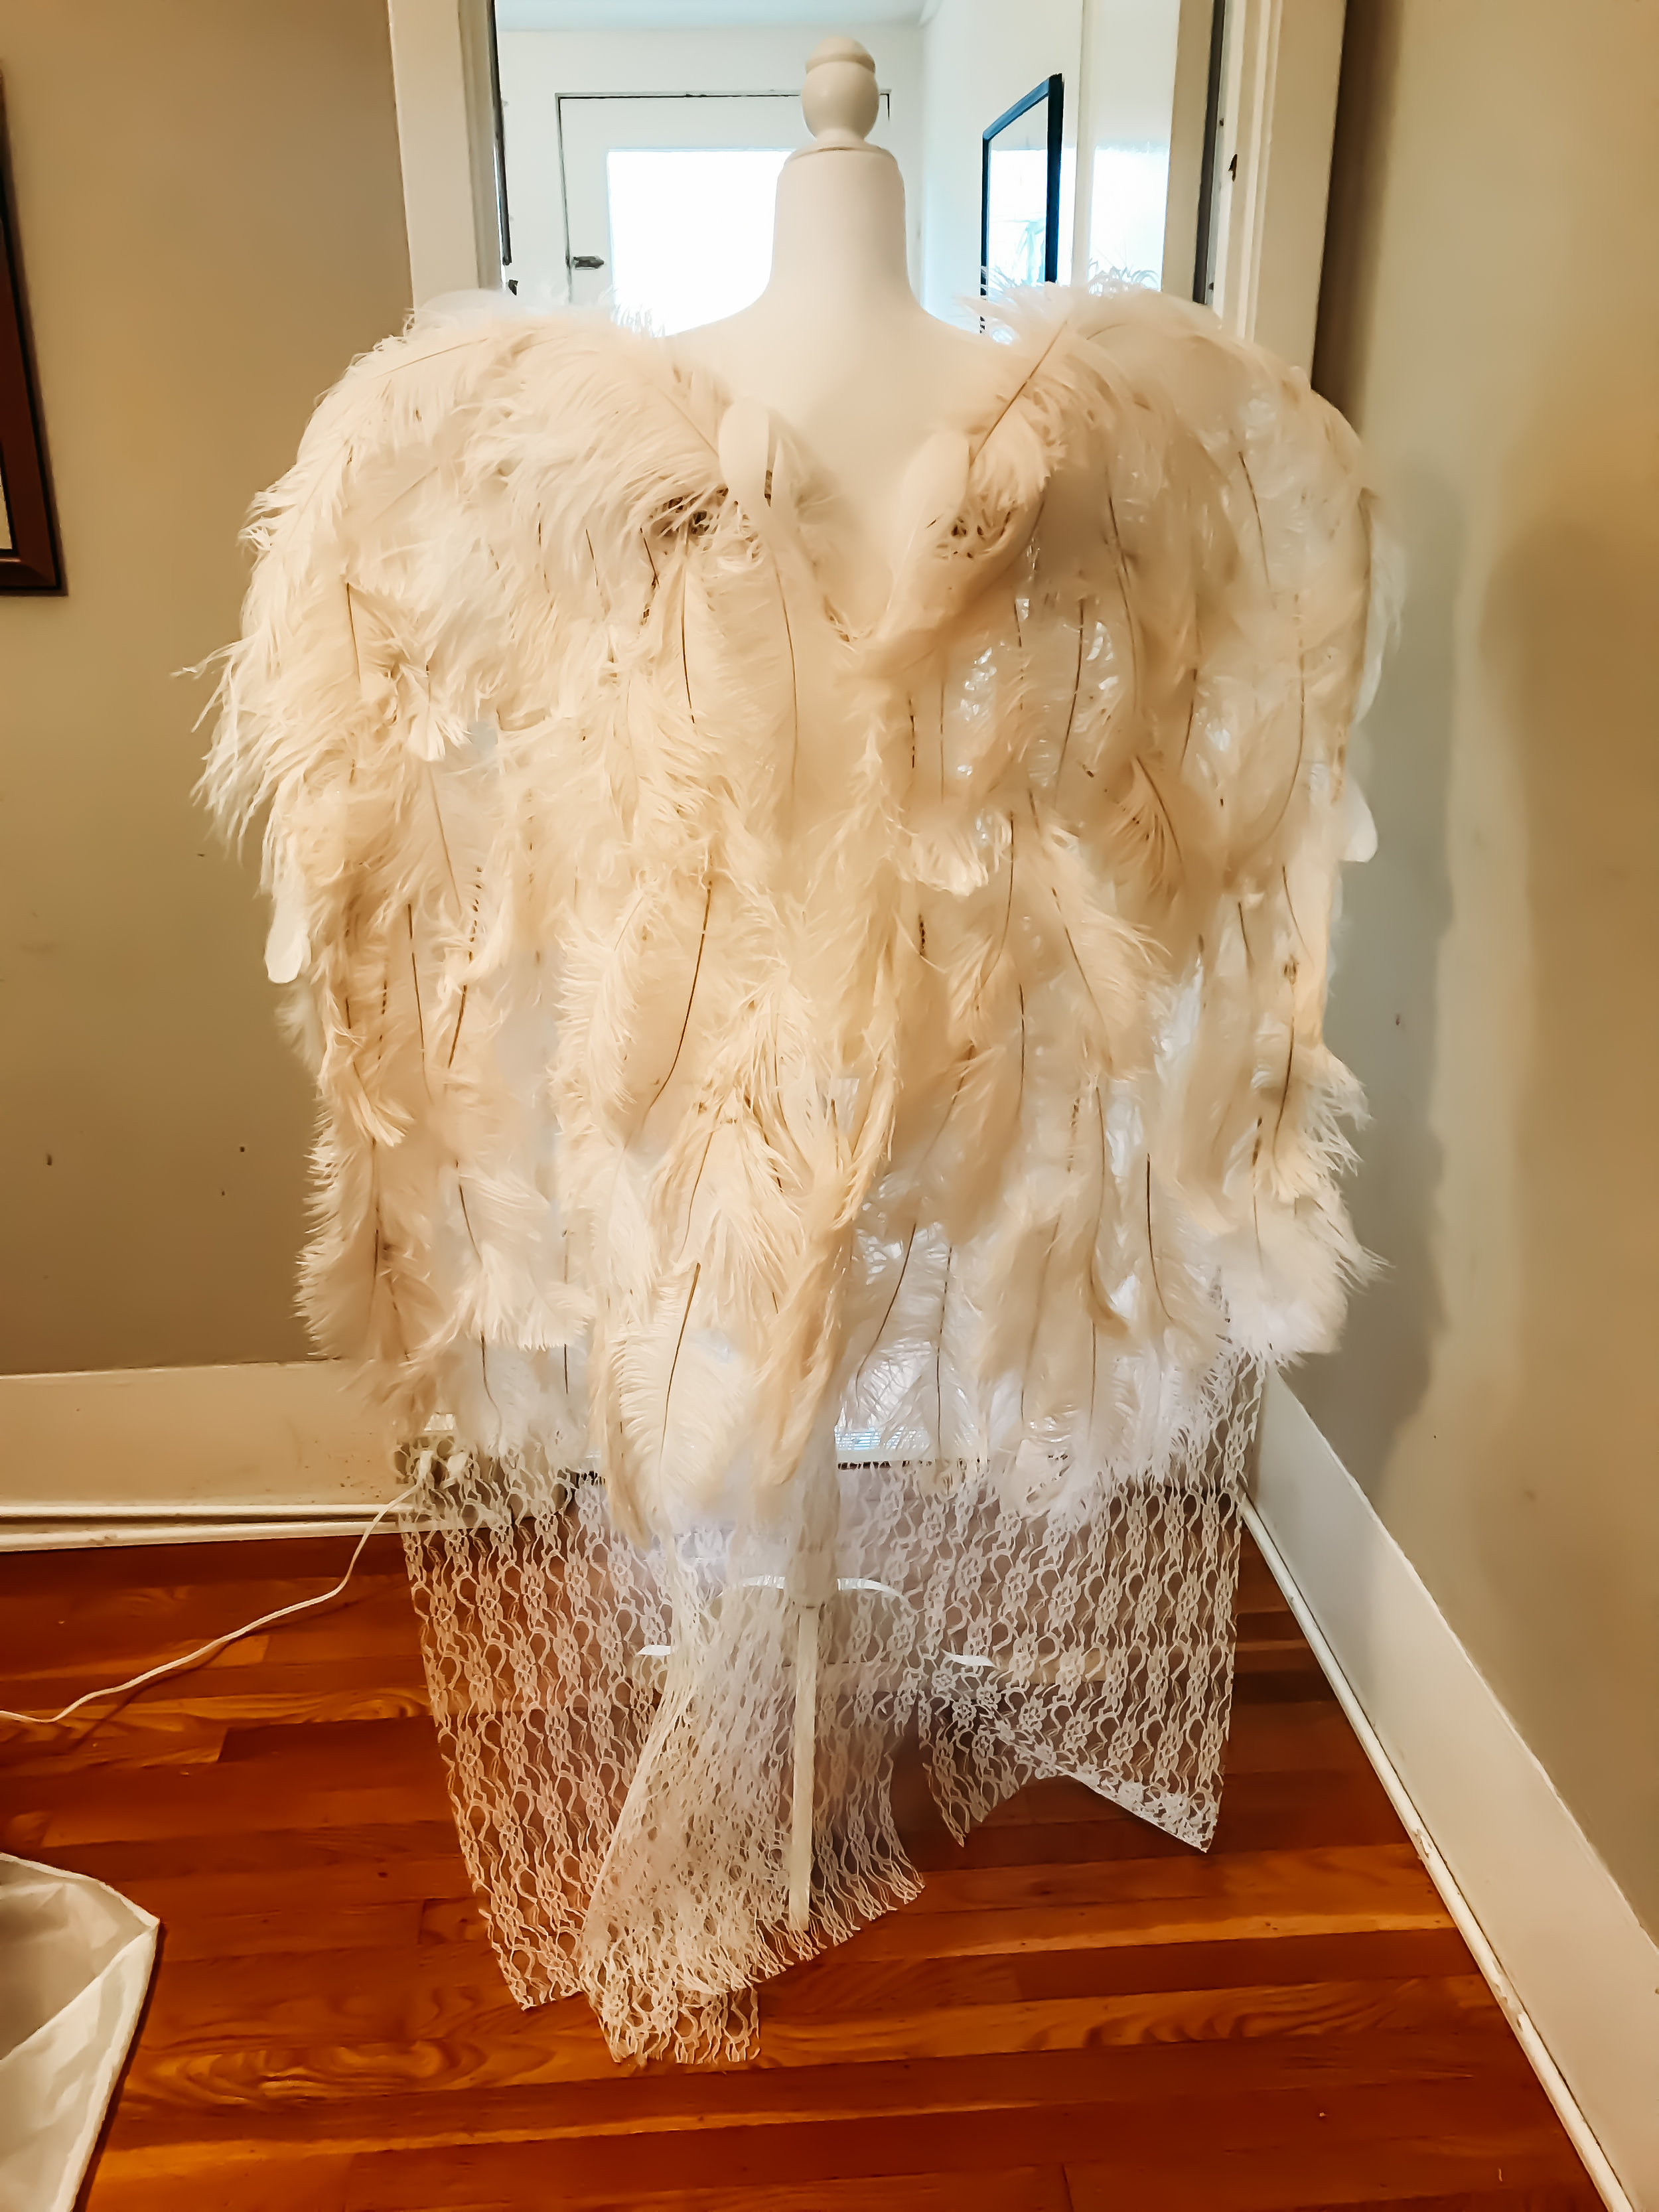
- The hard part is done! Good job! After covering the entire lace with the feathers, I shaped the wings so there was an opening where the butt will be seen (hello, butt cheeks!) with a glue gun.
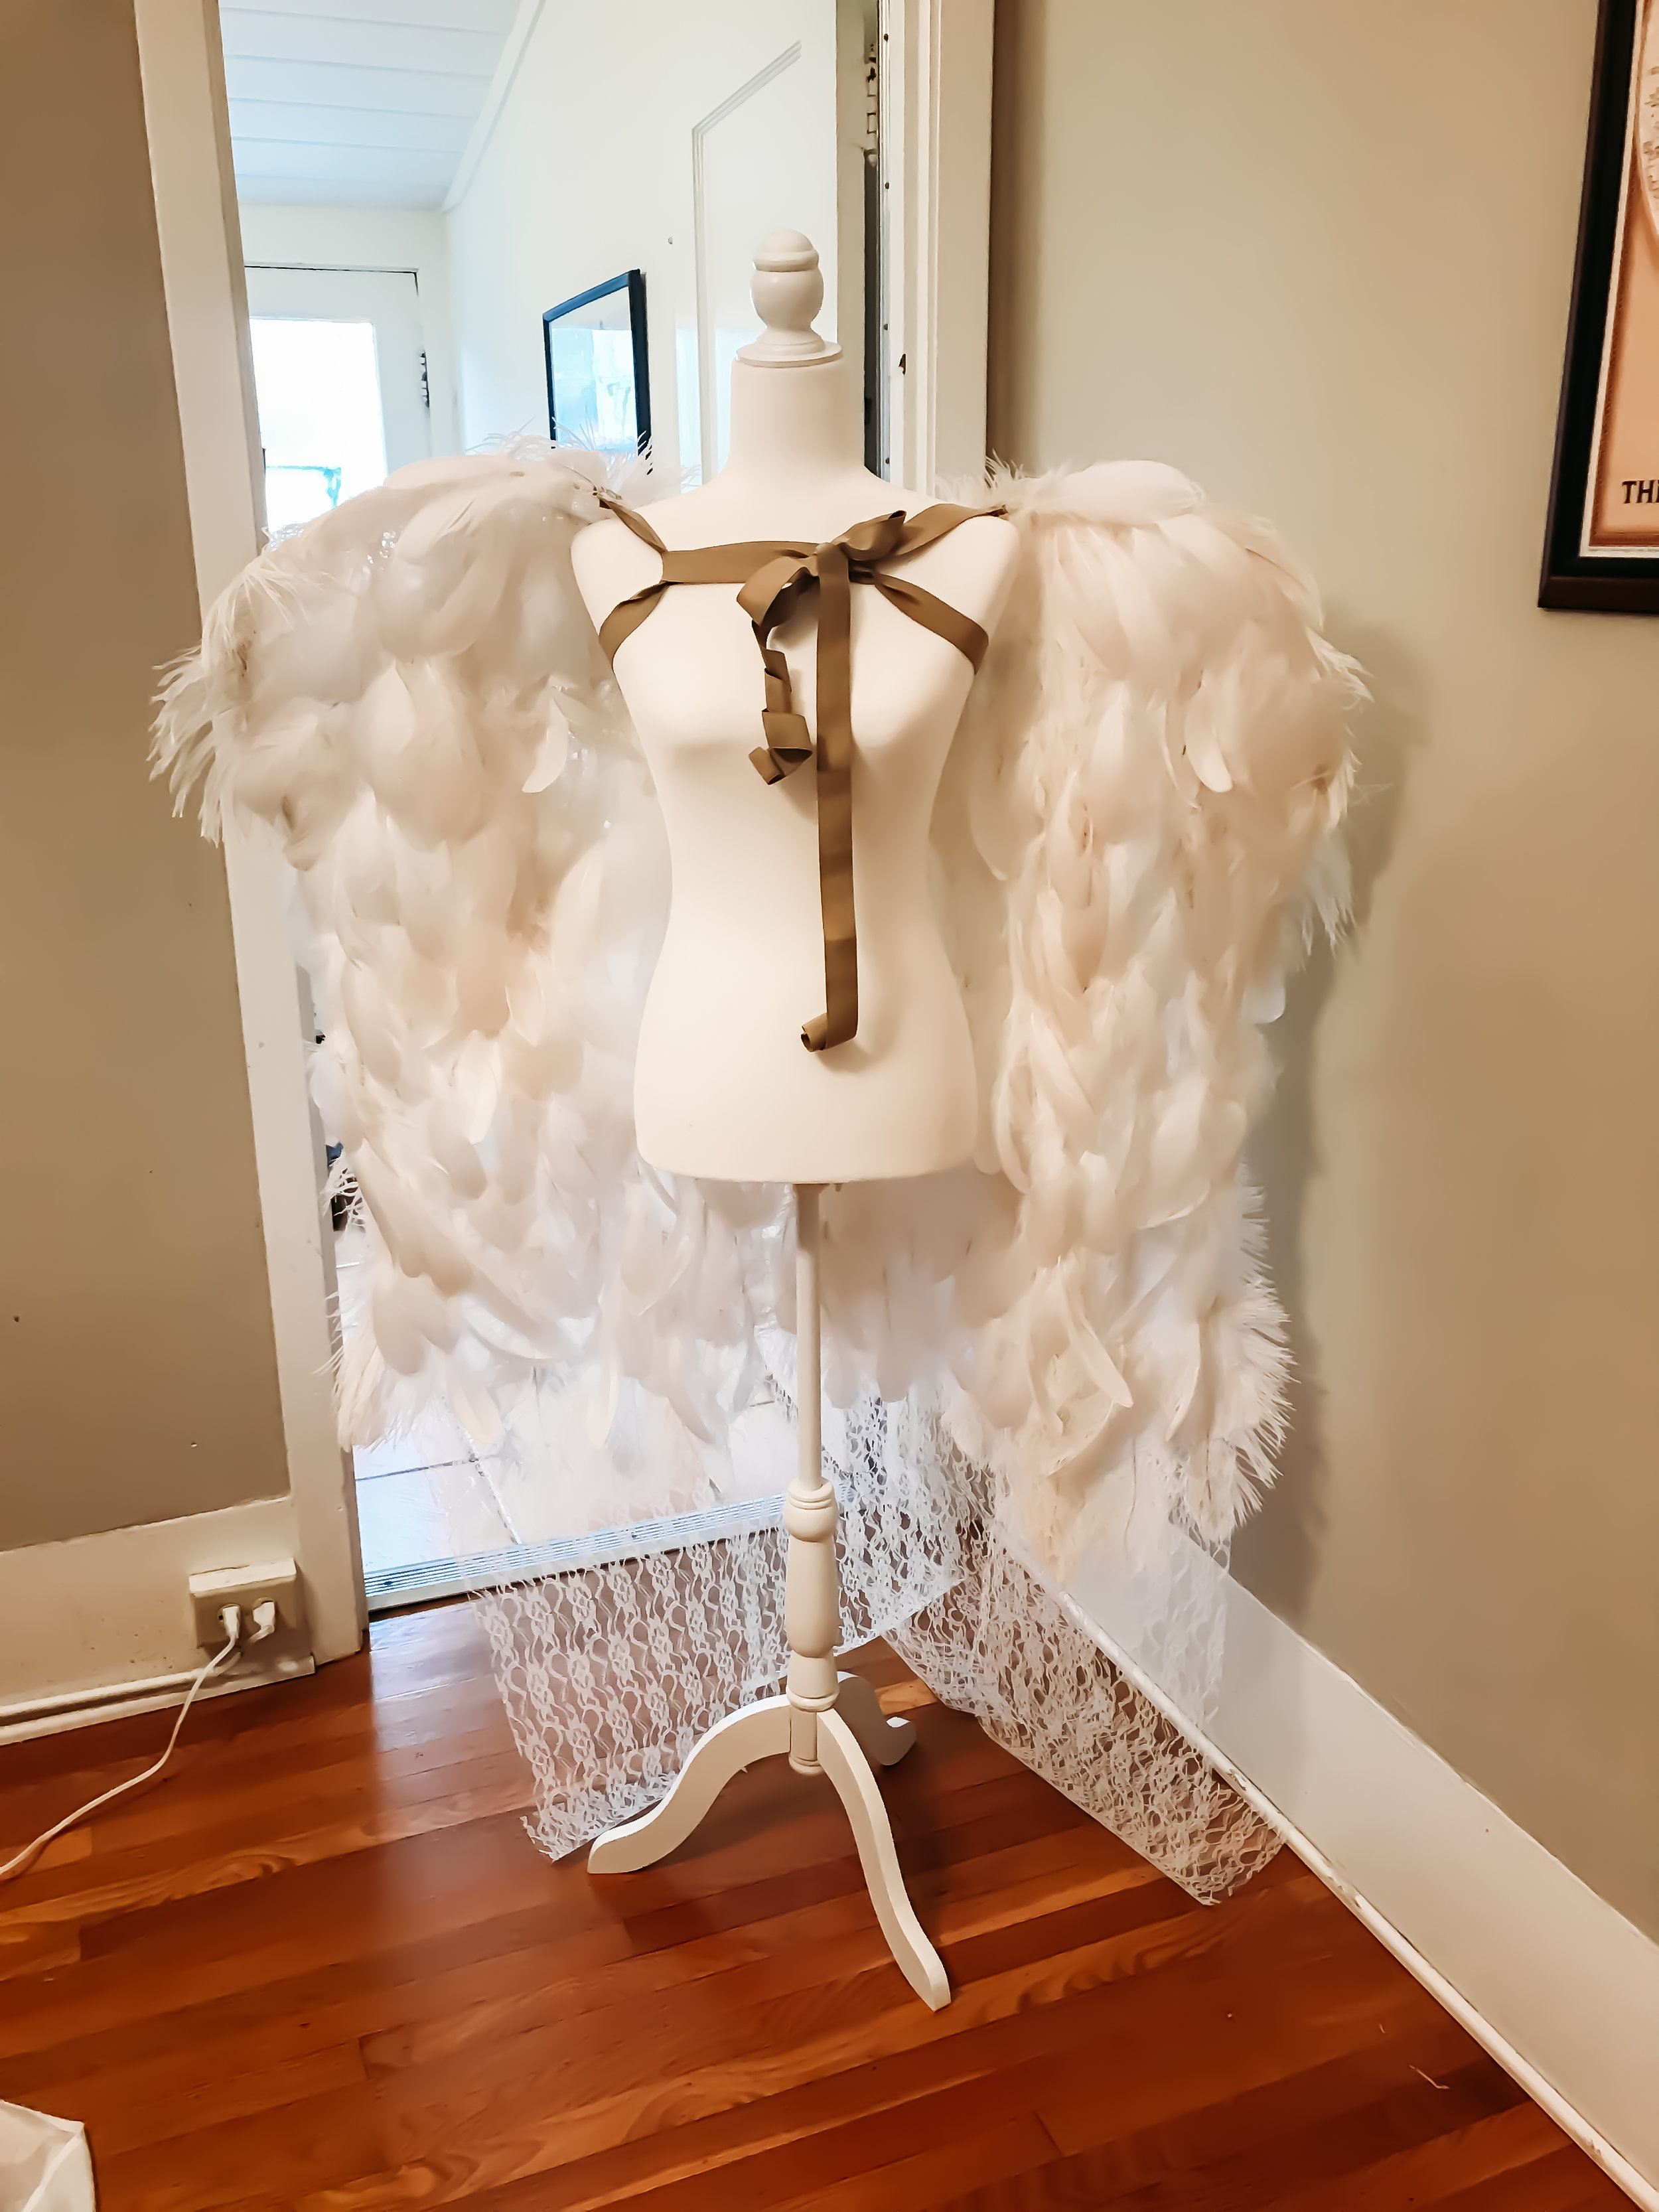
- Once that was done, I covered the elastic portion with lace. You could leave it as is, but I like the look of the lace better than the elastic. I also added a lace embroidery because I think it will be HOT on a naked body covering just the right places. I kept it detachable so it could be used with or without it though.
There you have it!
I hope this inspires you to make your own! If this is too much work and time for you, I totally get it! I added this item to my Etsy shop, if you want me to do all the work for you! (Yup, it’s a bit expensive, but it seriously takes quite a bit of time and effort.) I will be happy to make it in any color or shape you want. Just DM me!
When you make yours, send me pics of your wings, and I will feature it on my VIP Boudoir Facebook Group!
Are you a photographer? Do you want to hear more about how to build and grow your business? Check out these Photography business tips. Pure information to grow your business.
Disclosure: This post contains affiliate links, which means I may get a small commission at no additional cost to you. You will get the product for exactly how much it is sold in the marketplace. All opinions are of our own, and none were provided or influenced by the companies or individuals.
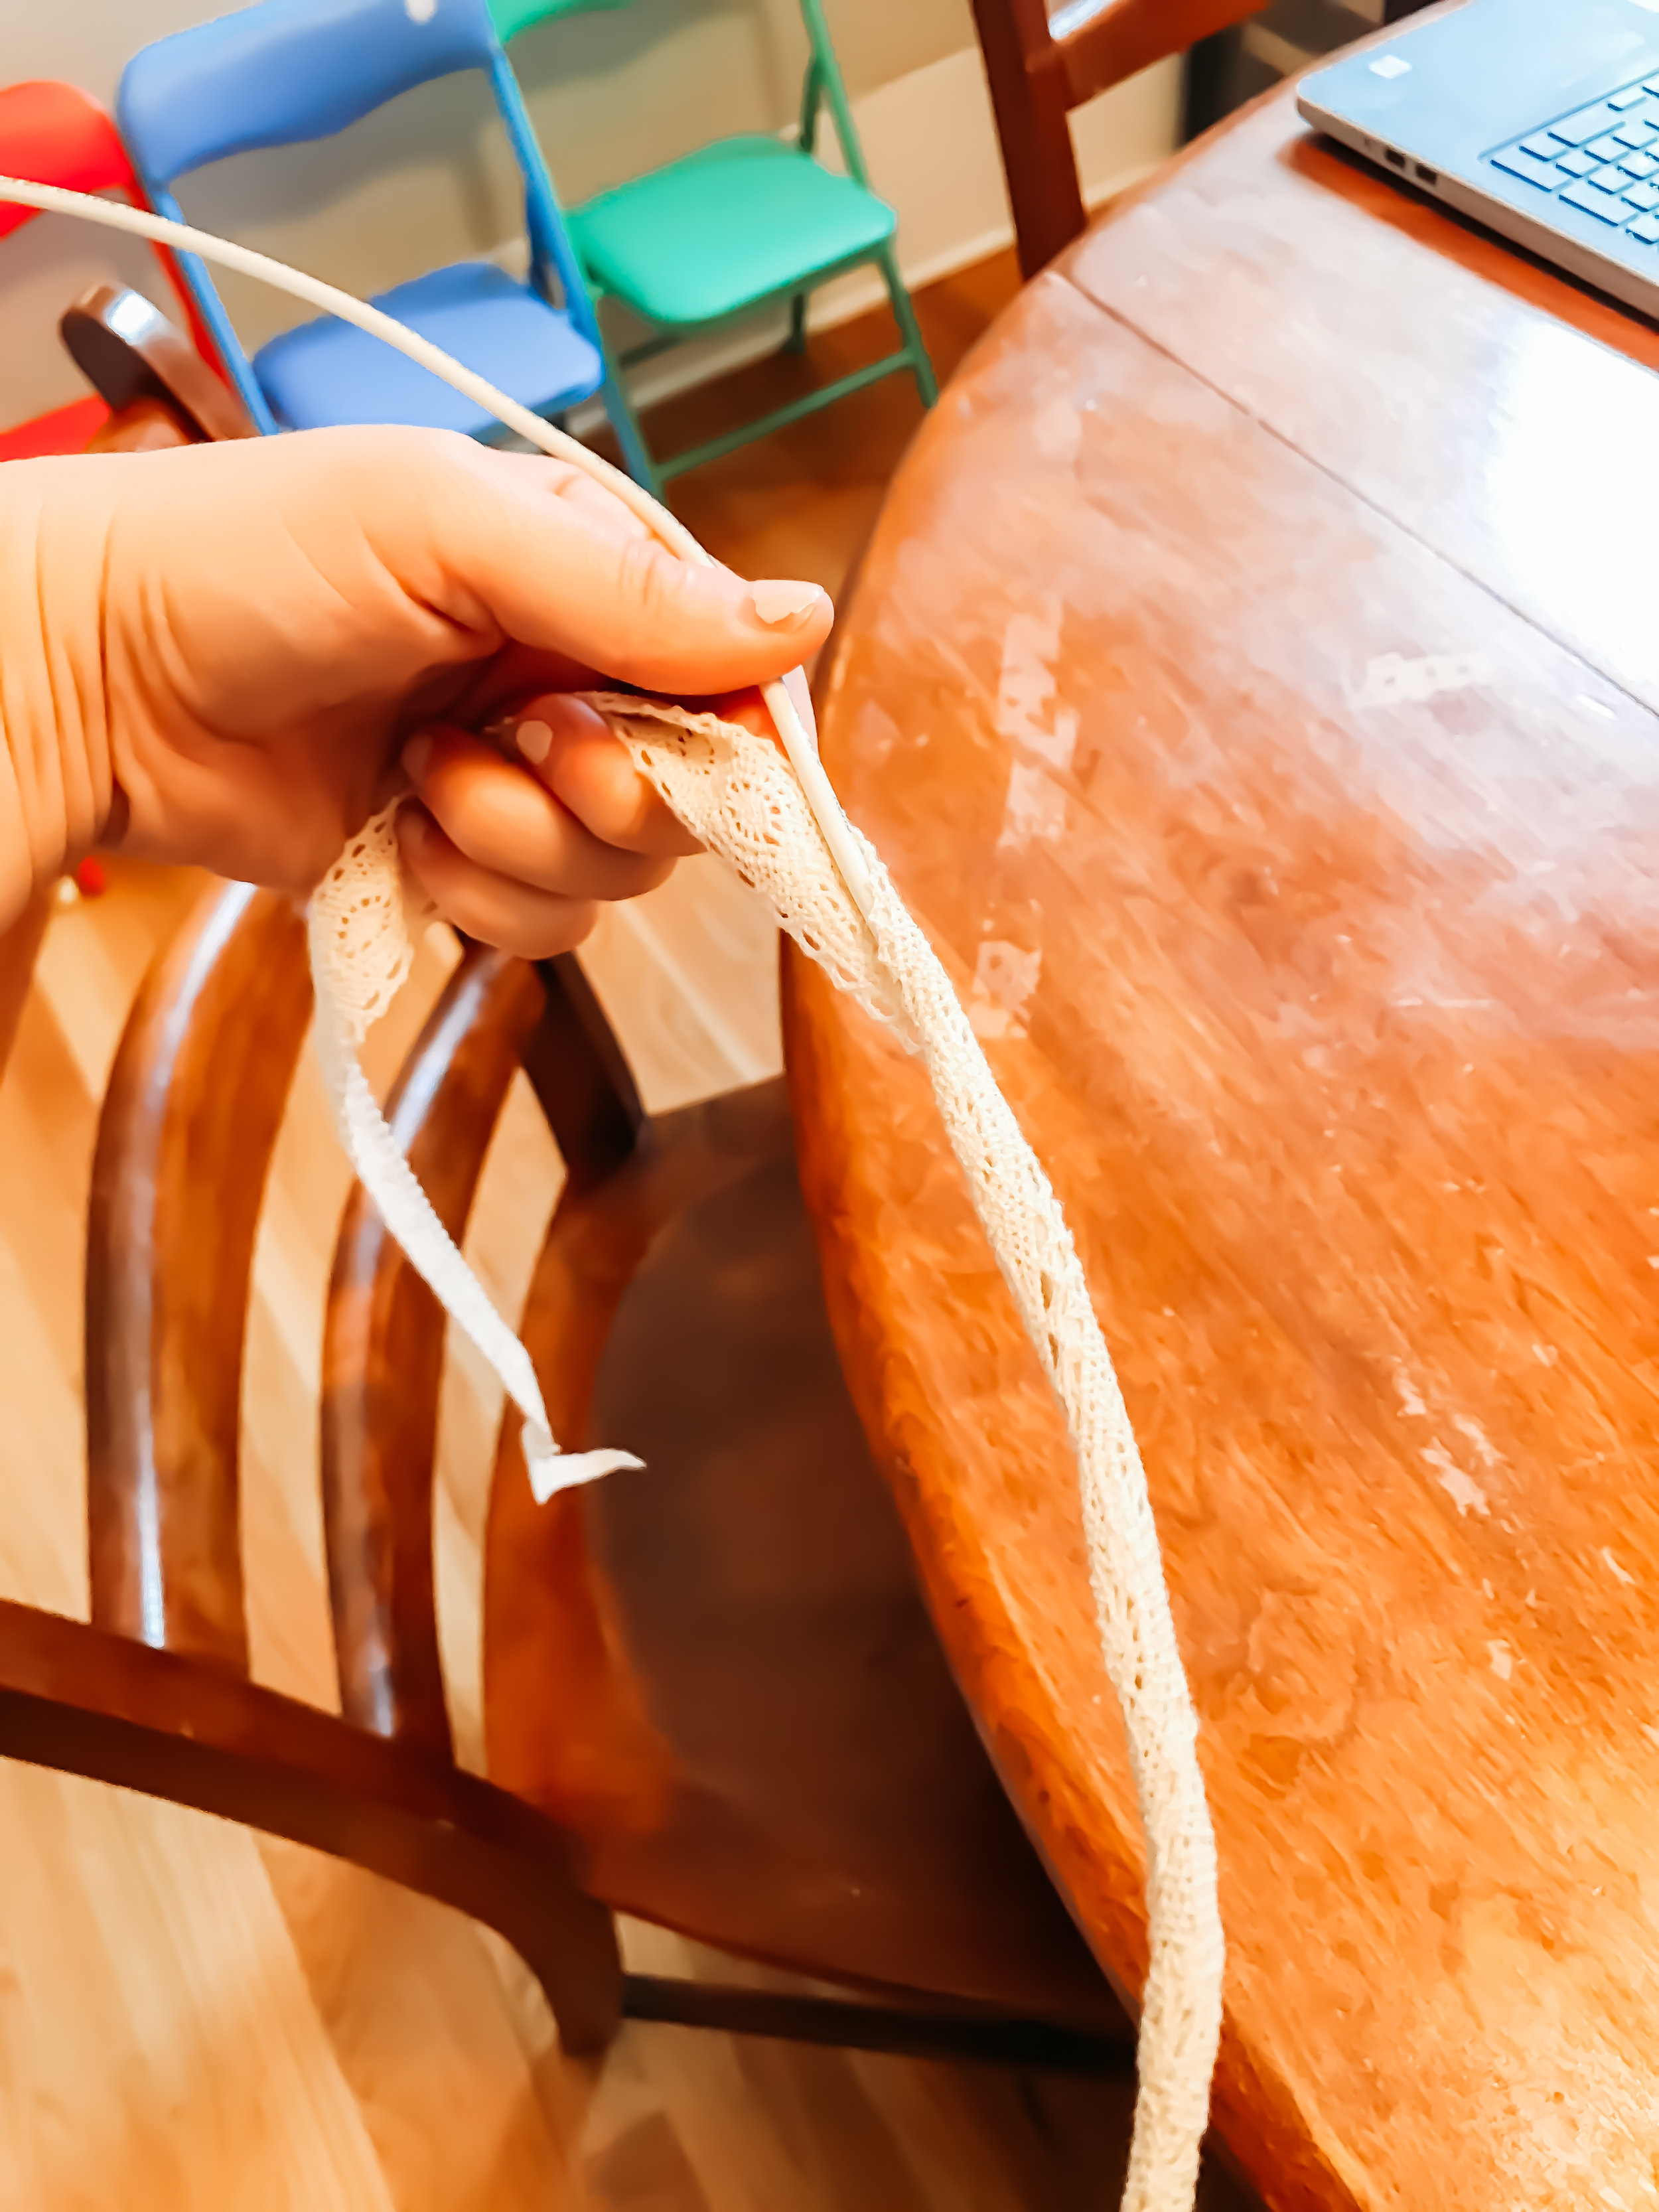
Wrap the wire with decorative lace.
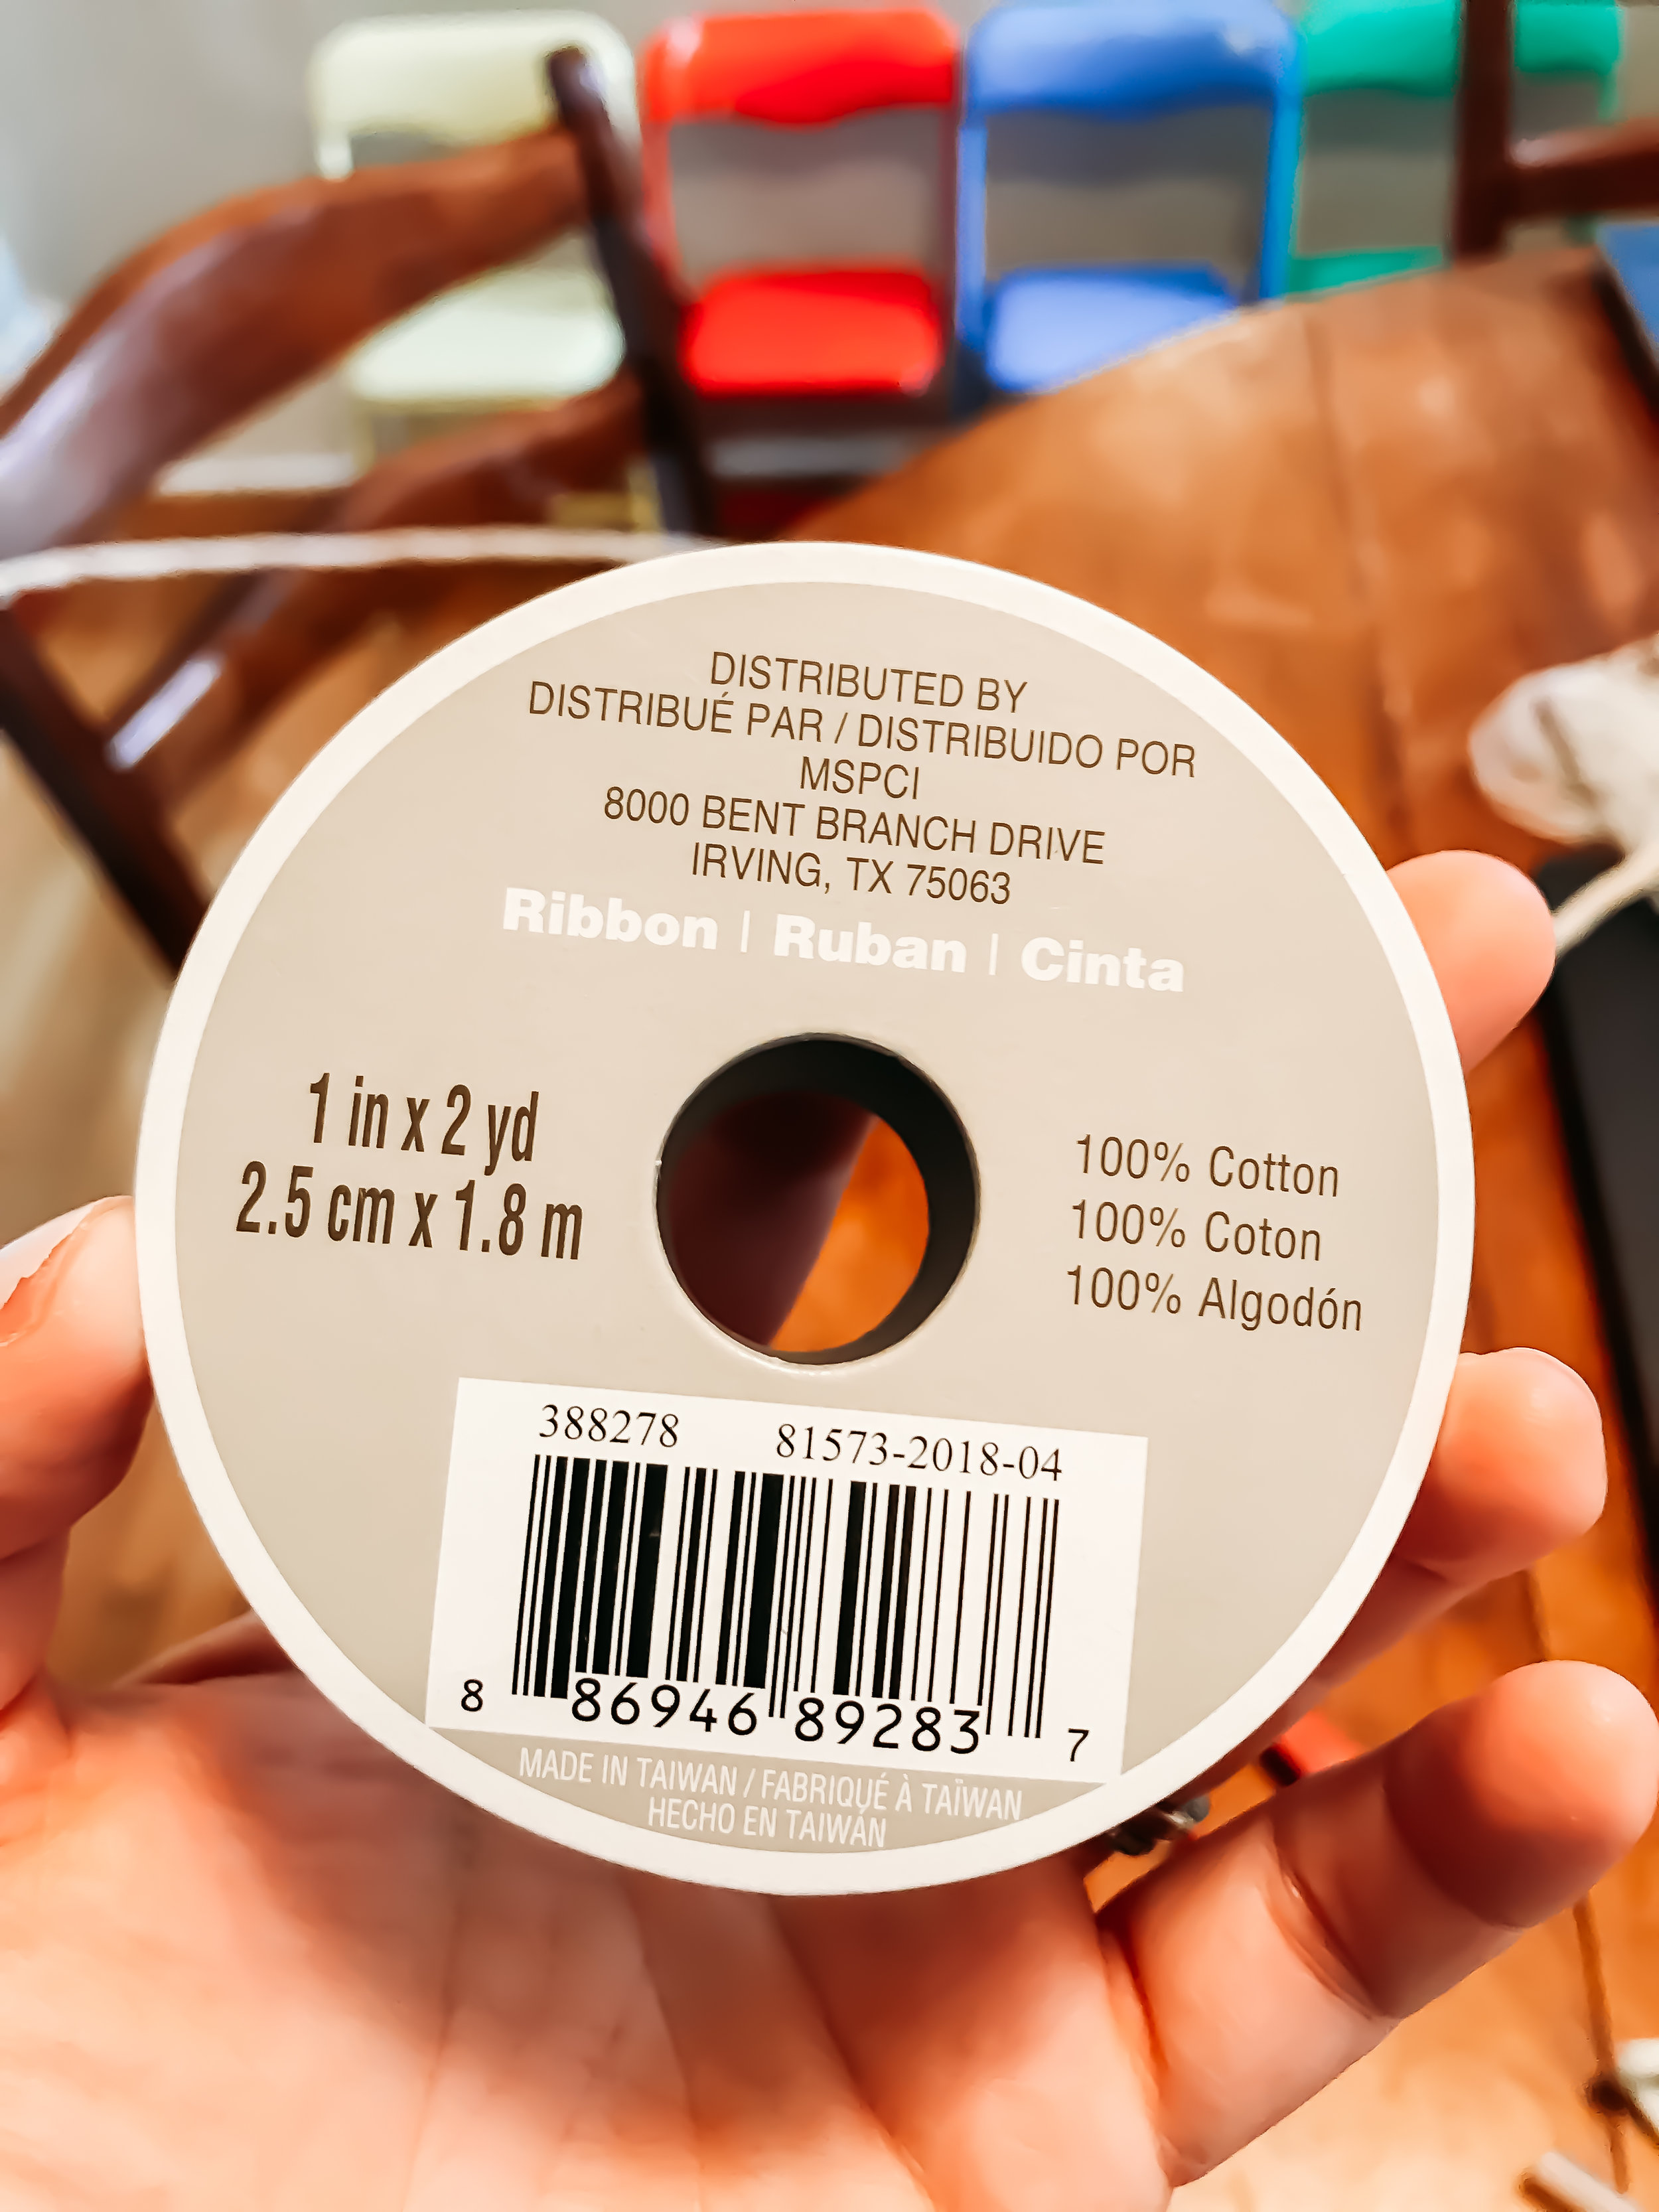
This is the ribbon that I chose to use – there are so many options though!
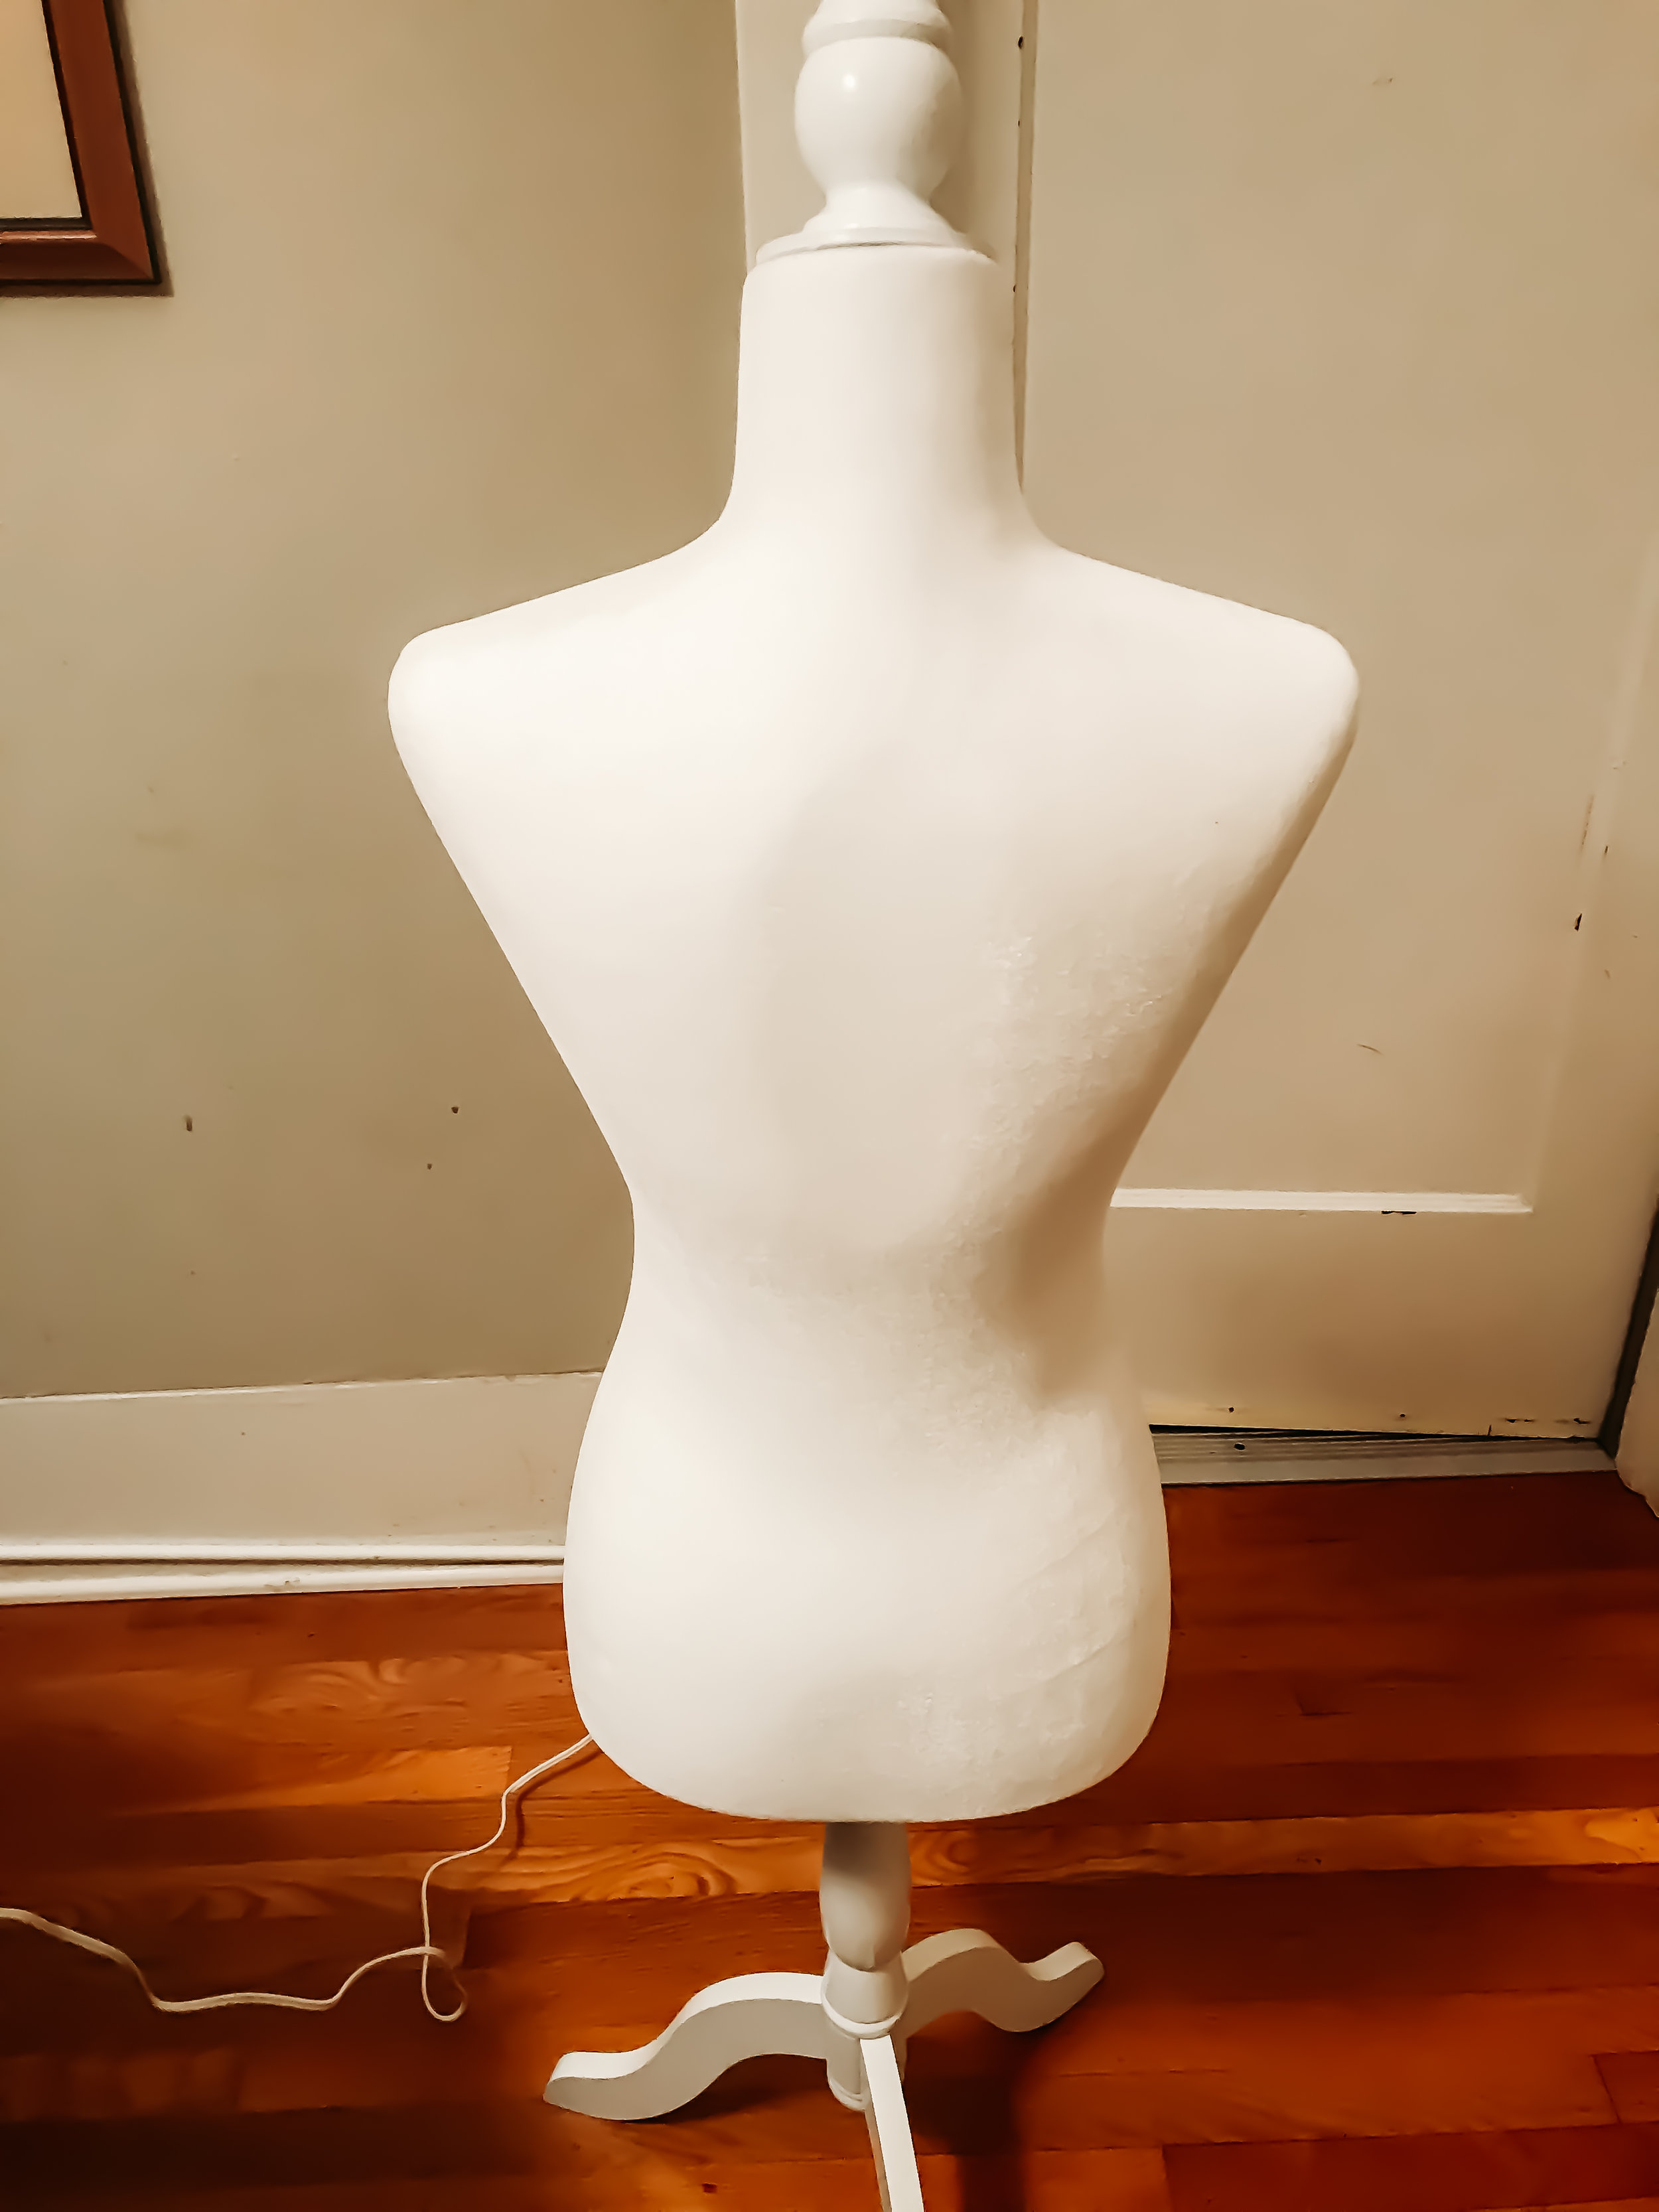
This mannequin was so helpful.
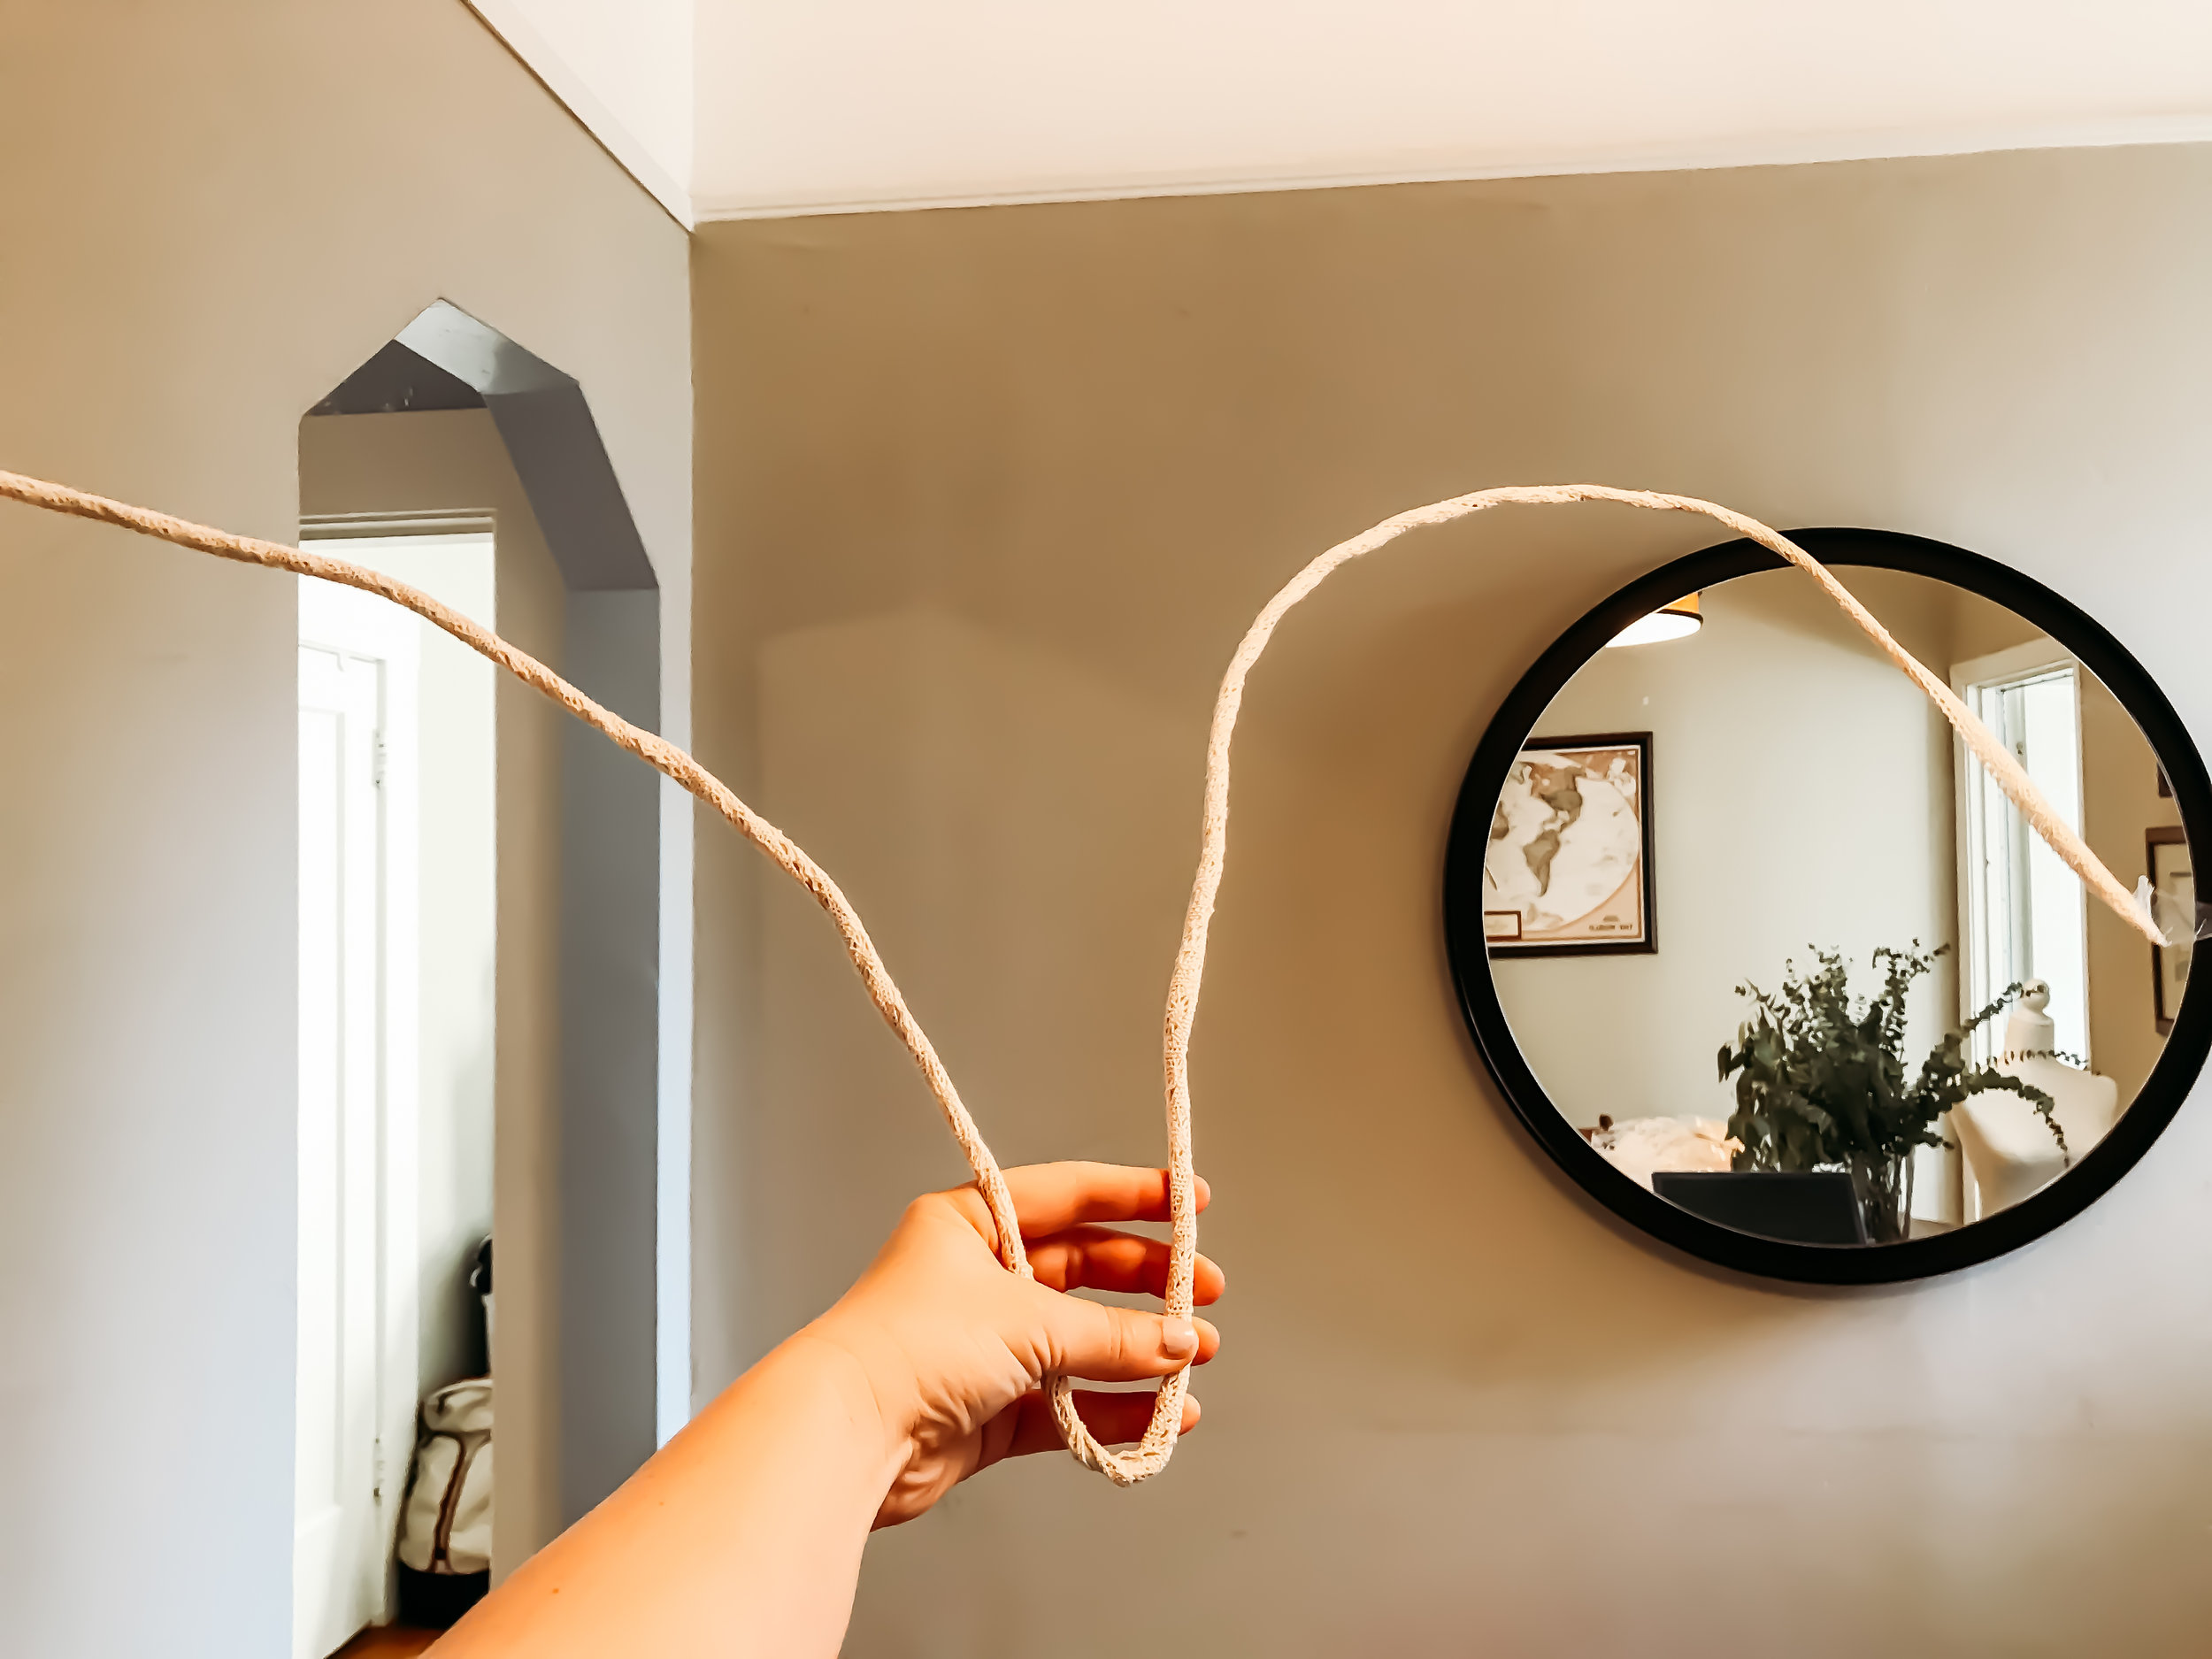
Bend a little here… and a little there.
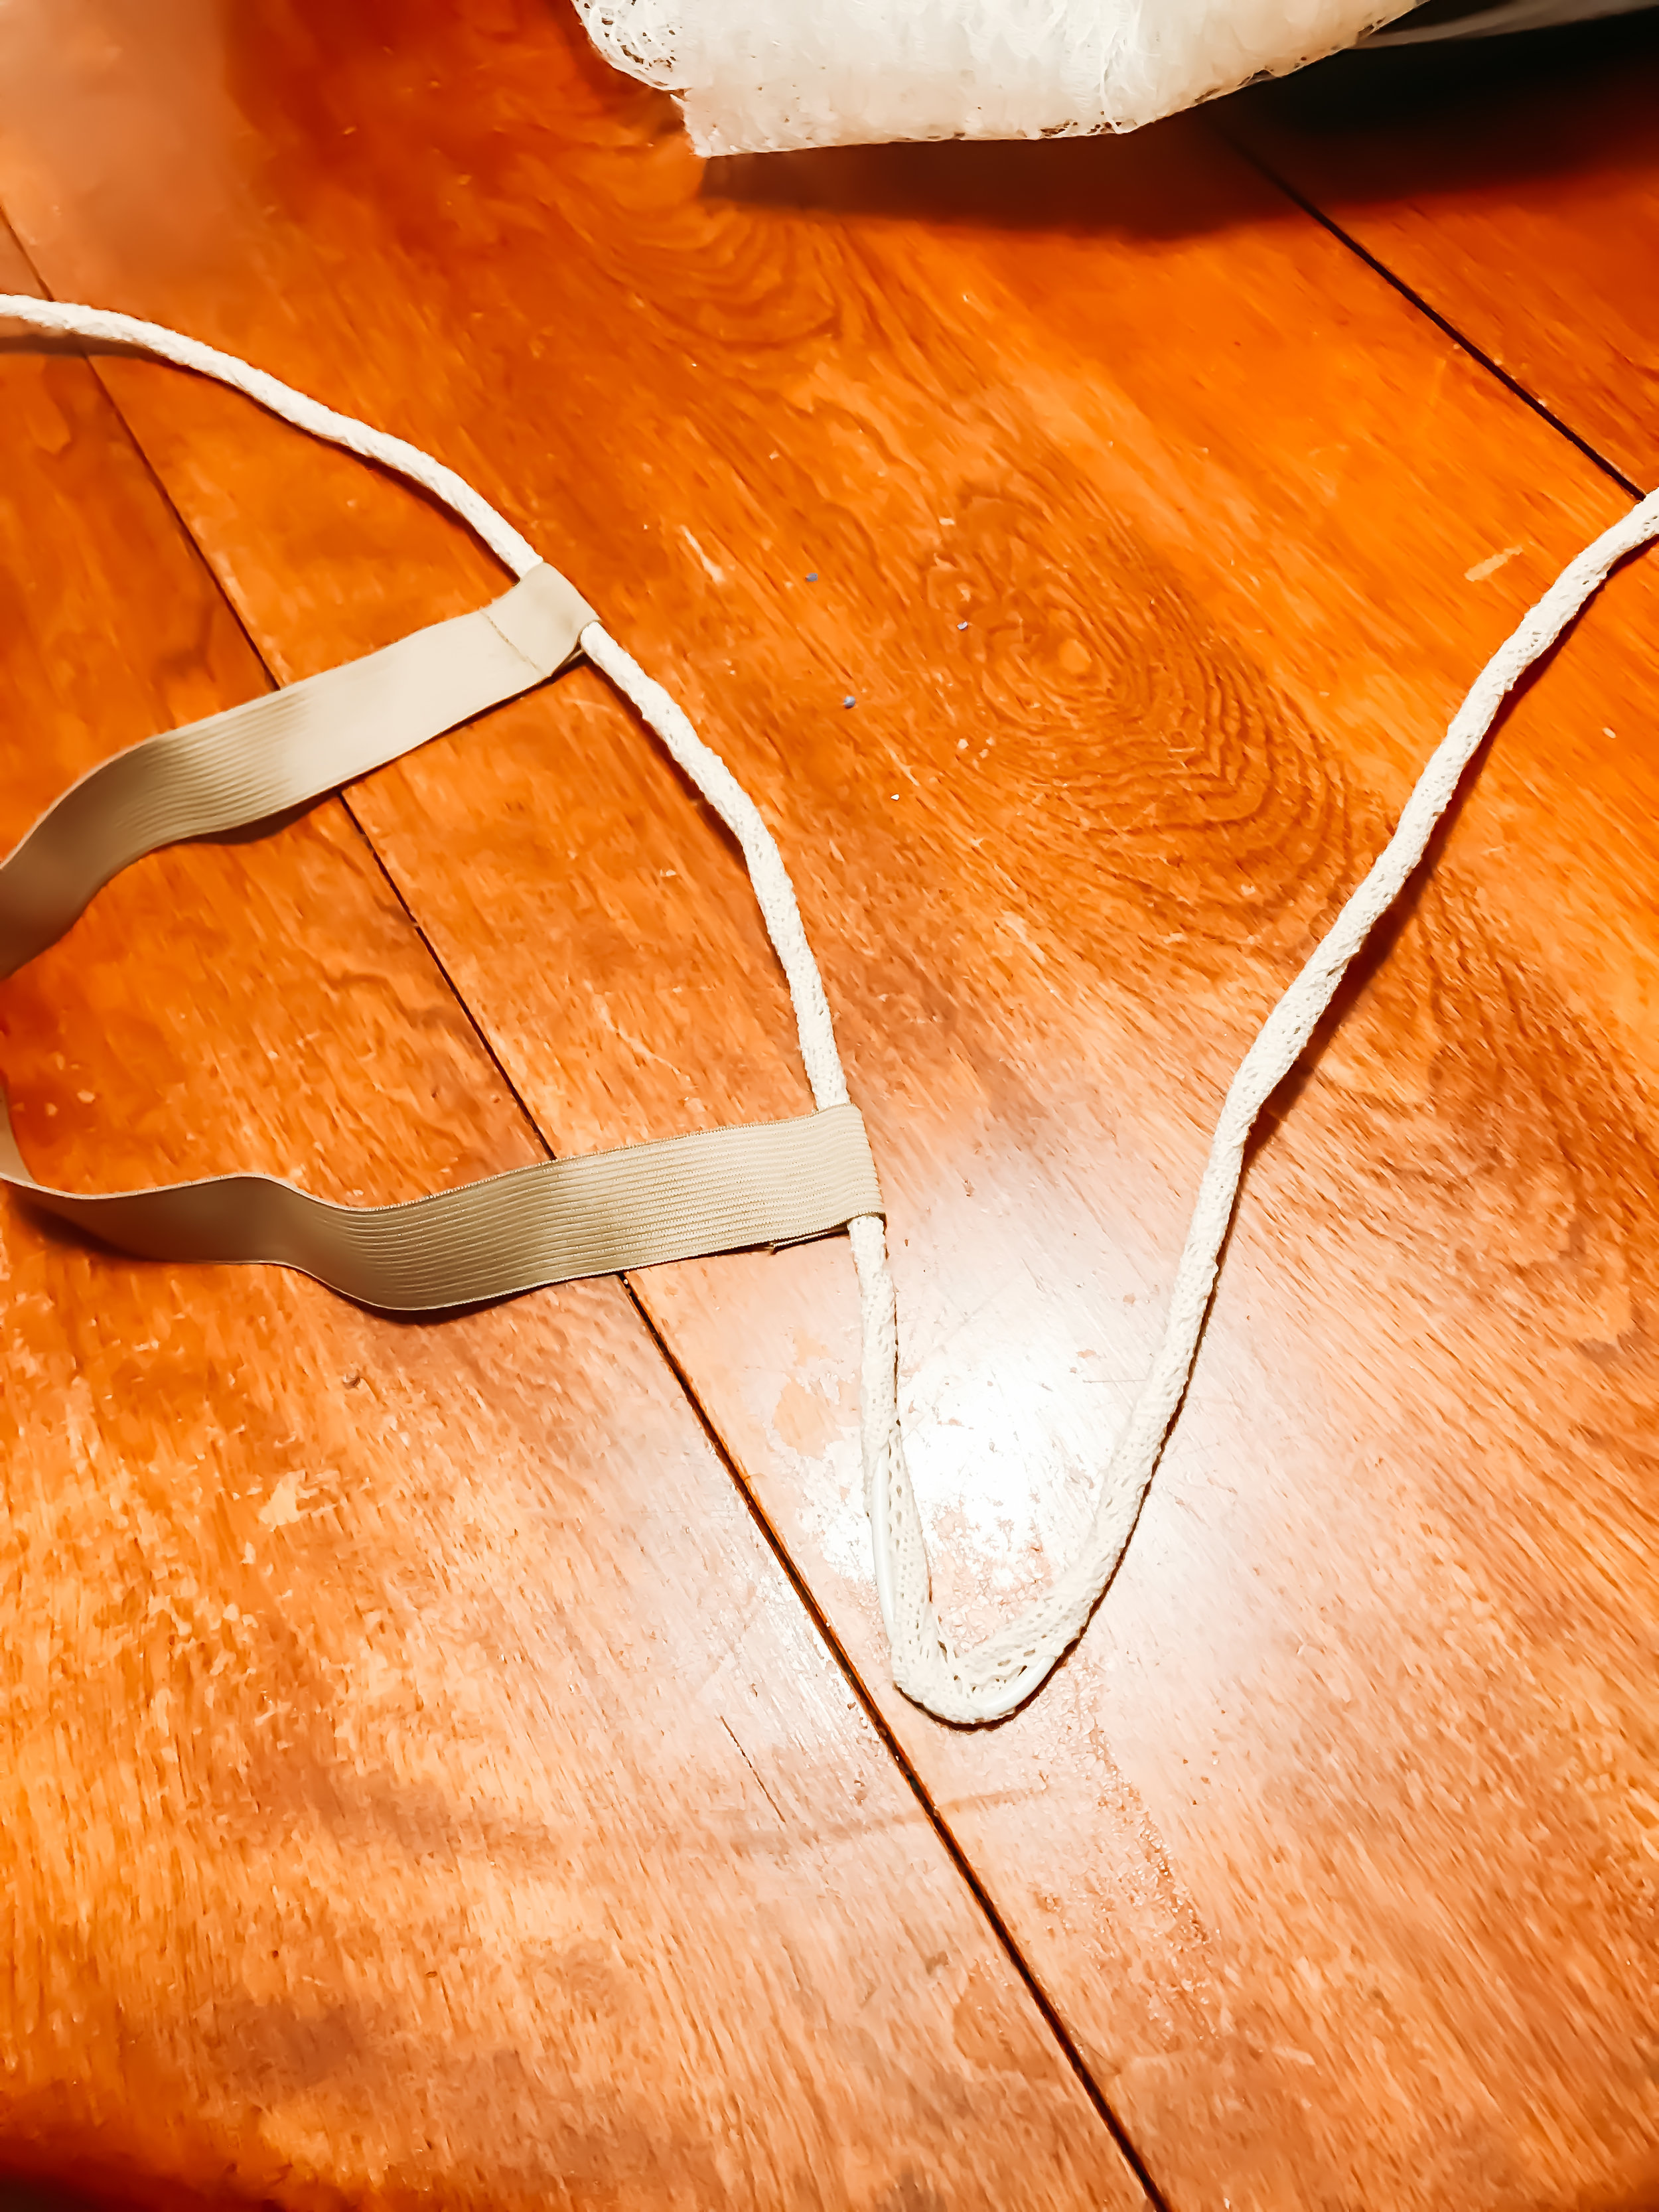
This is for reference. I would have preferred white elastic. I also would have widened the space a little bit more.
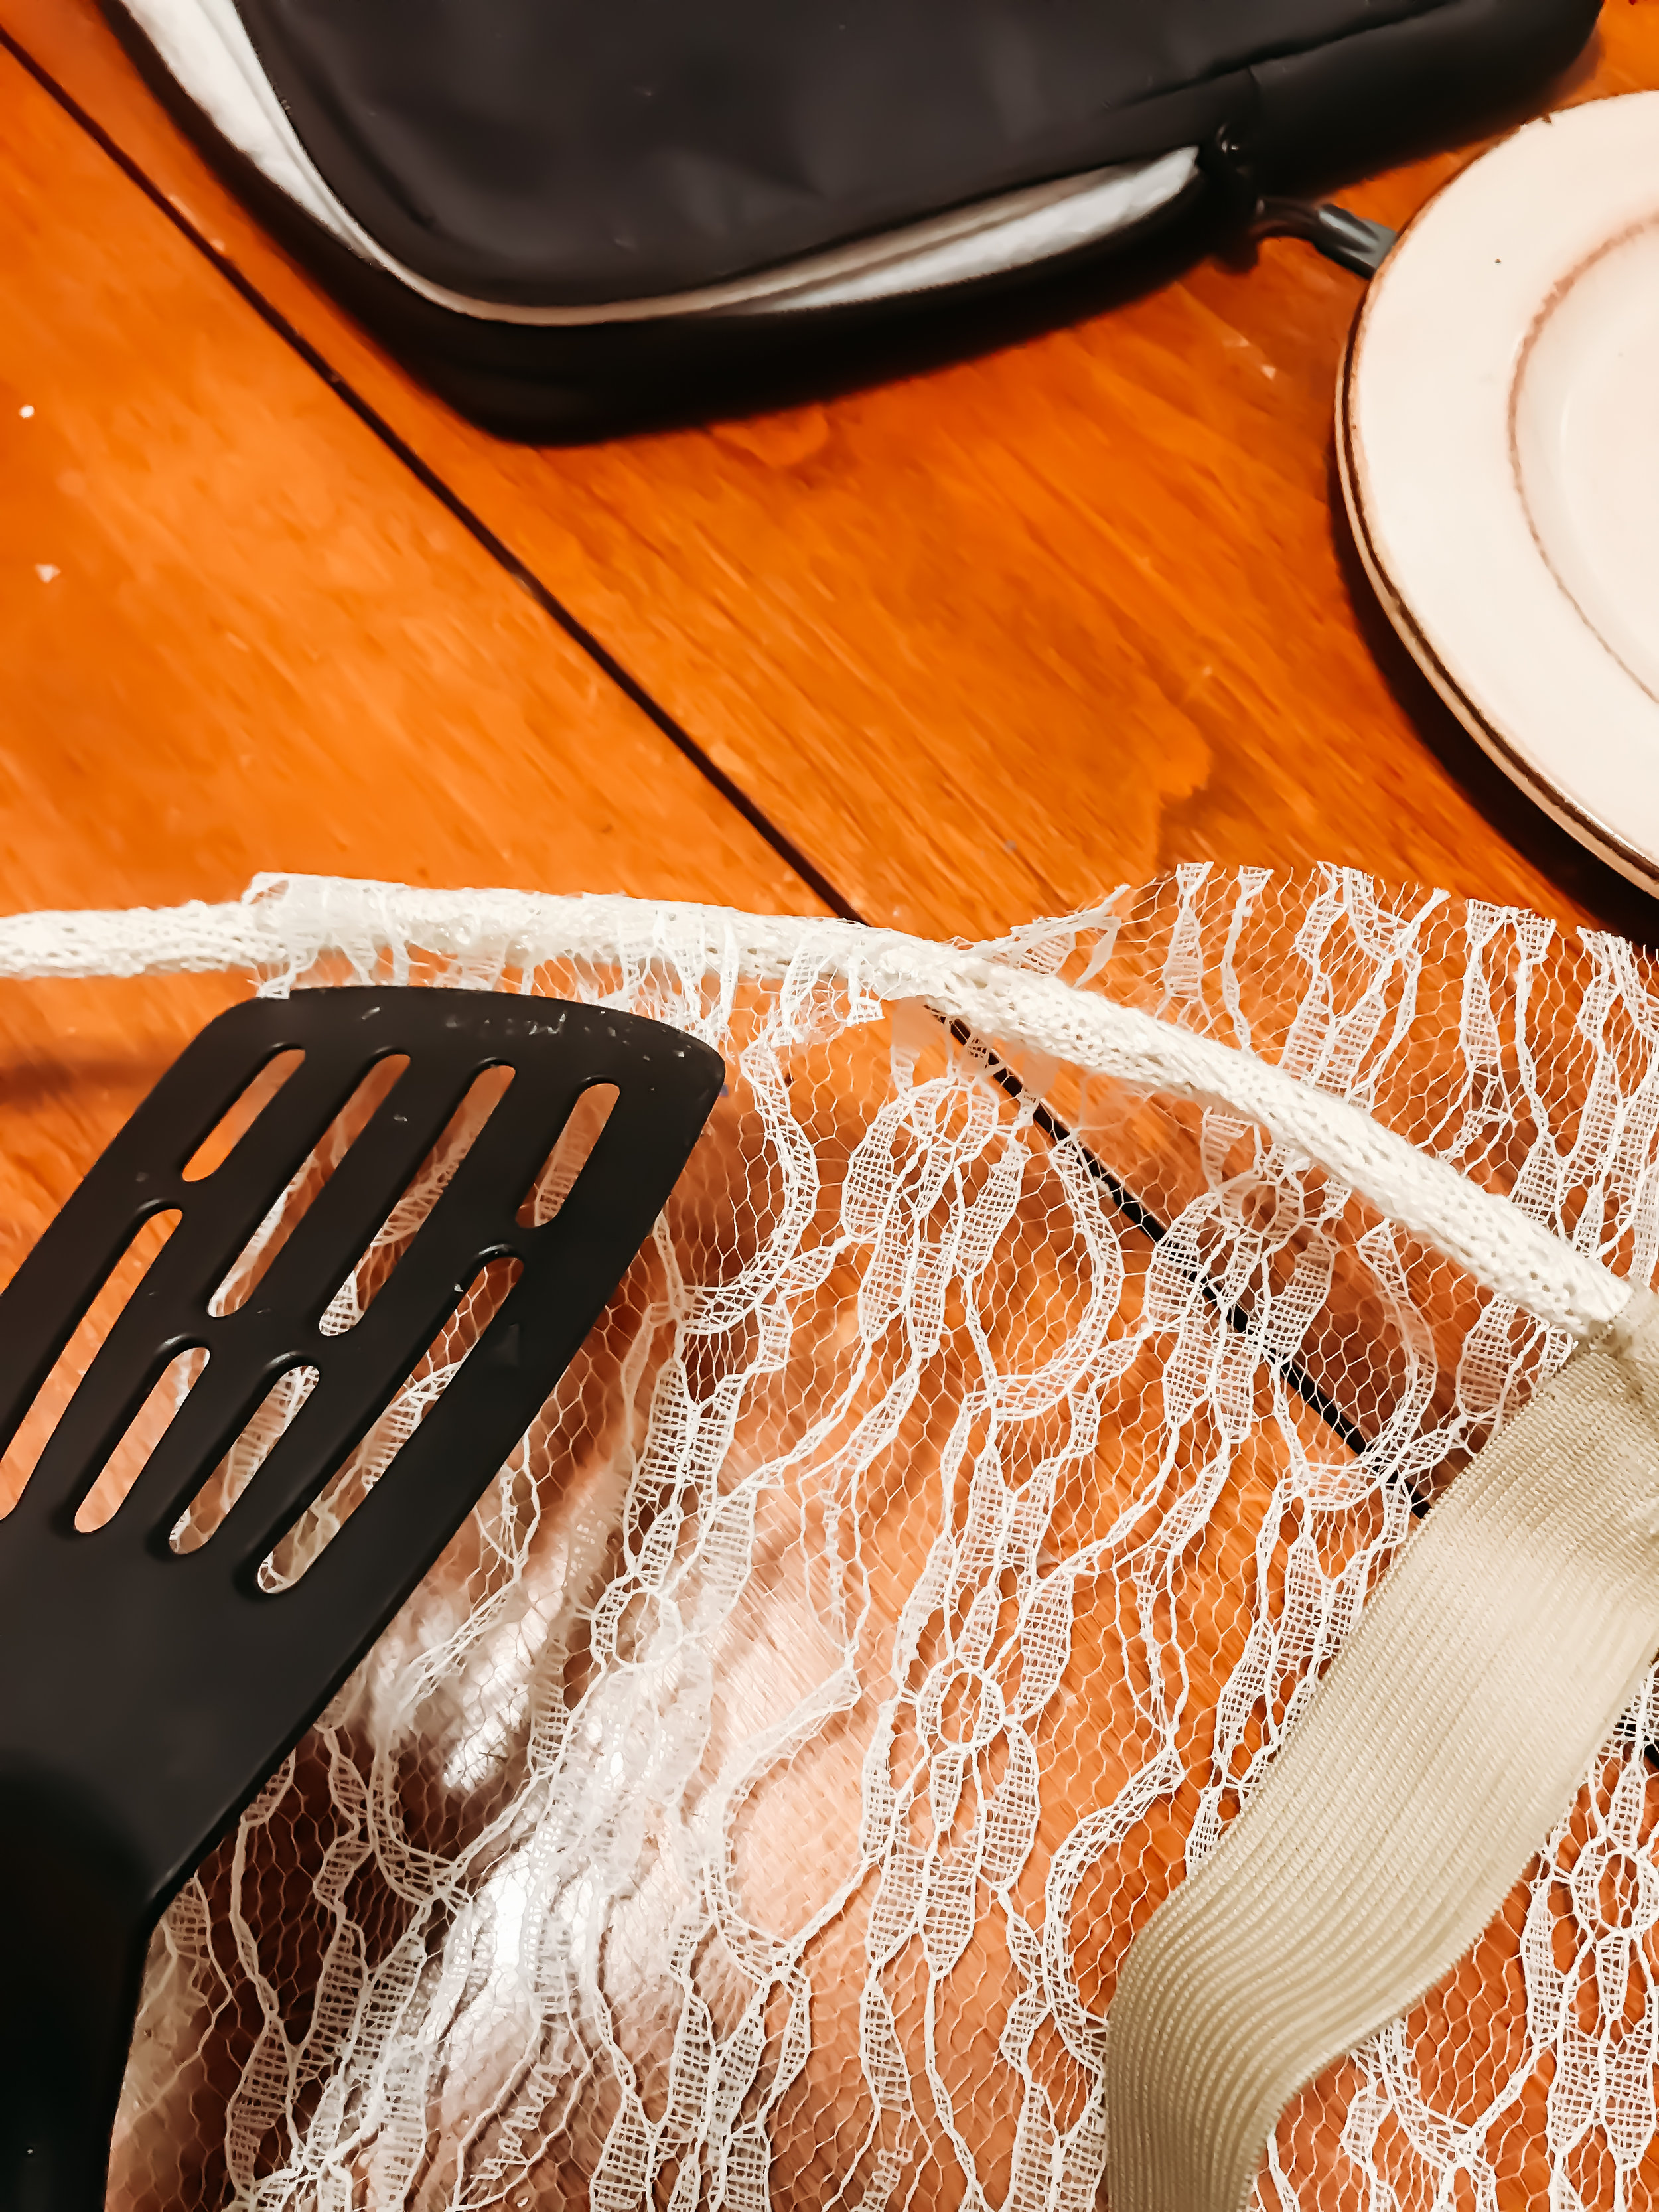
Hot glue the lace onto the wire. Use a tool so the glue doesn’t get on your skin.
Seriously- use a spatula or some sort of tool to keep from getting burned like me. Hot glue is hot!
The lace is on. It’s starting to come together!
All. The. Feathers.
Lay down the feathers to make sure you have enough.
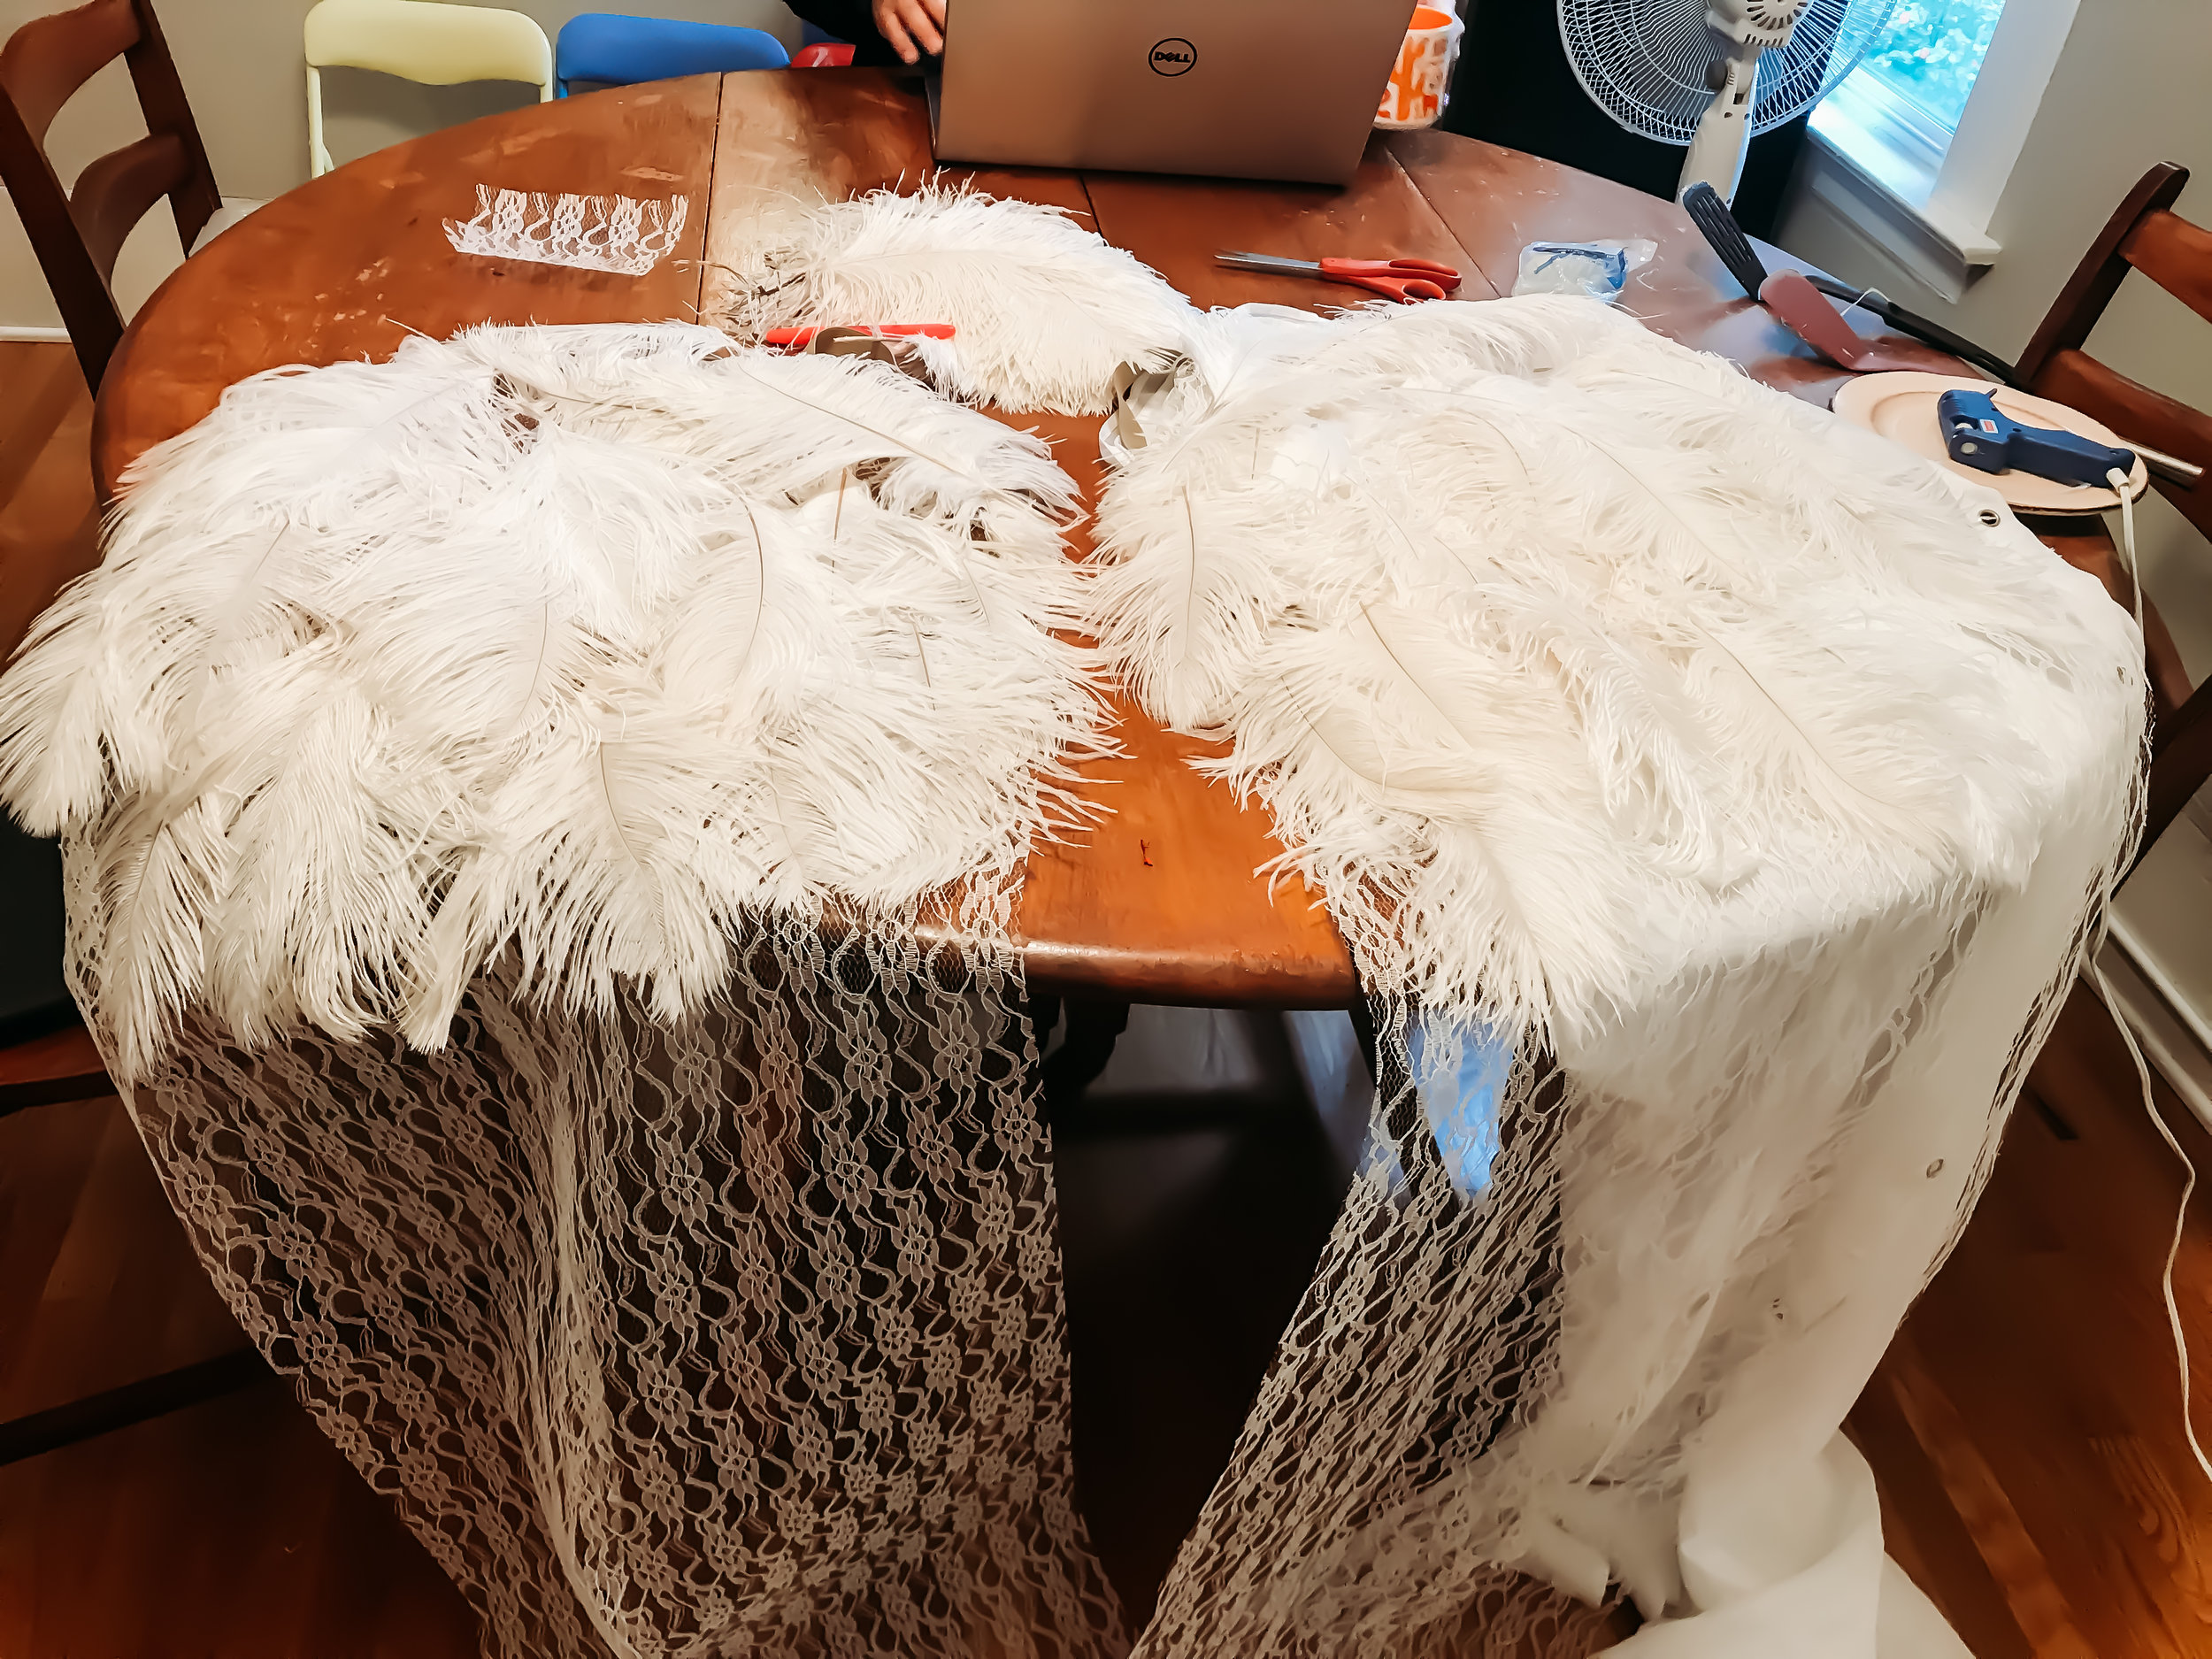
More feathers!
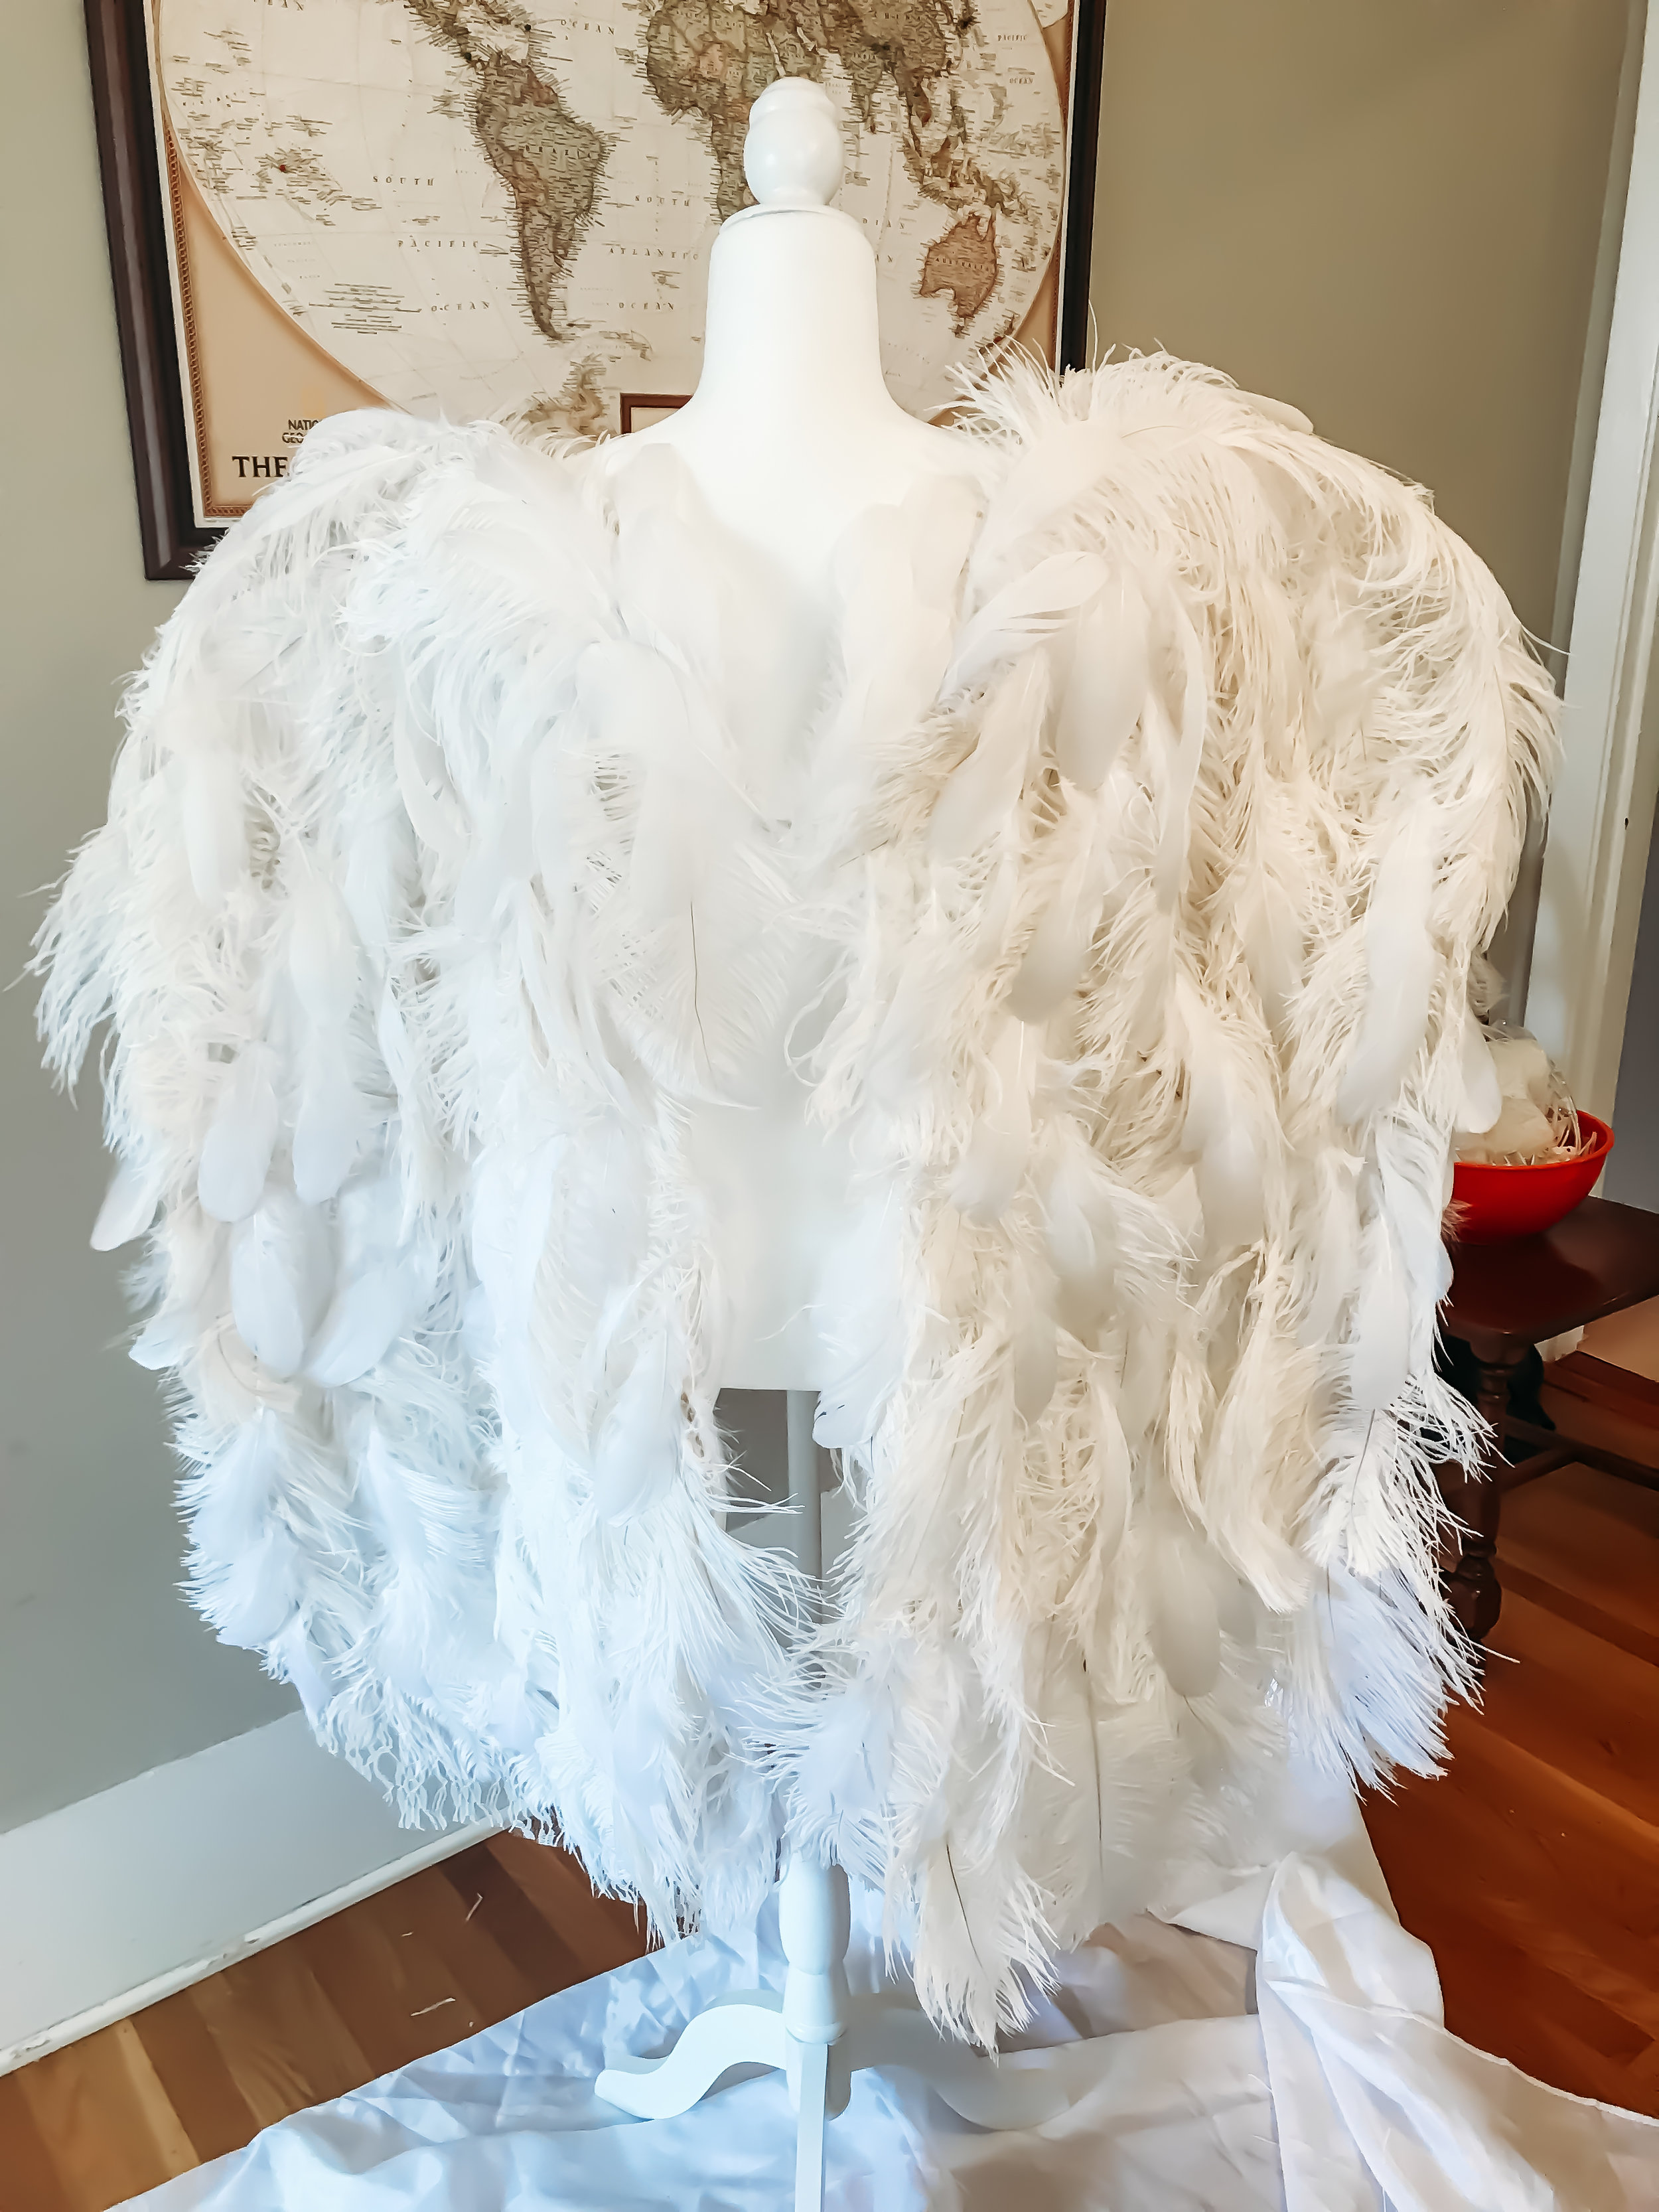
The mannequin was helpful in making sure I filled spaces as needed when it was upright.
It’s coming together!
Remember to step back and take in the whole project once in a while. Then you can see where to add feathers or adjust straps, etc.
Feathers. Feathers. Feathers.
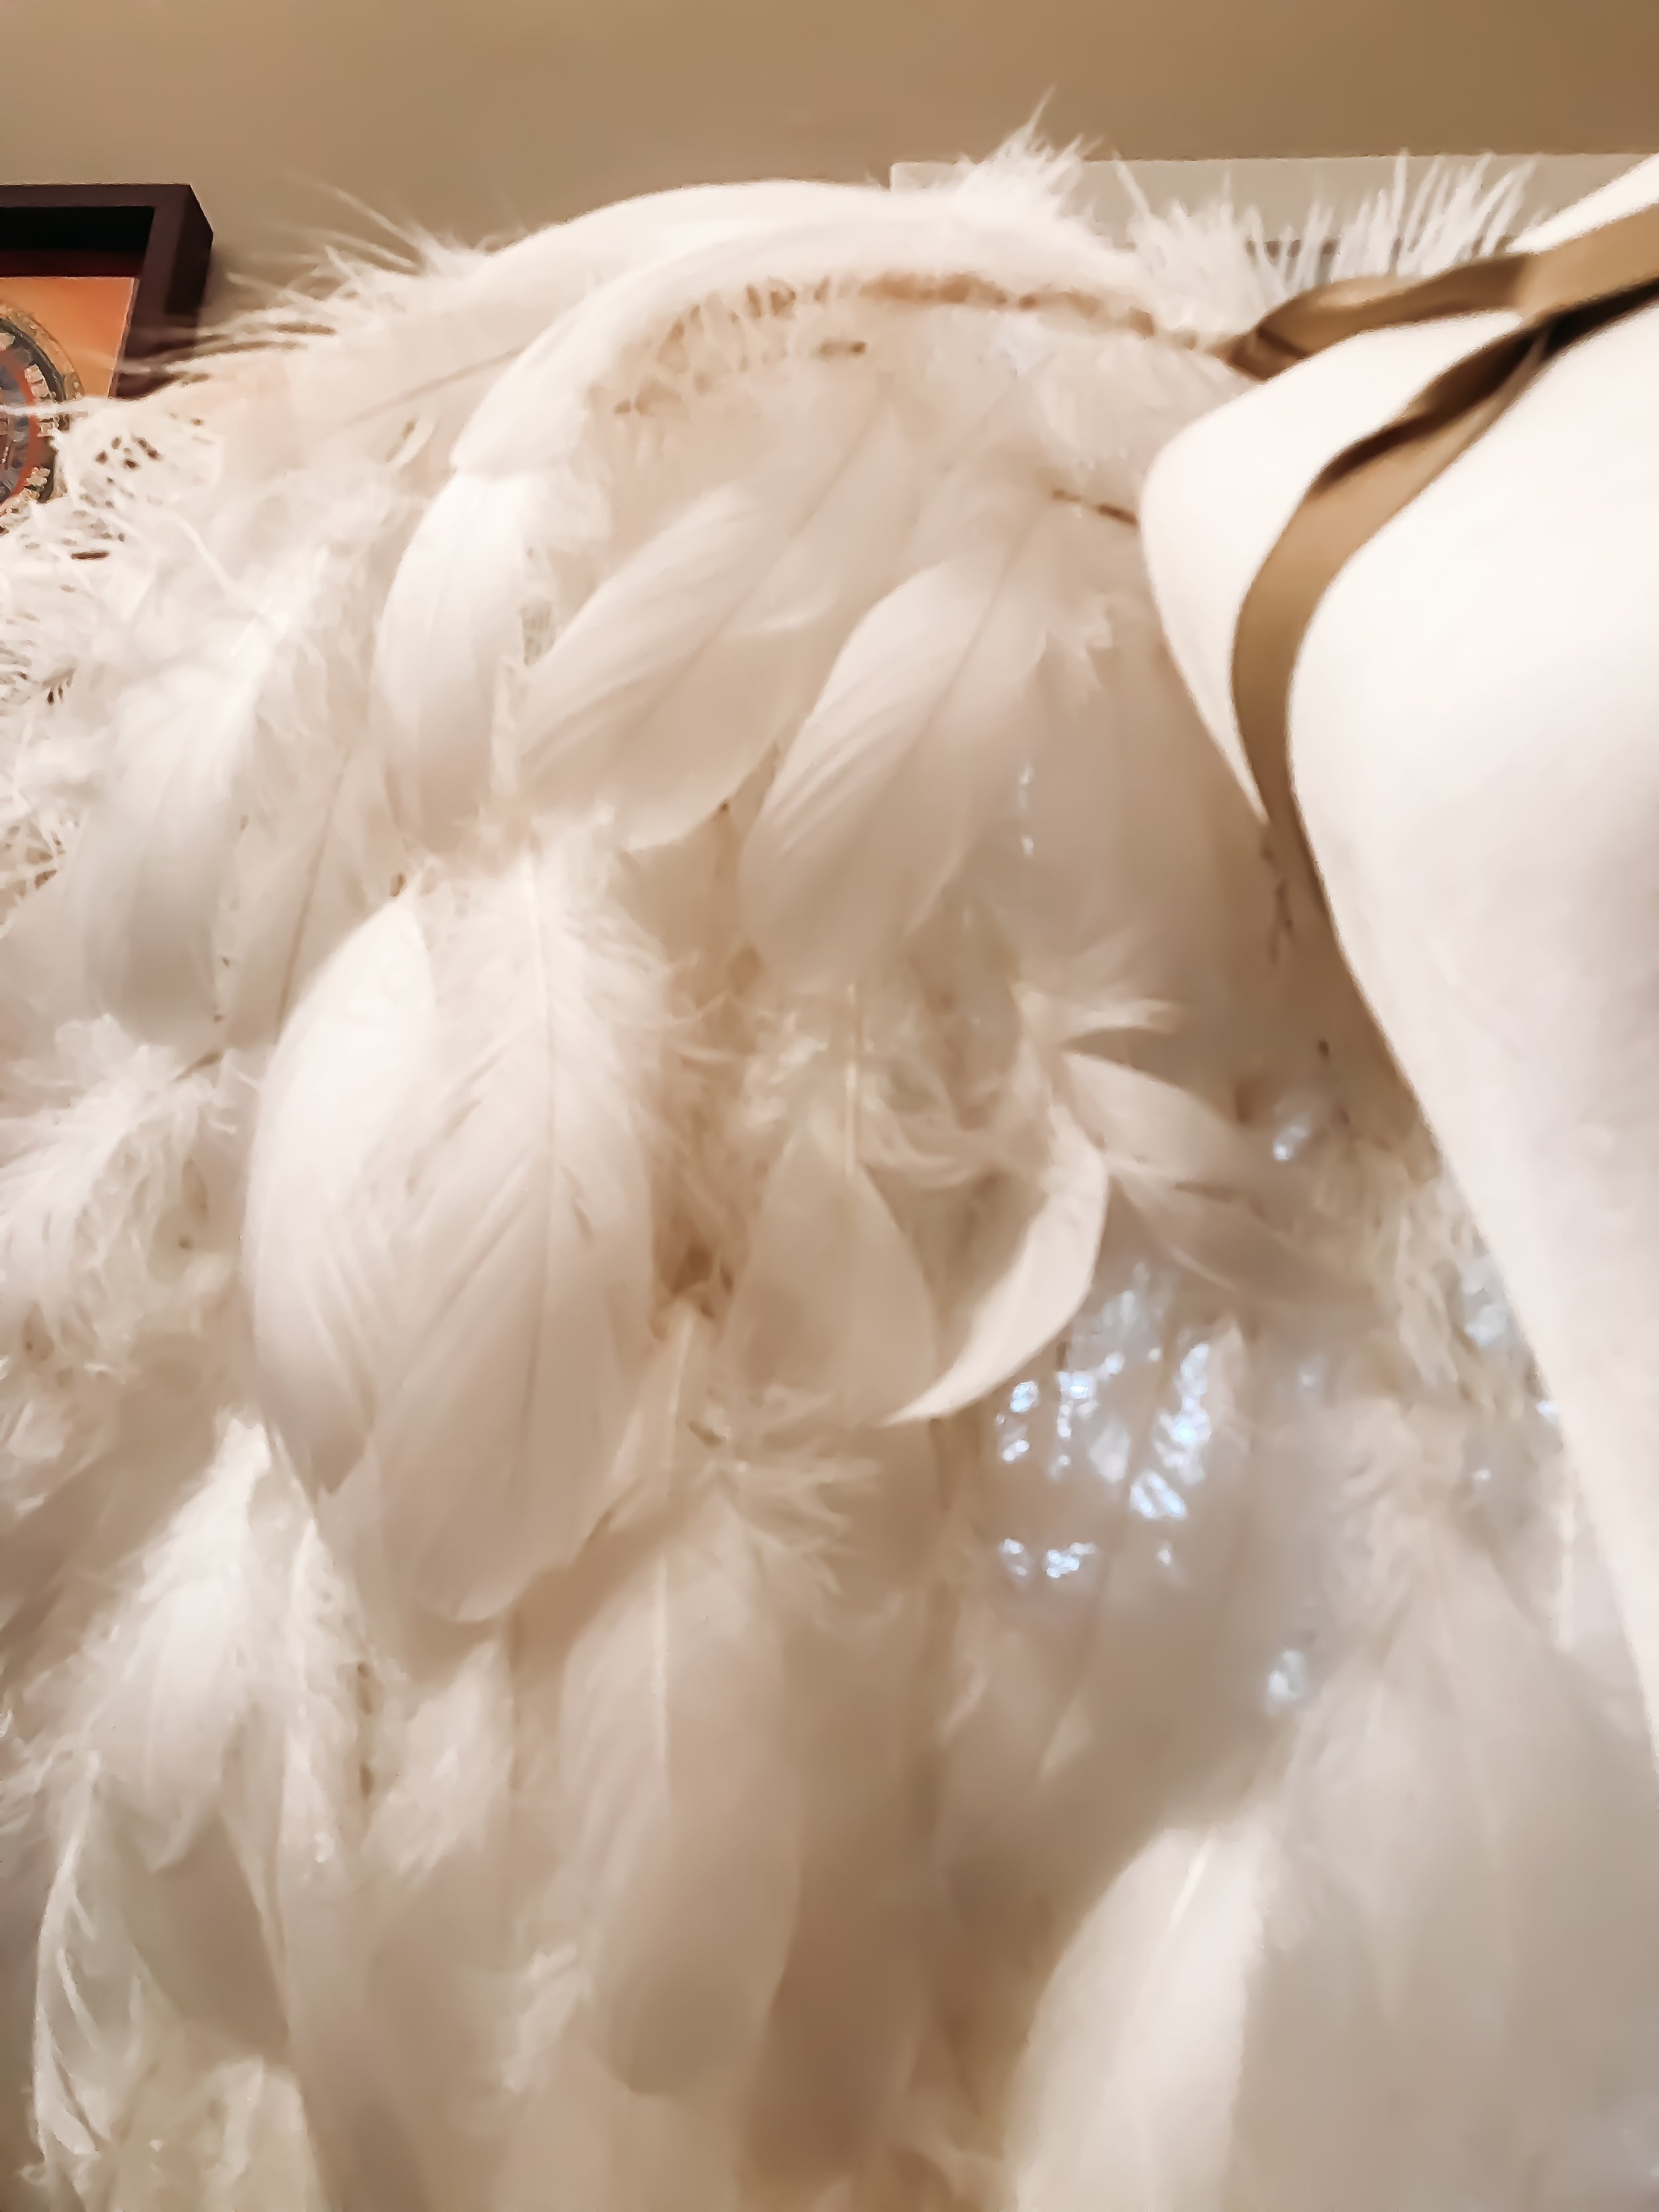
You can see the bones of the ostrich feathers here. Layers help to cover some of them.
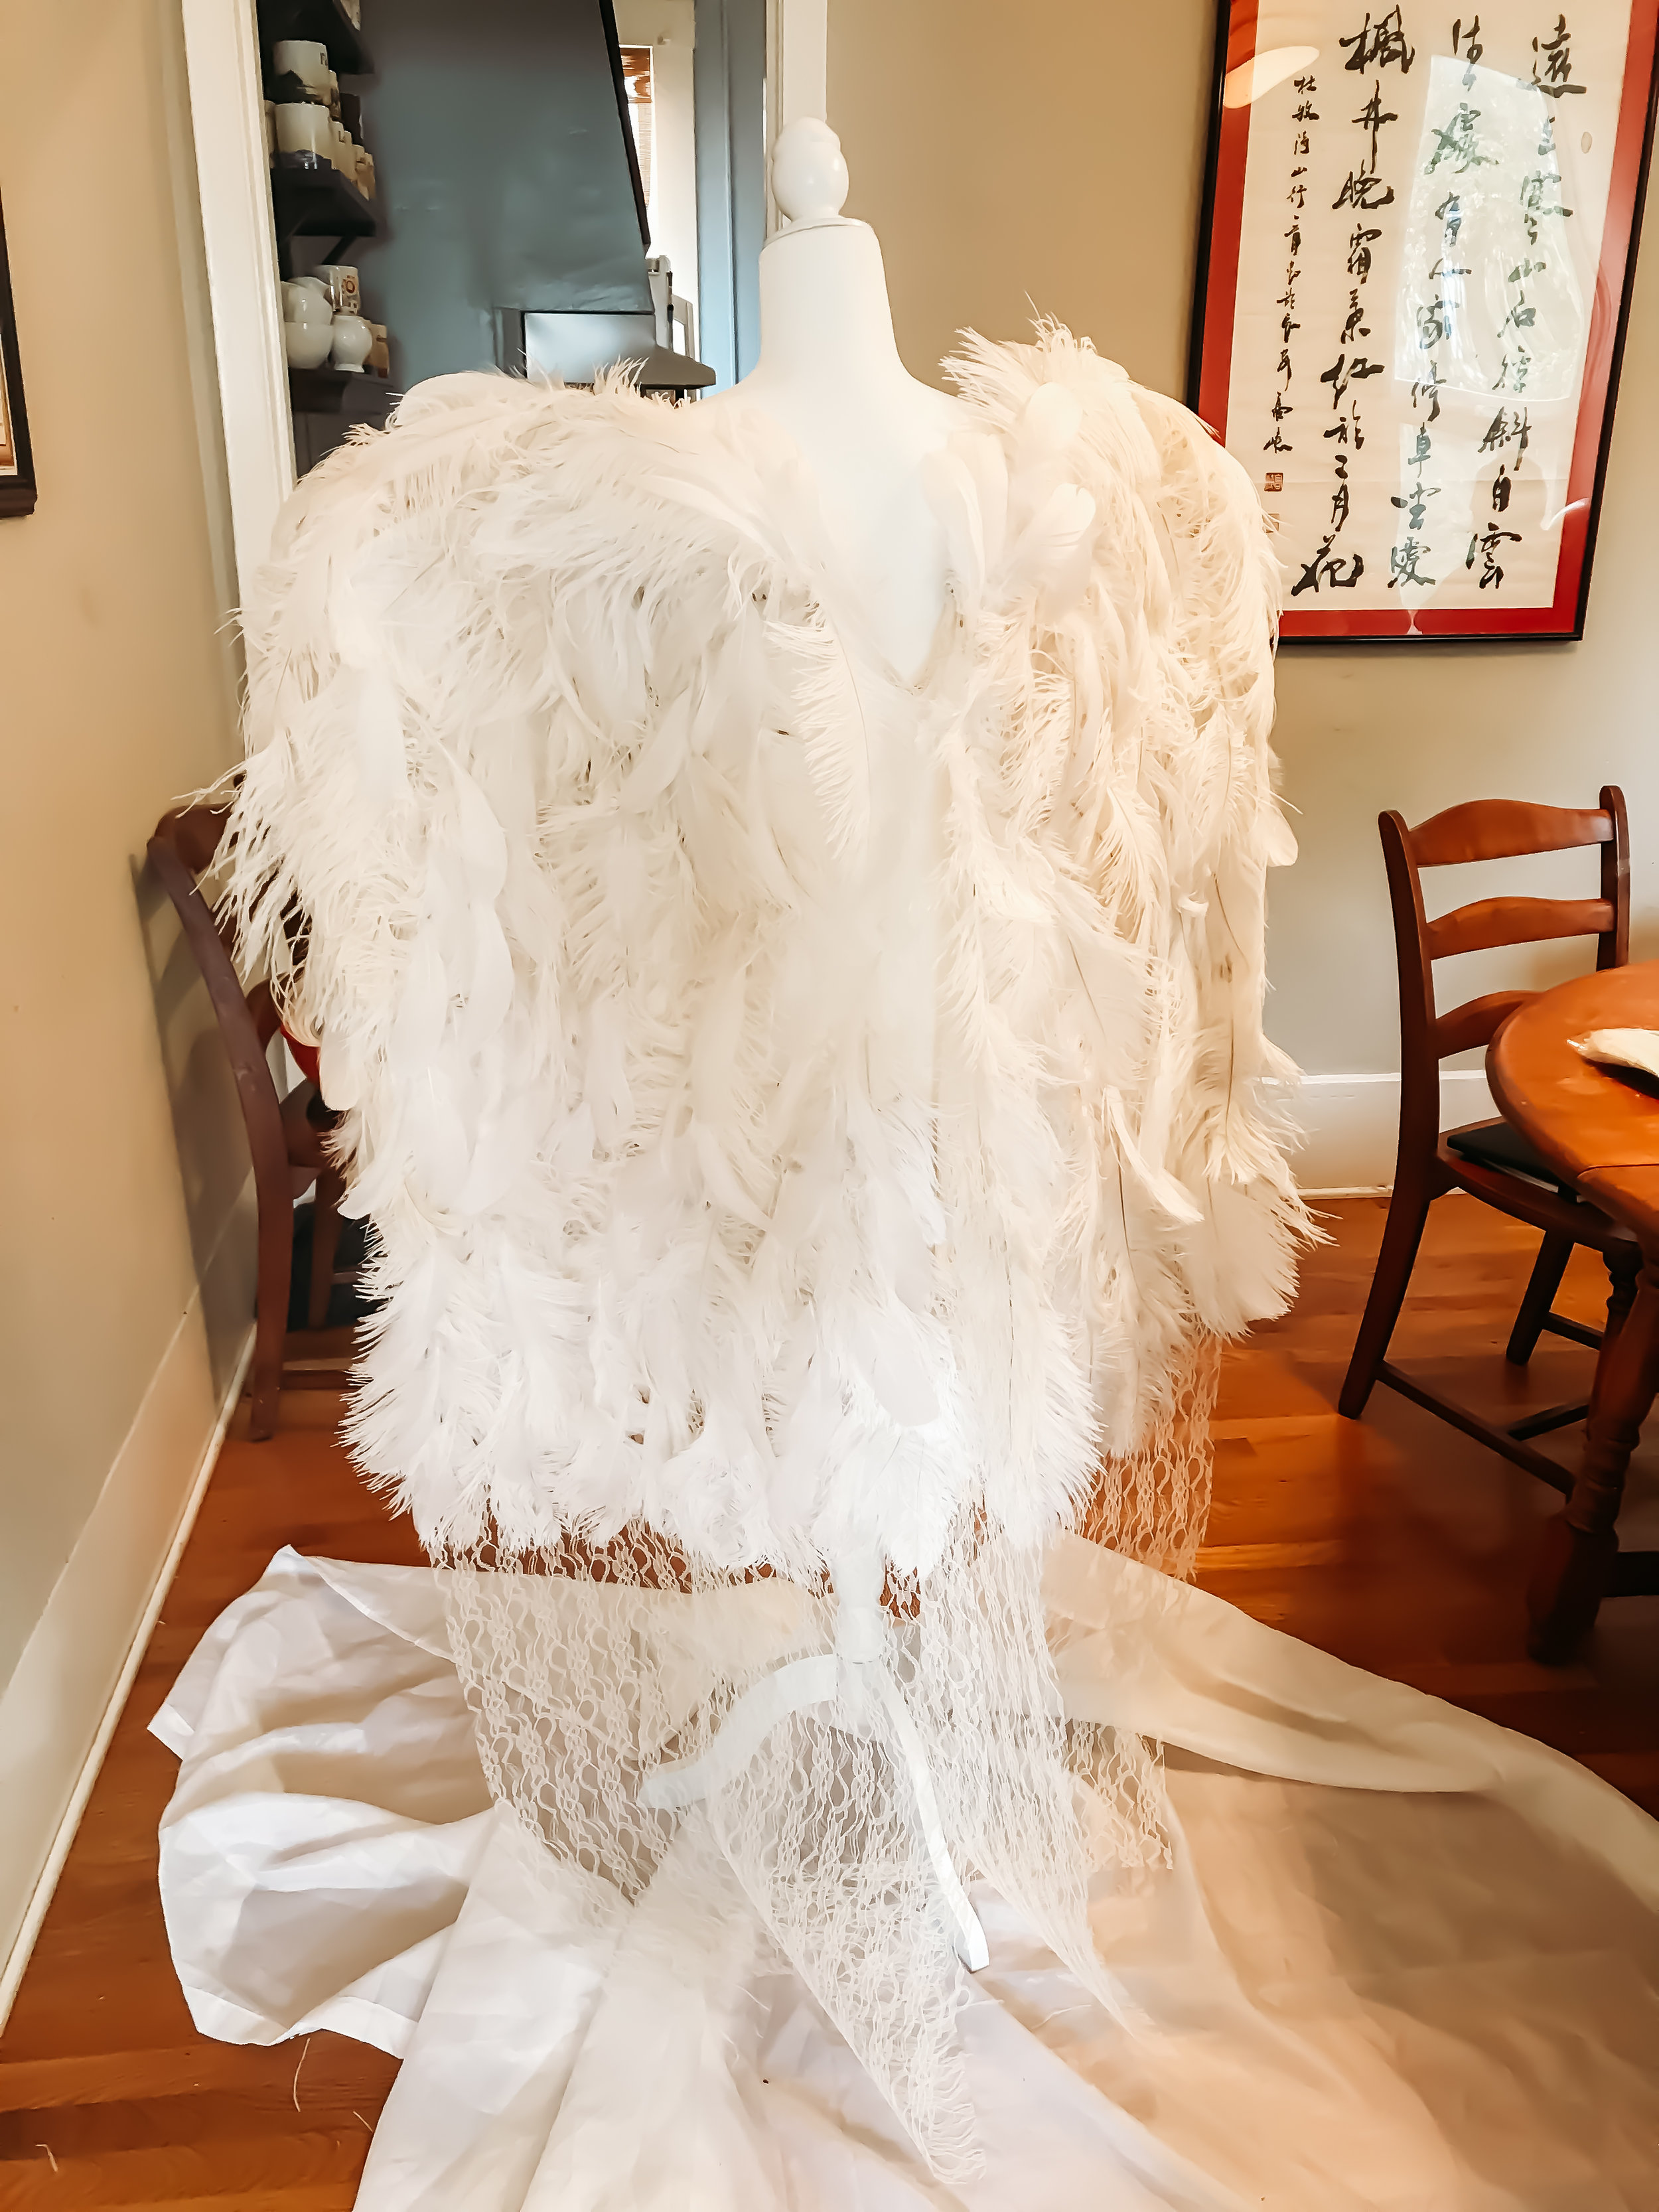
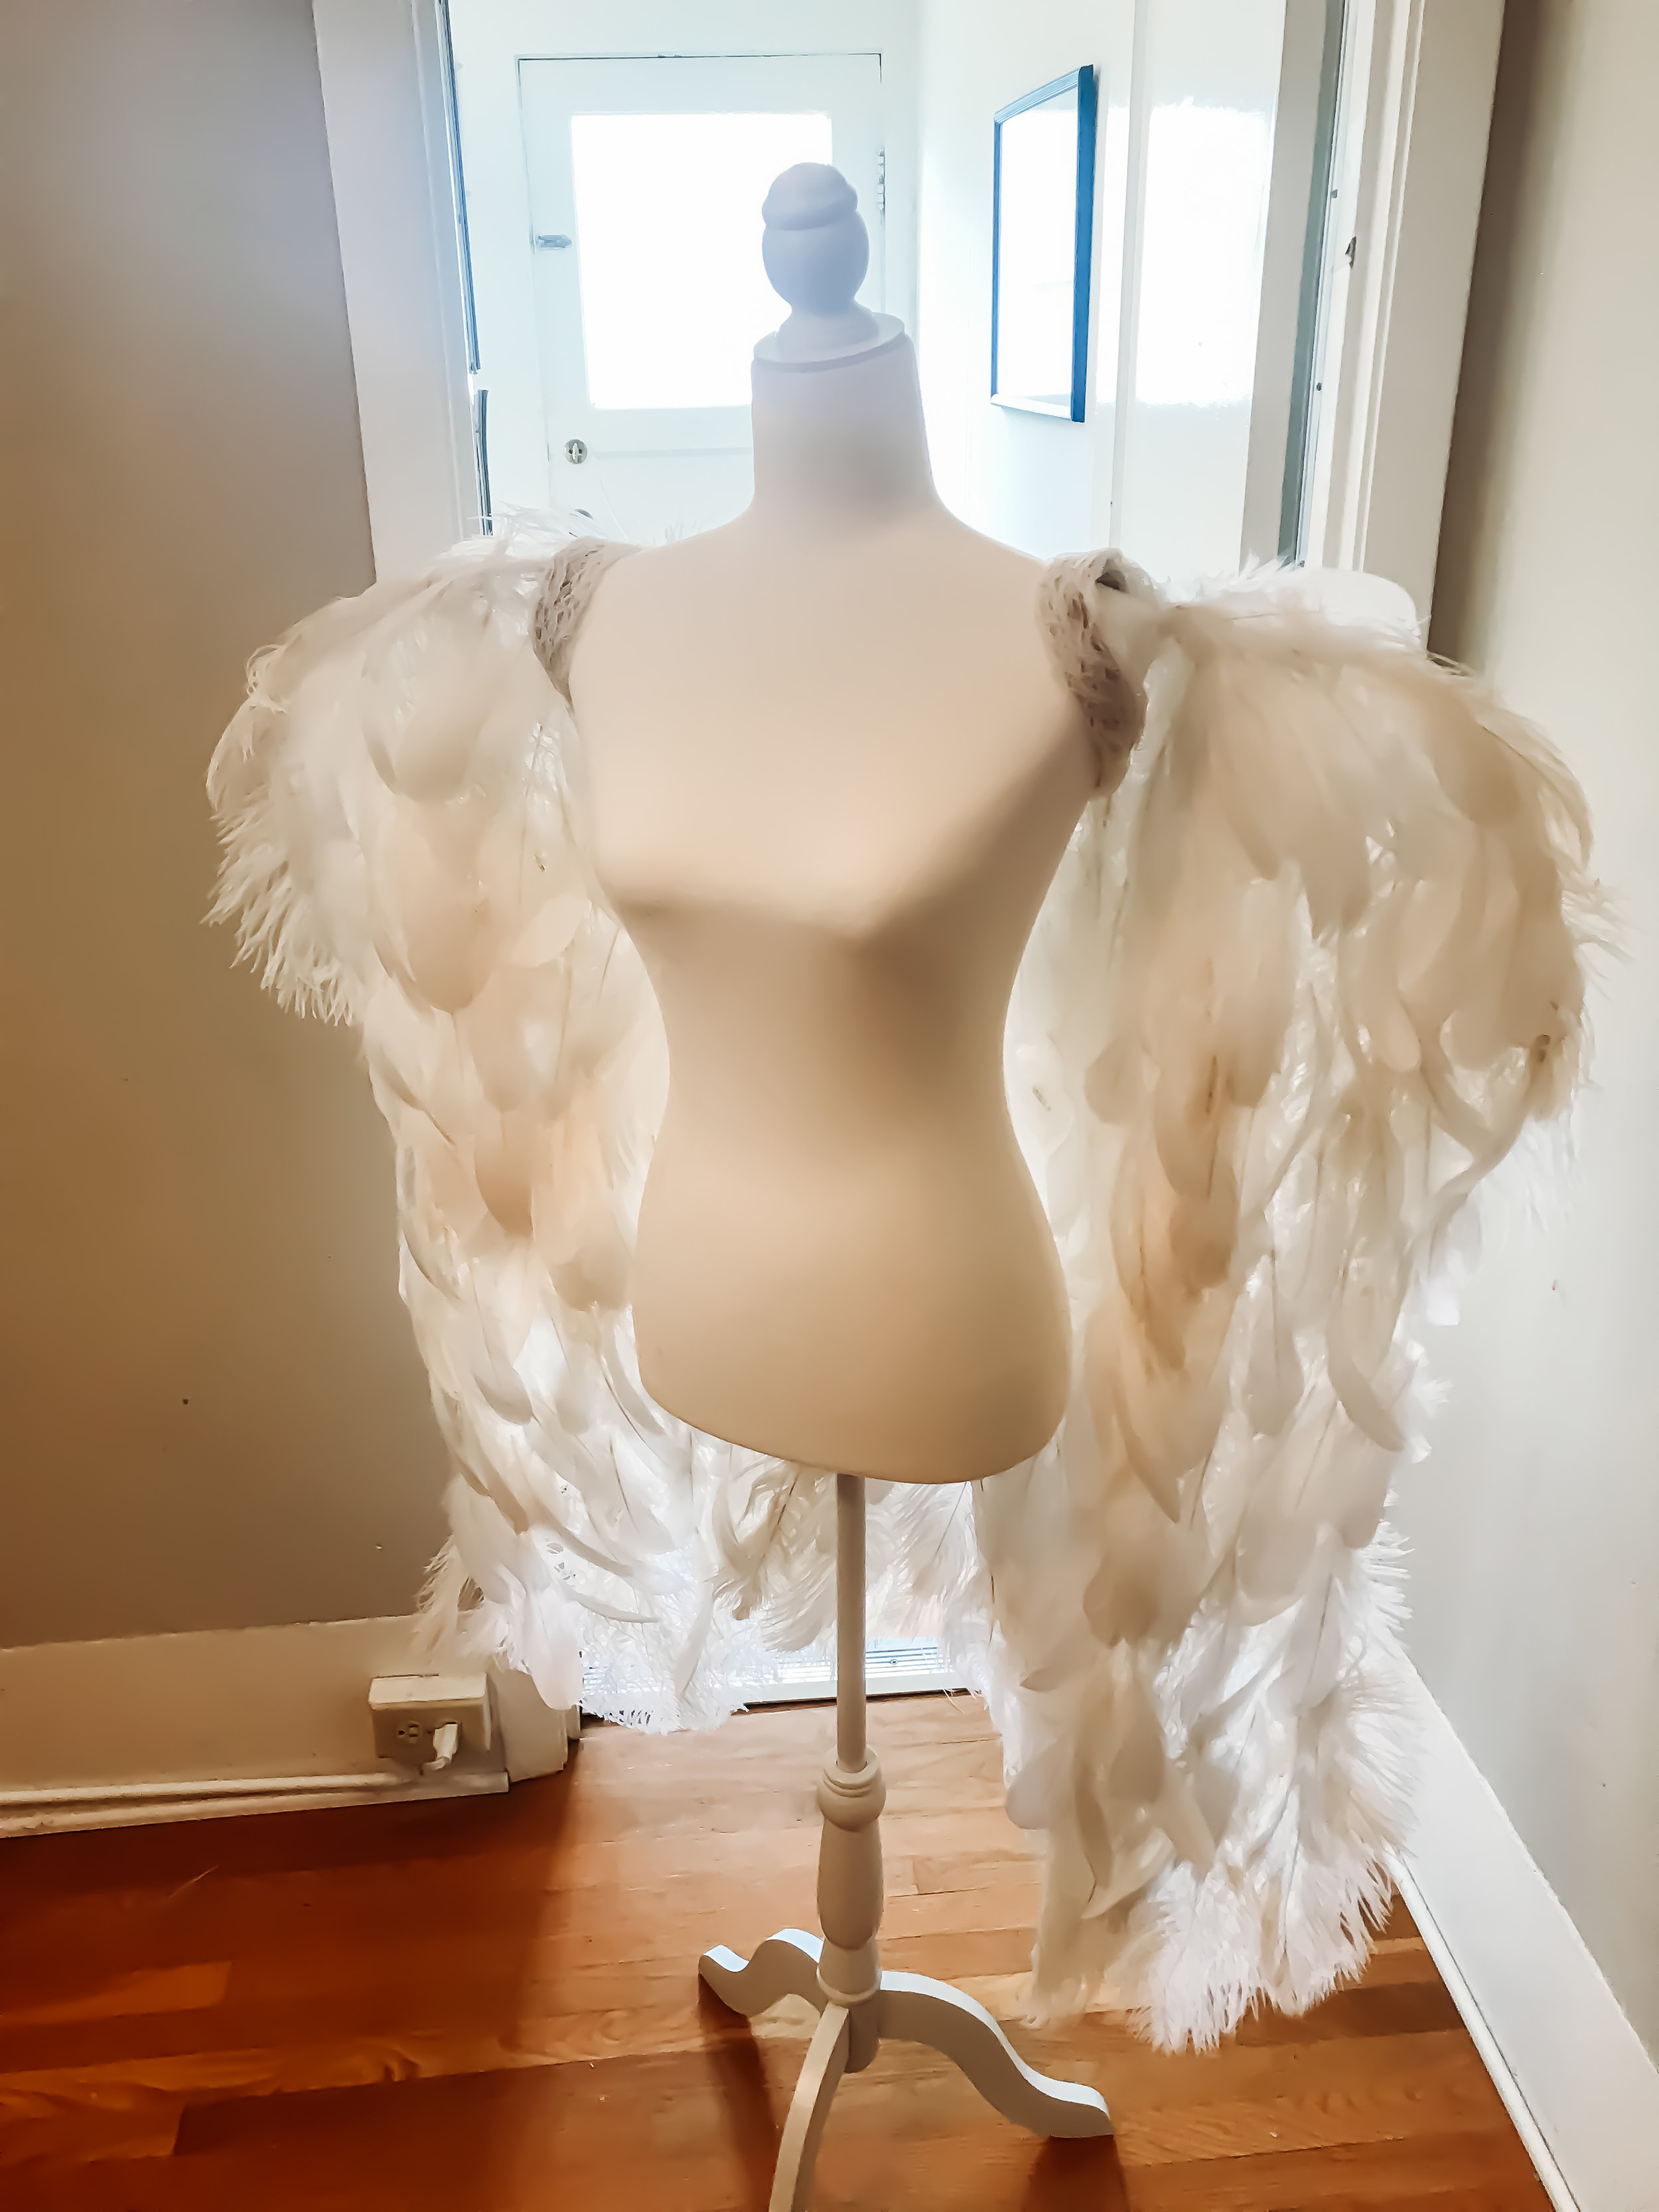
The feathers are on!
Time to cut off the excess lace and make room for the booty to peek out!
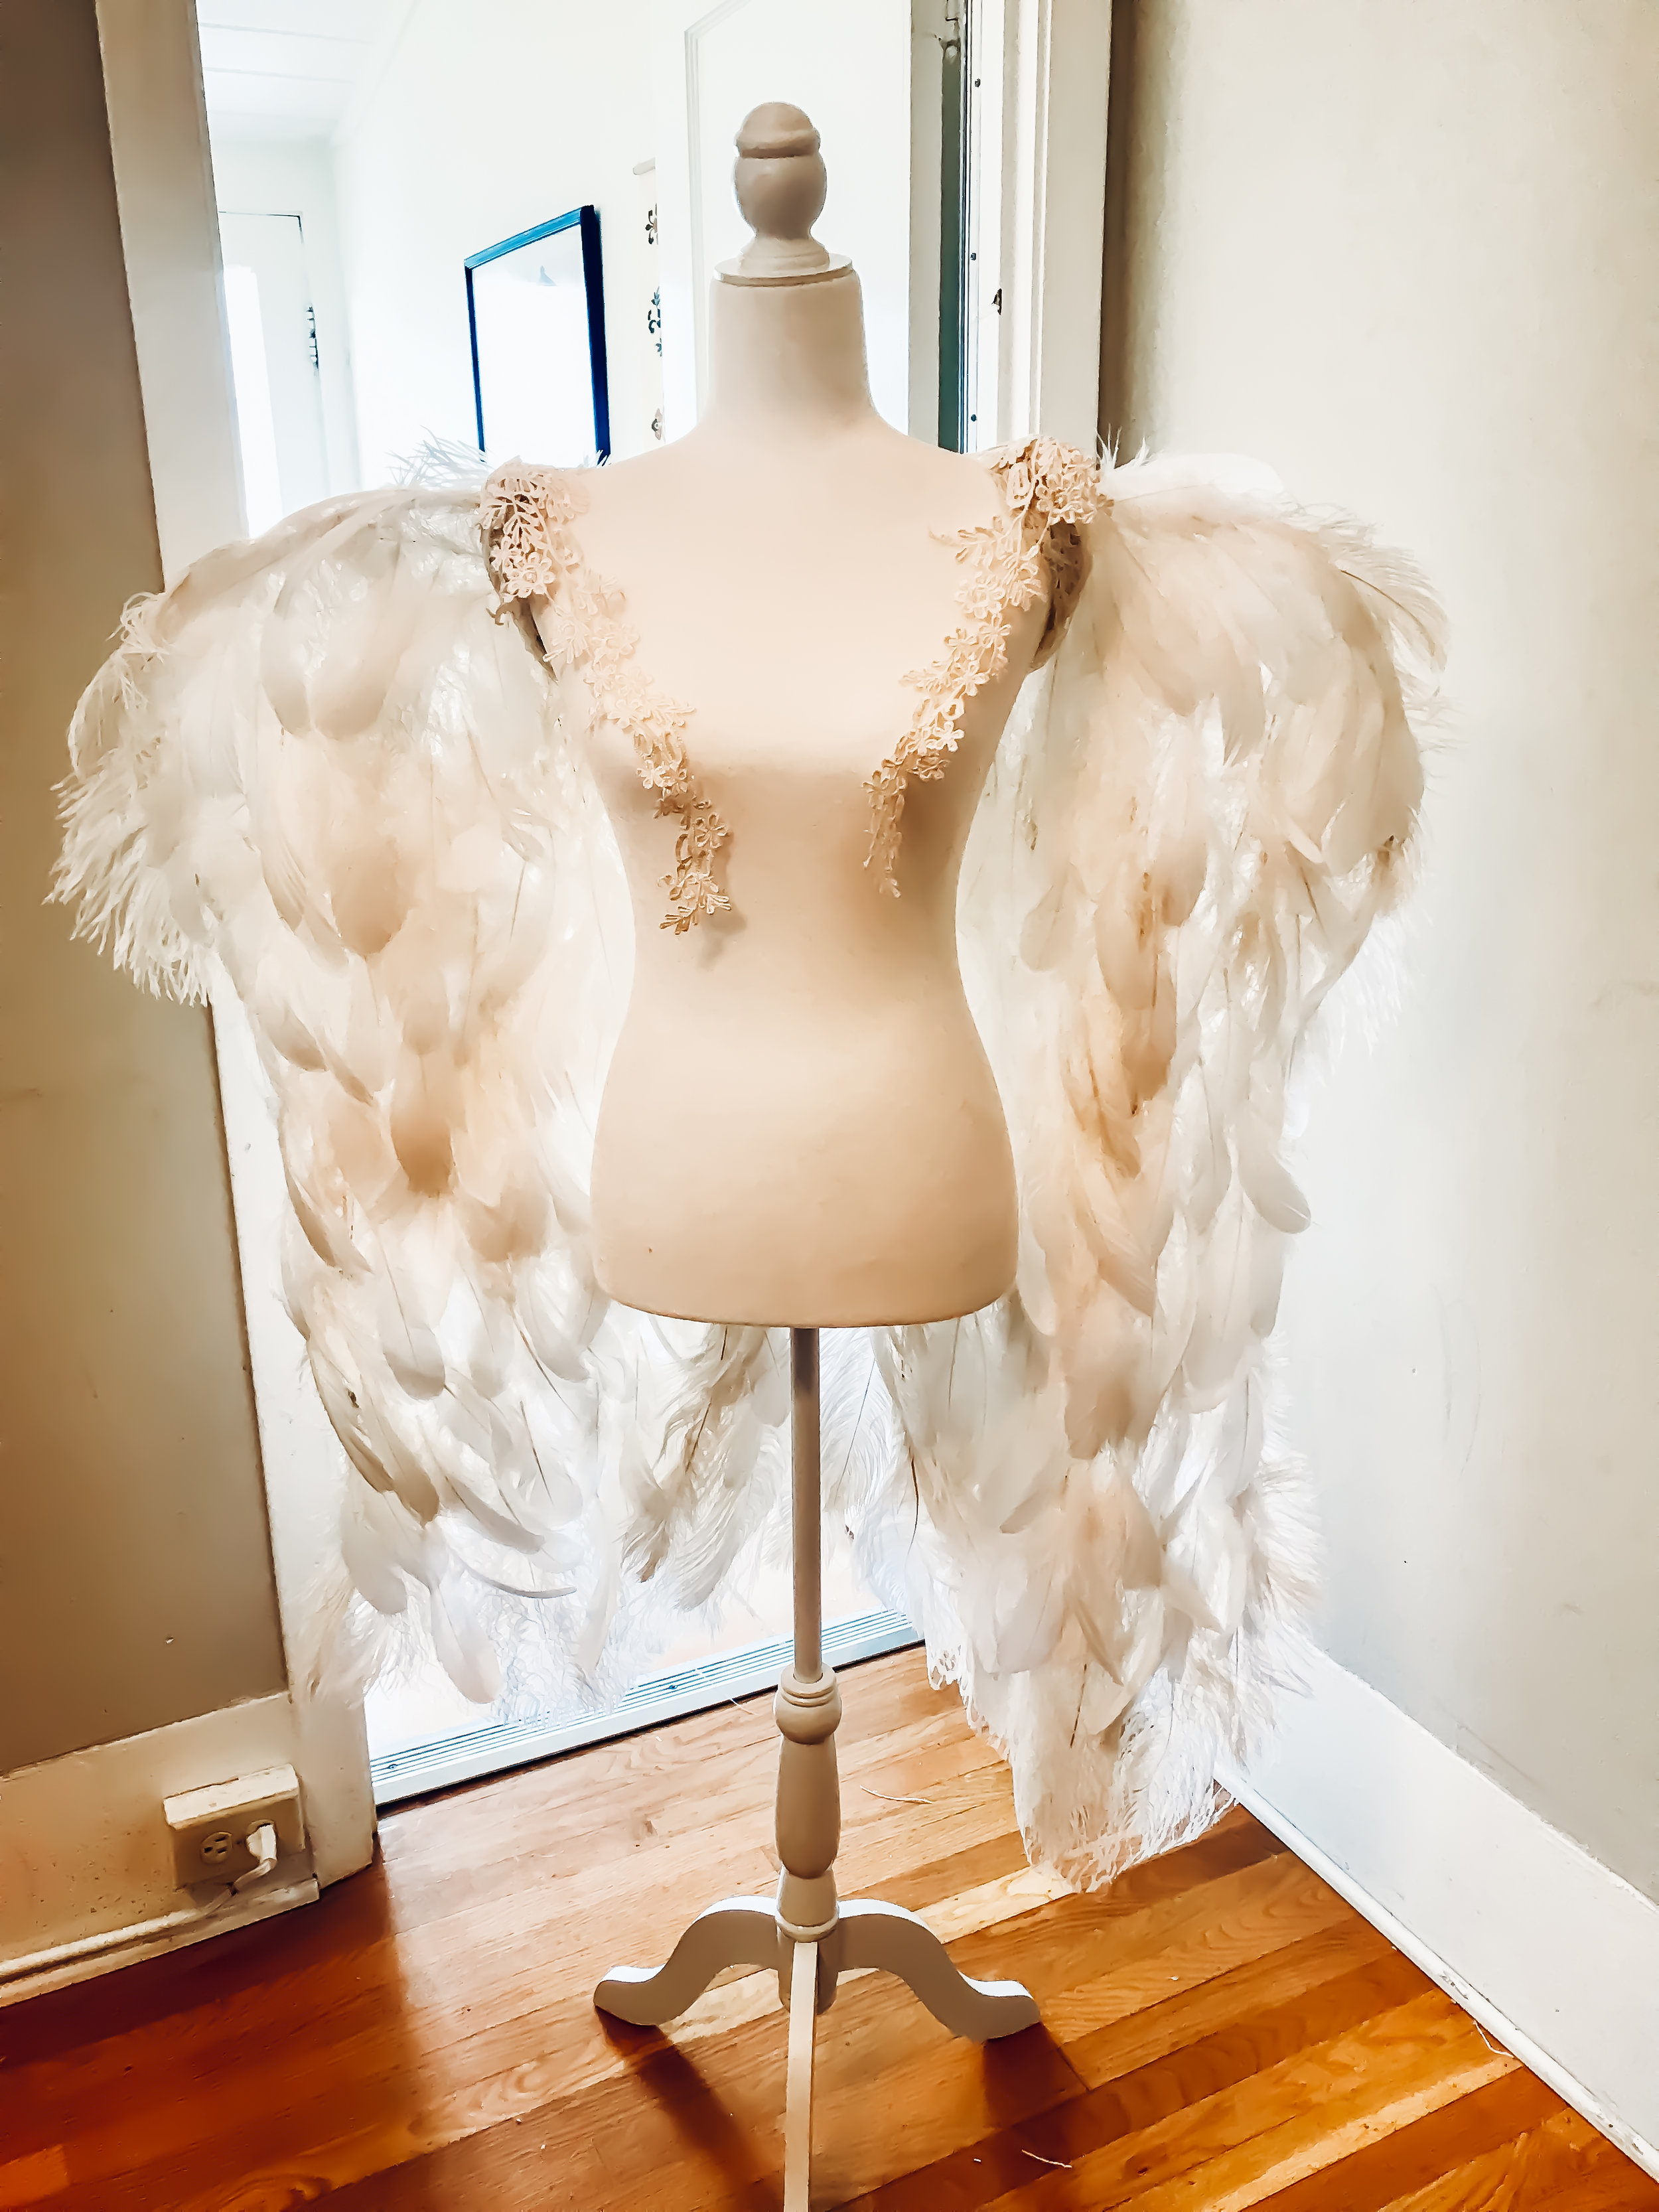
Adding this extra lace embroidery accent is optional, but so elegant.
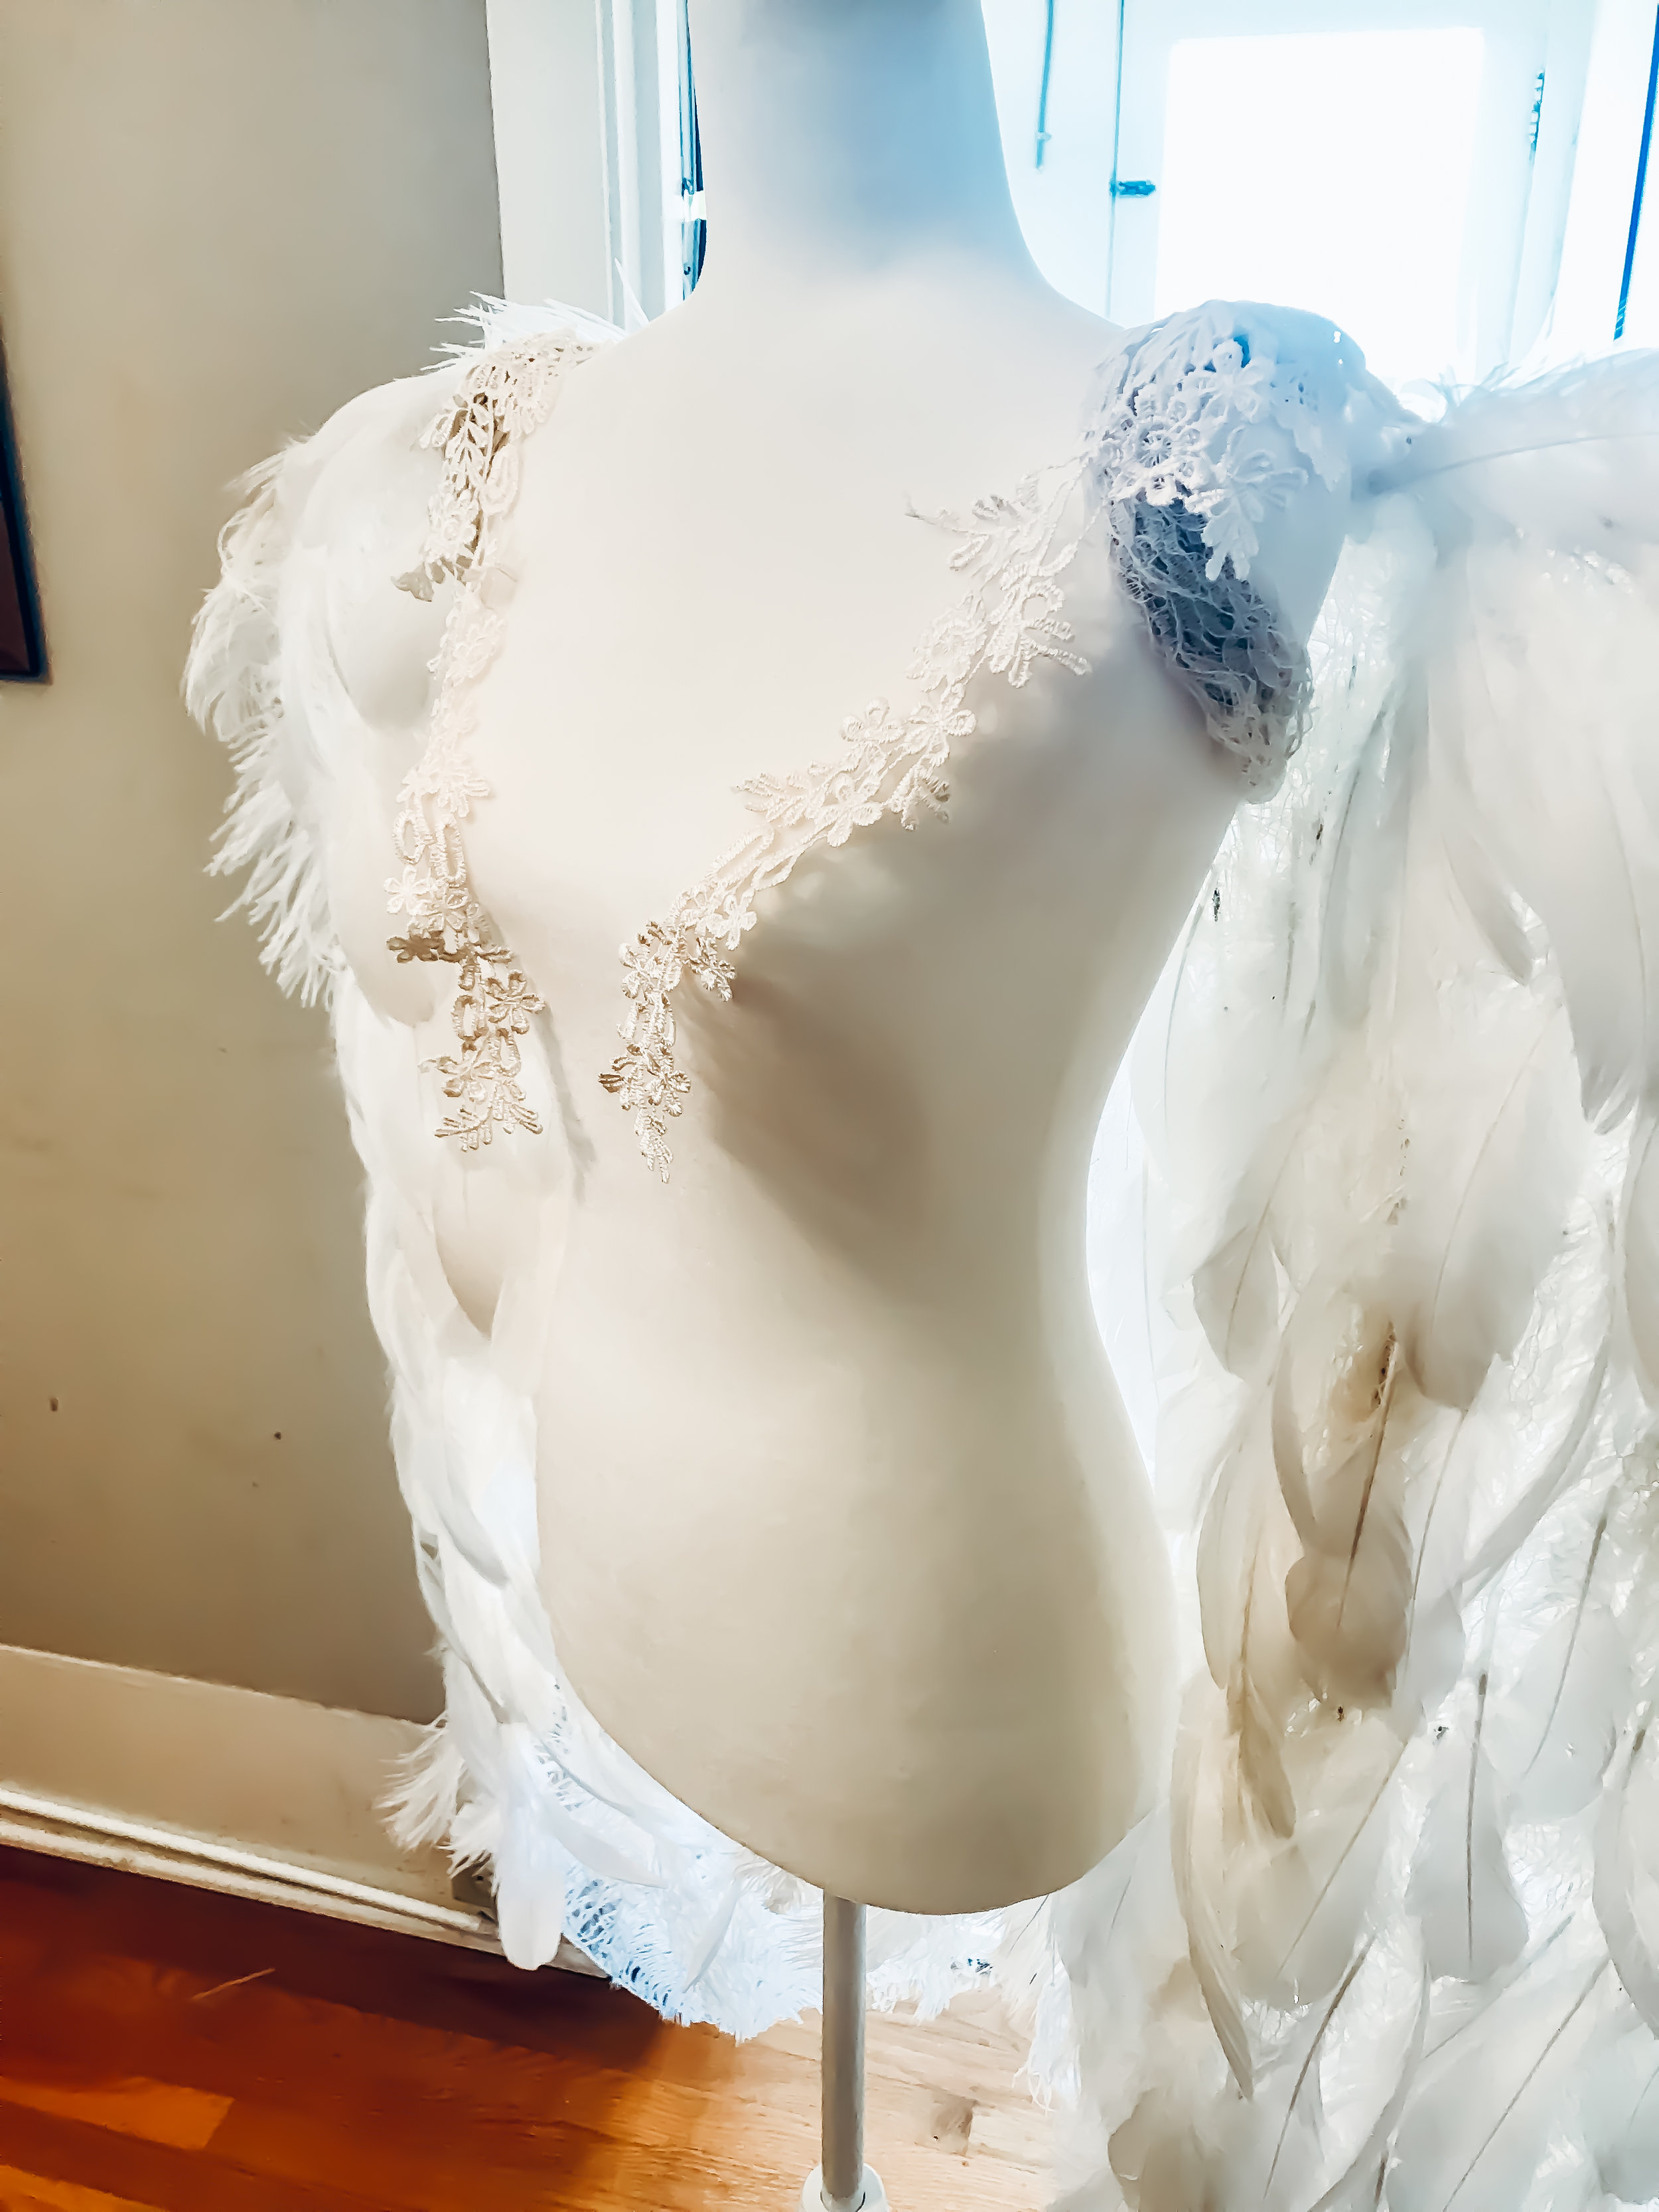
The lace embroidery is perfect for covering just enough for a boudoir photo shoot.
I wrapped the elastic in lace, but you could also just leave it as it is.
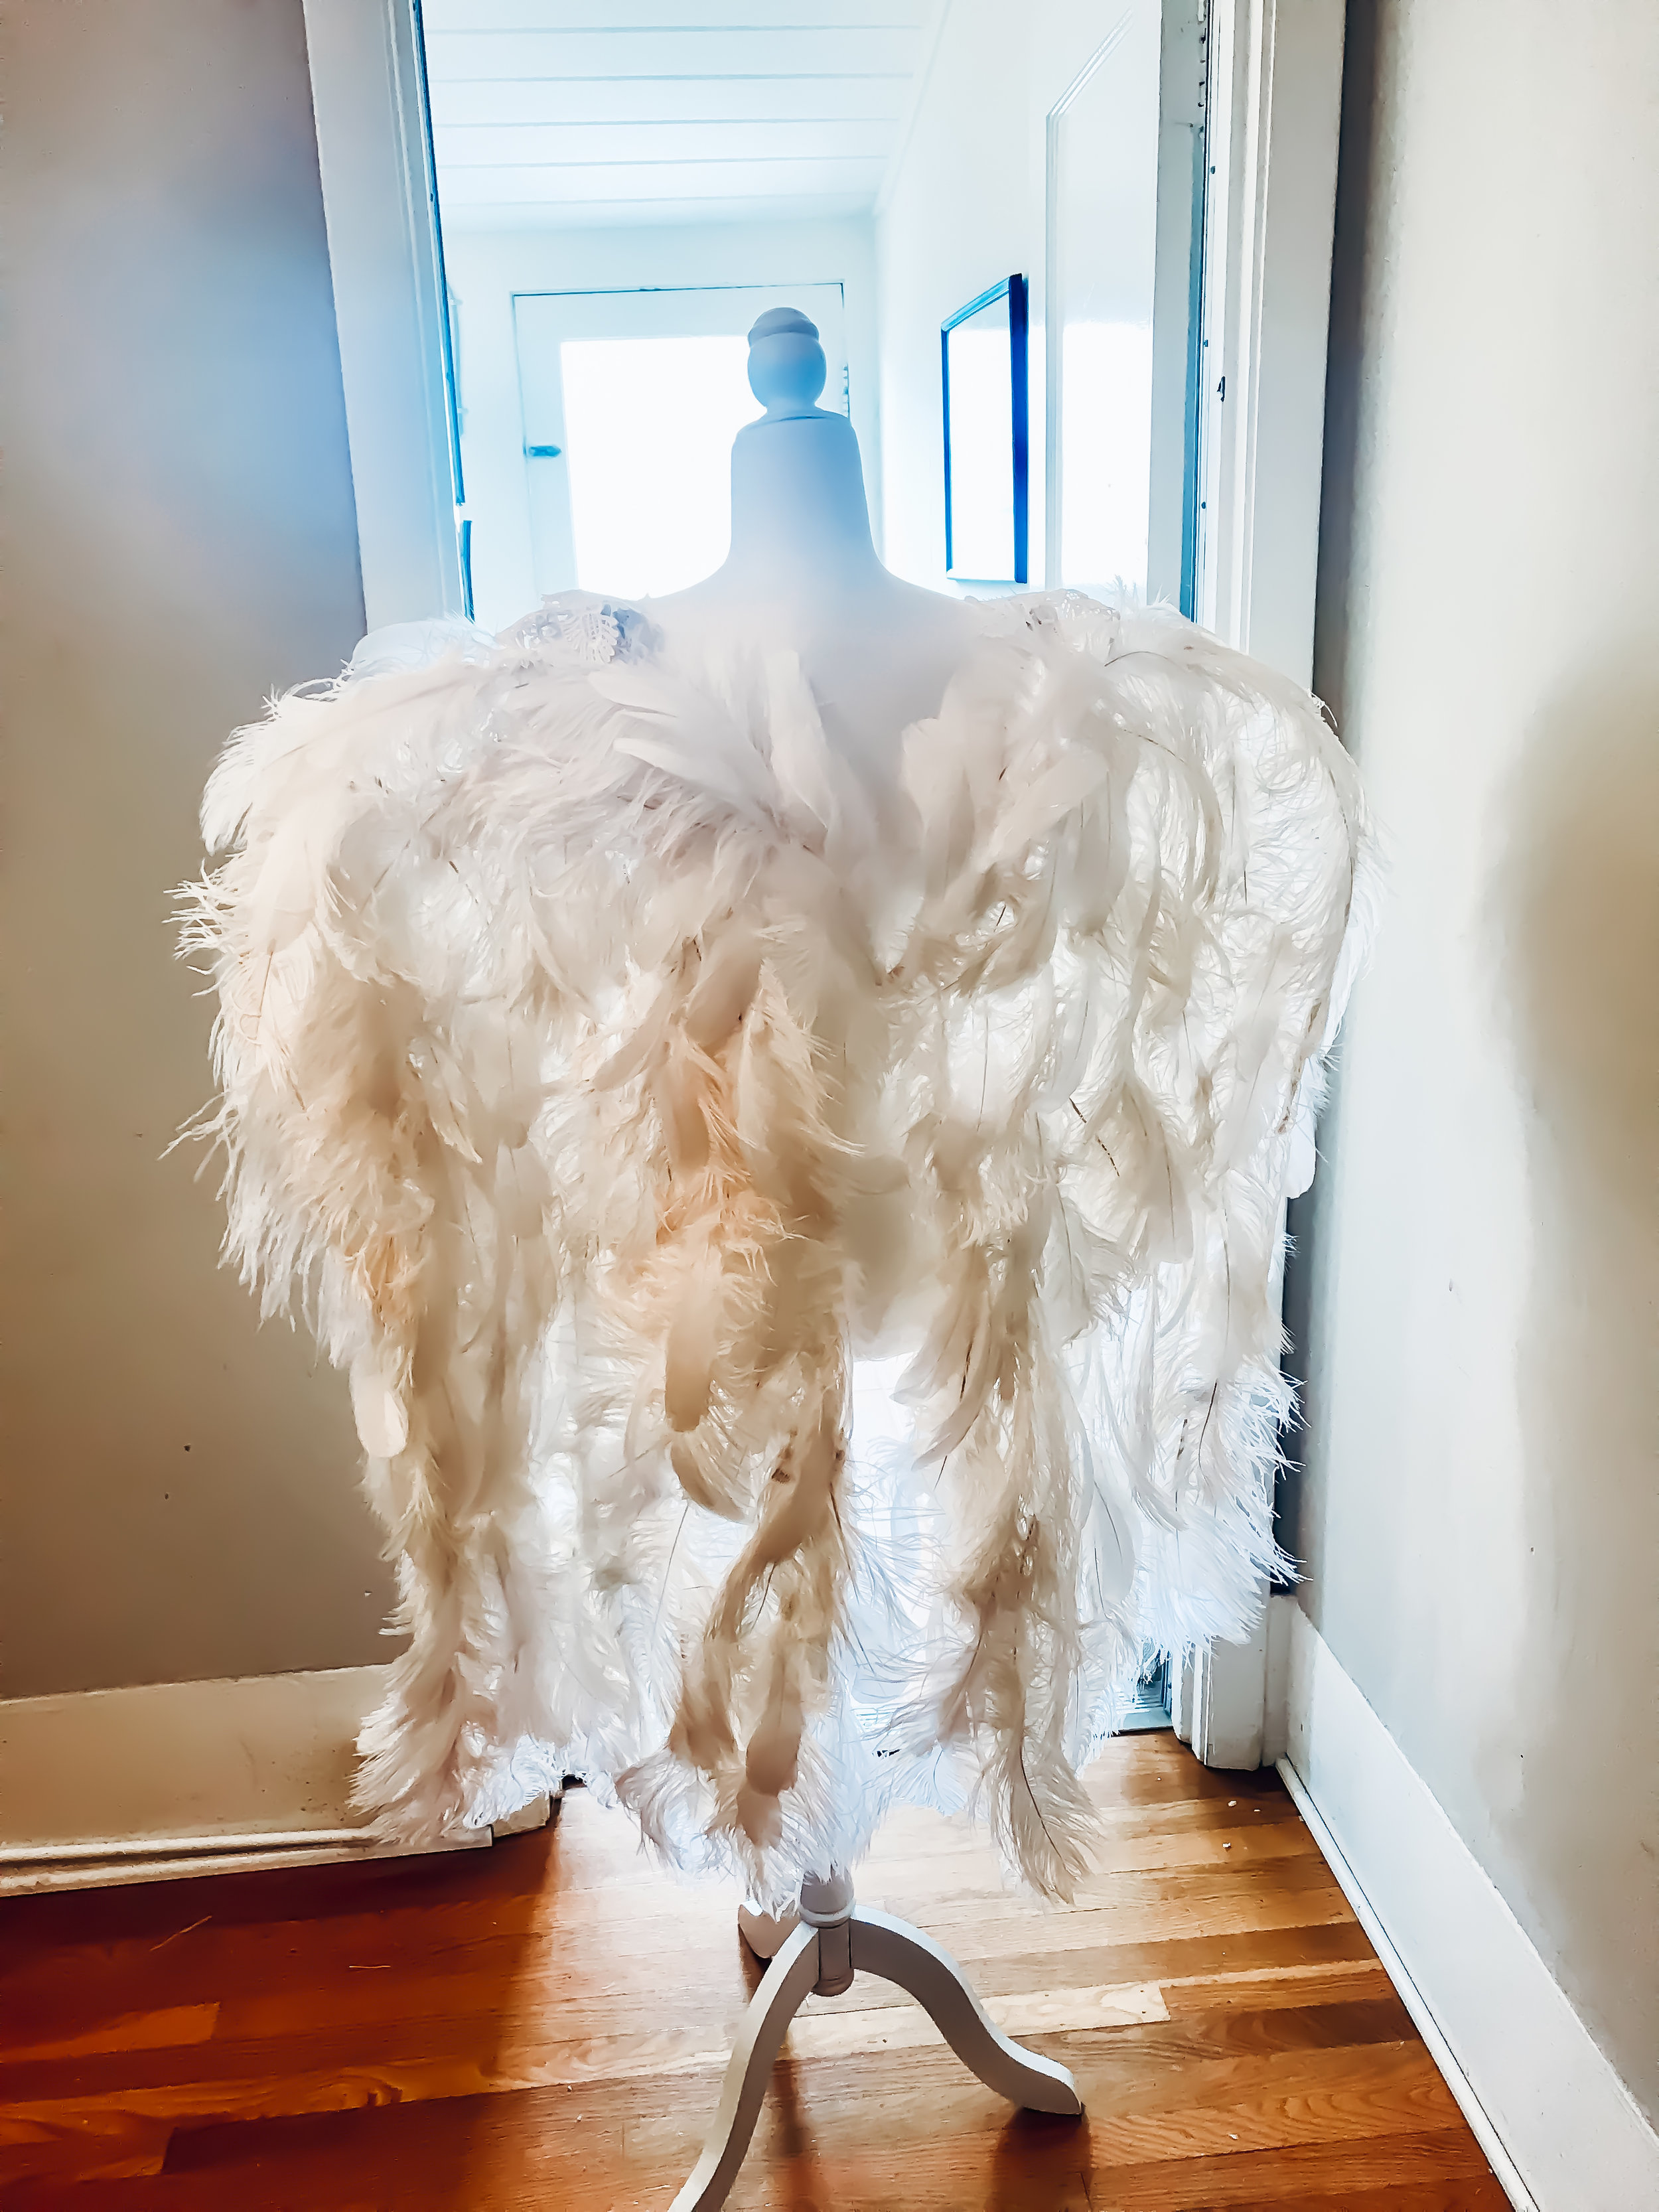
Stunning. I love to use these wings in boudoir shoots.
How to Make Angel Wings for Boudoir Photo Shoots
How to Make Angel Wings for Boudoir Photo Shoots

